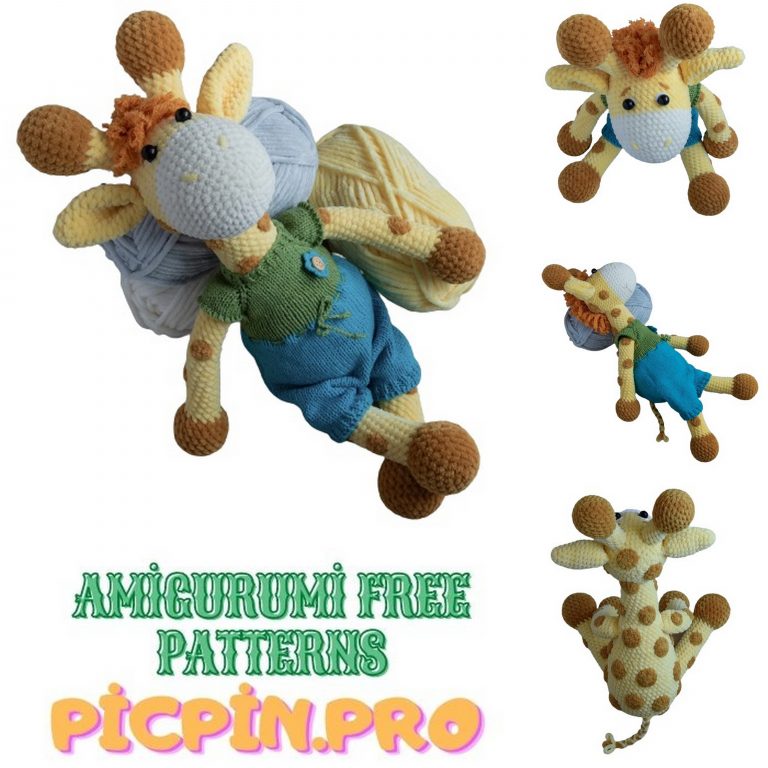
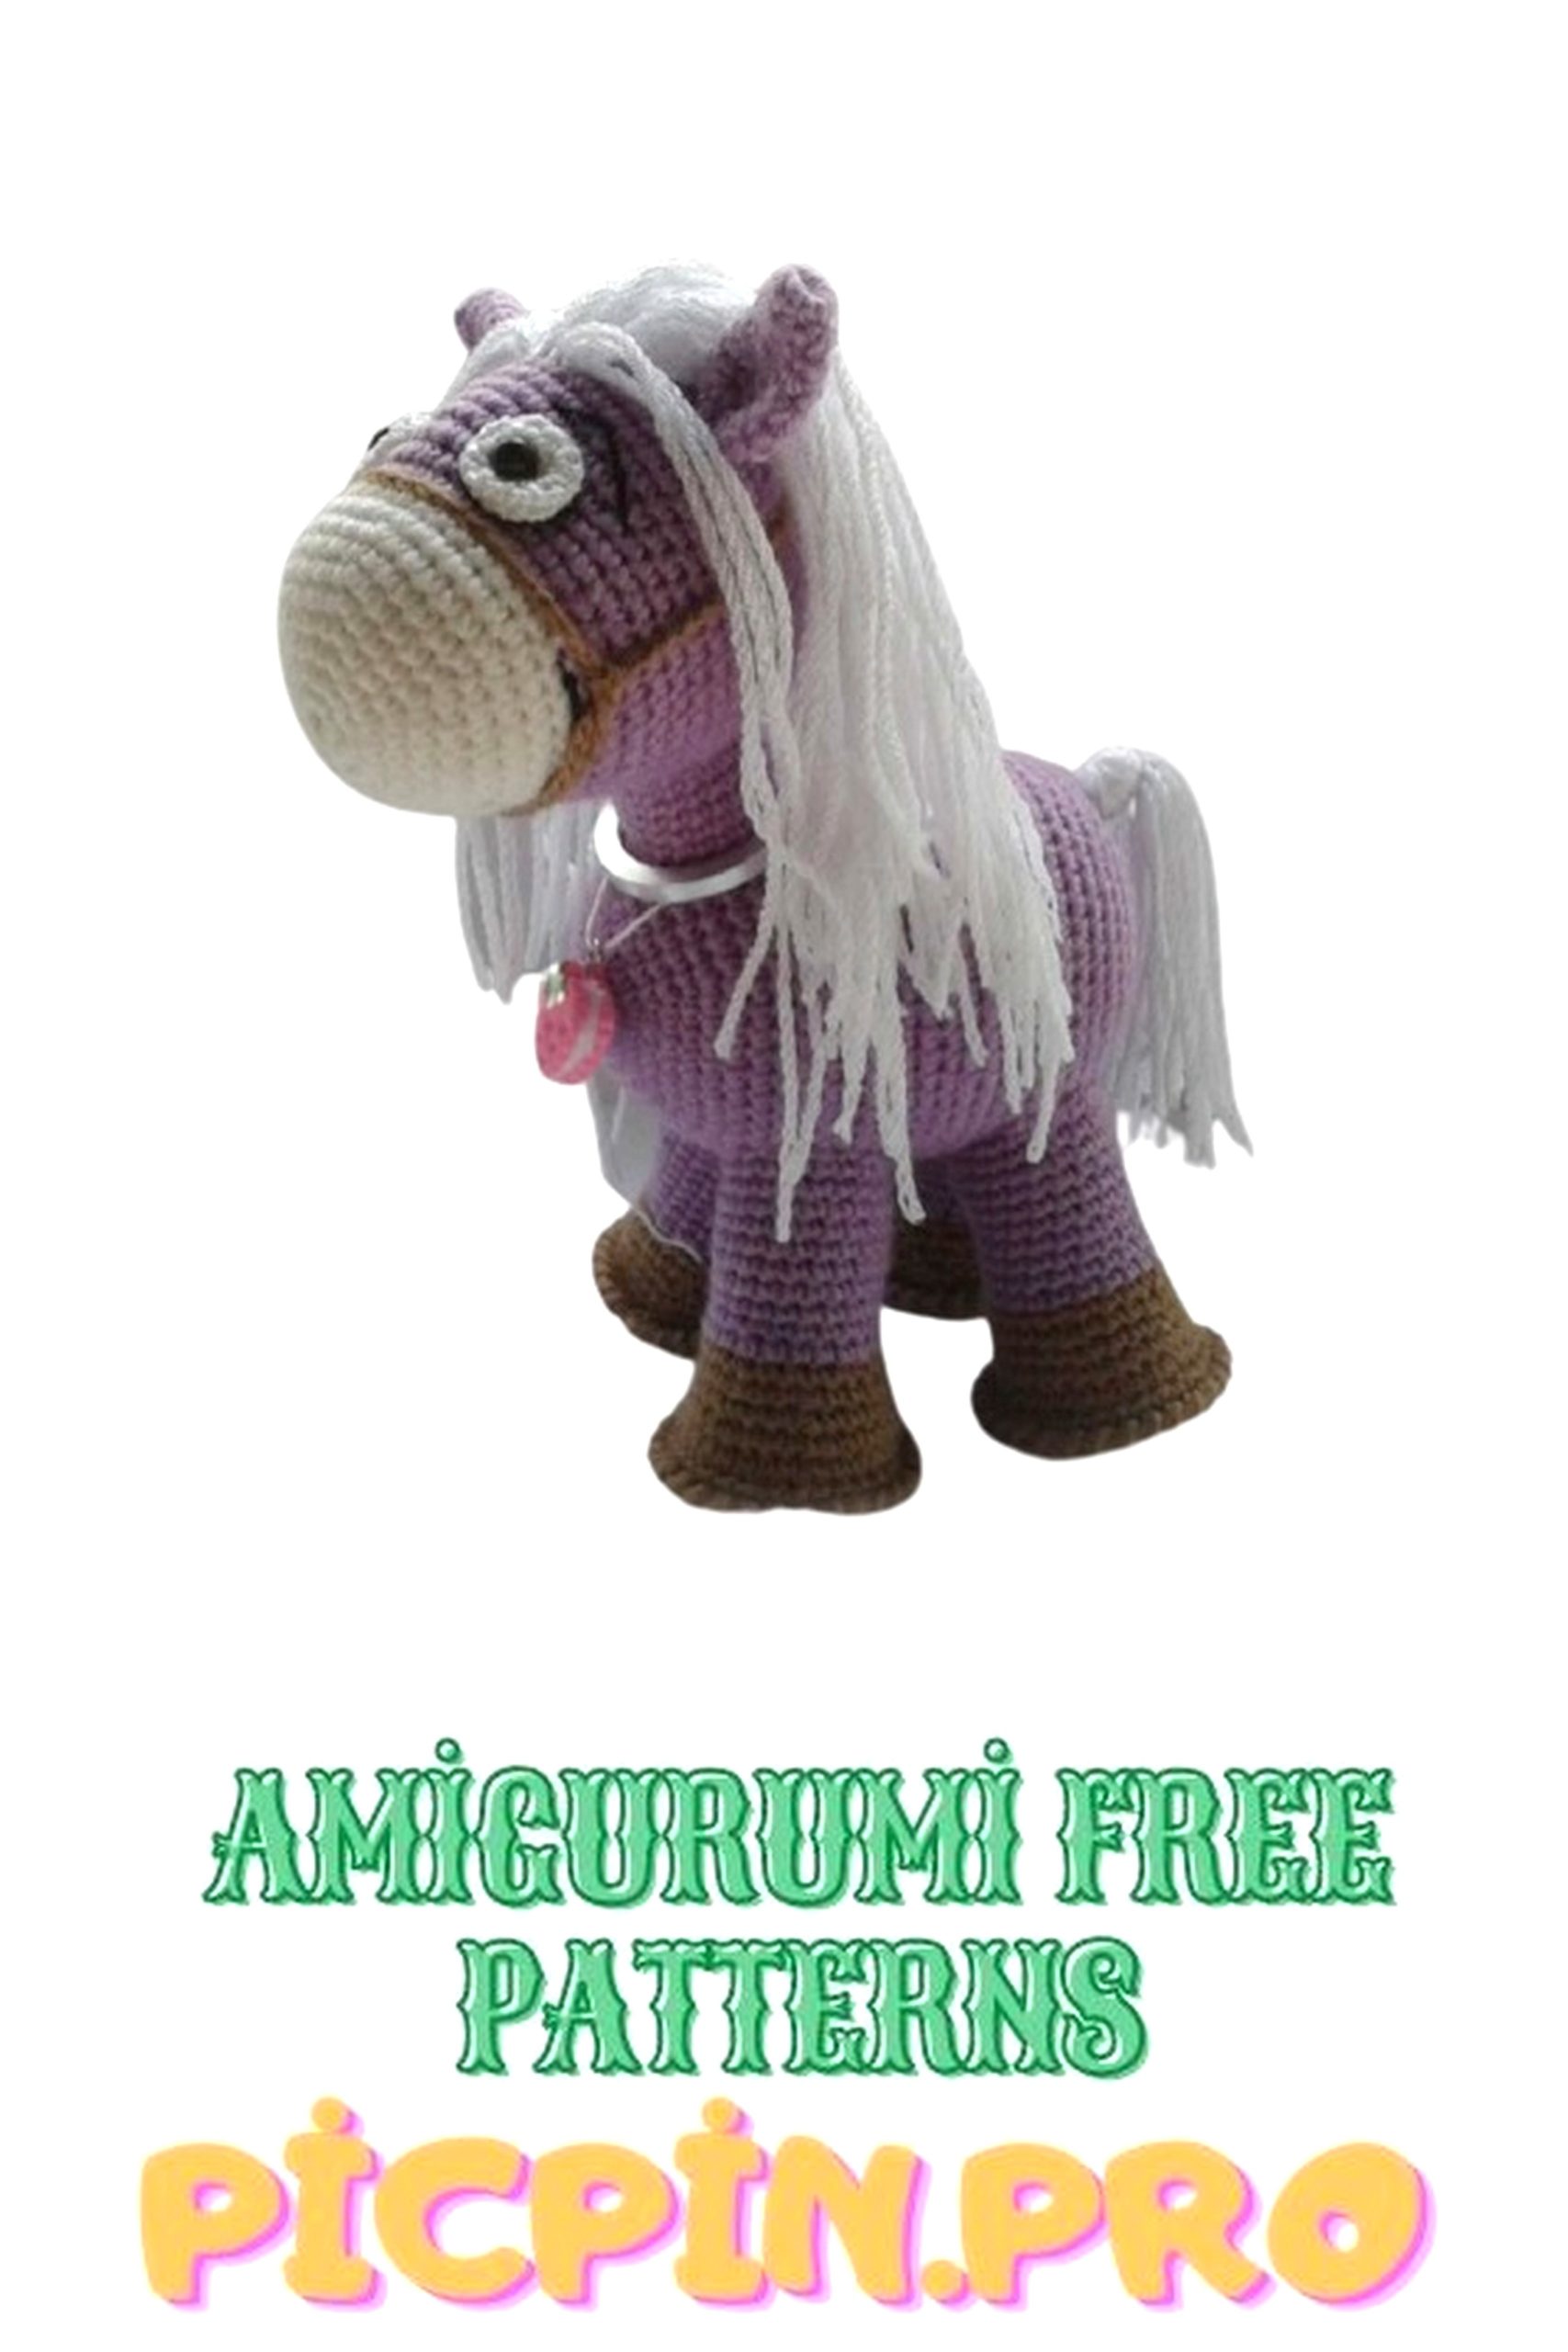
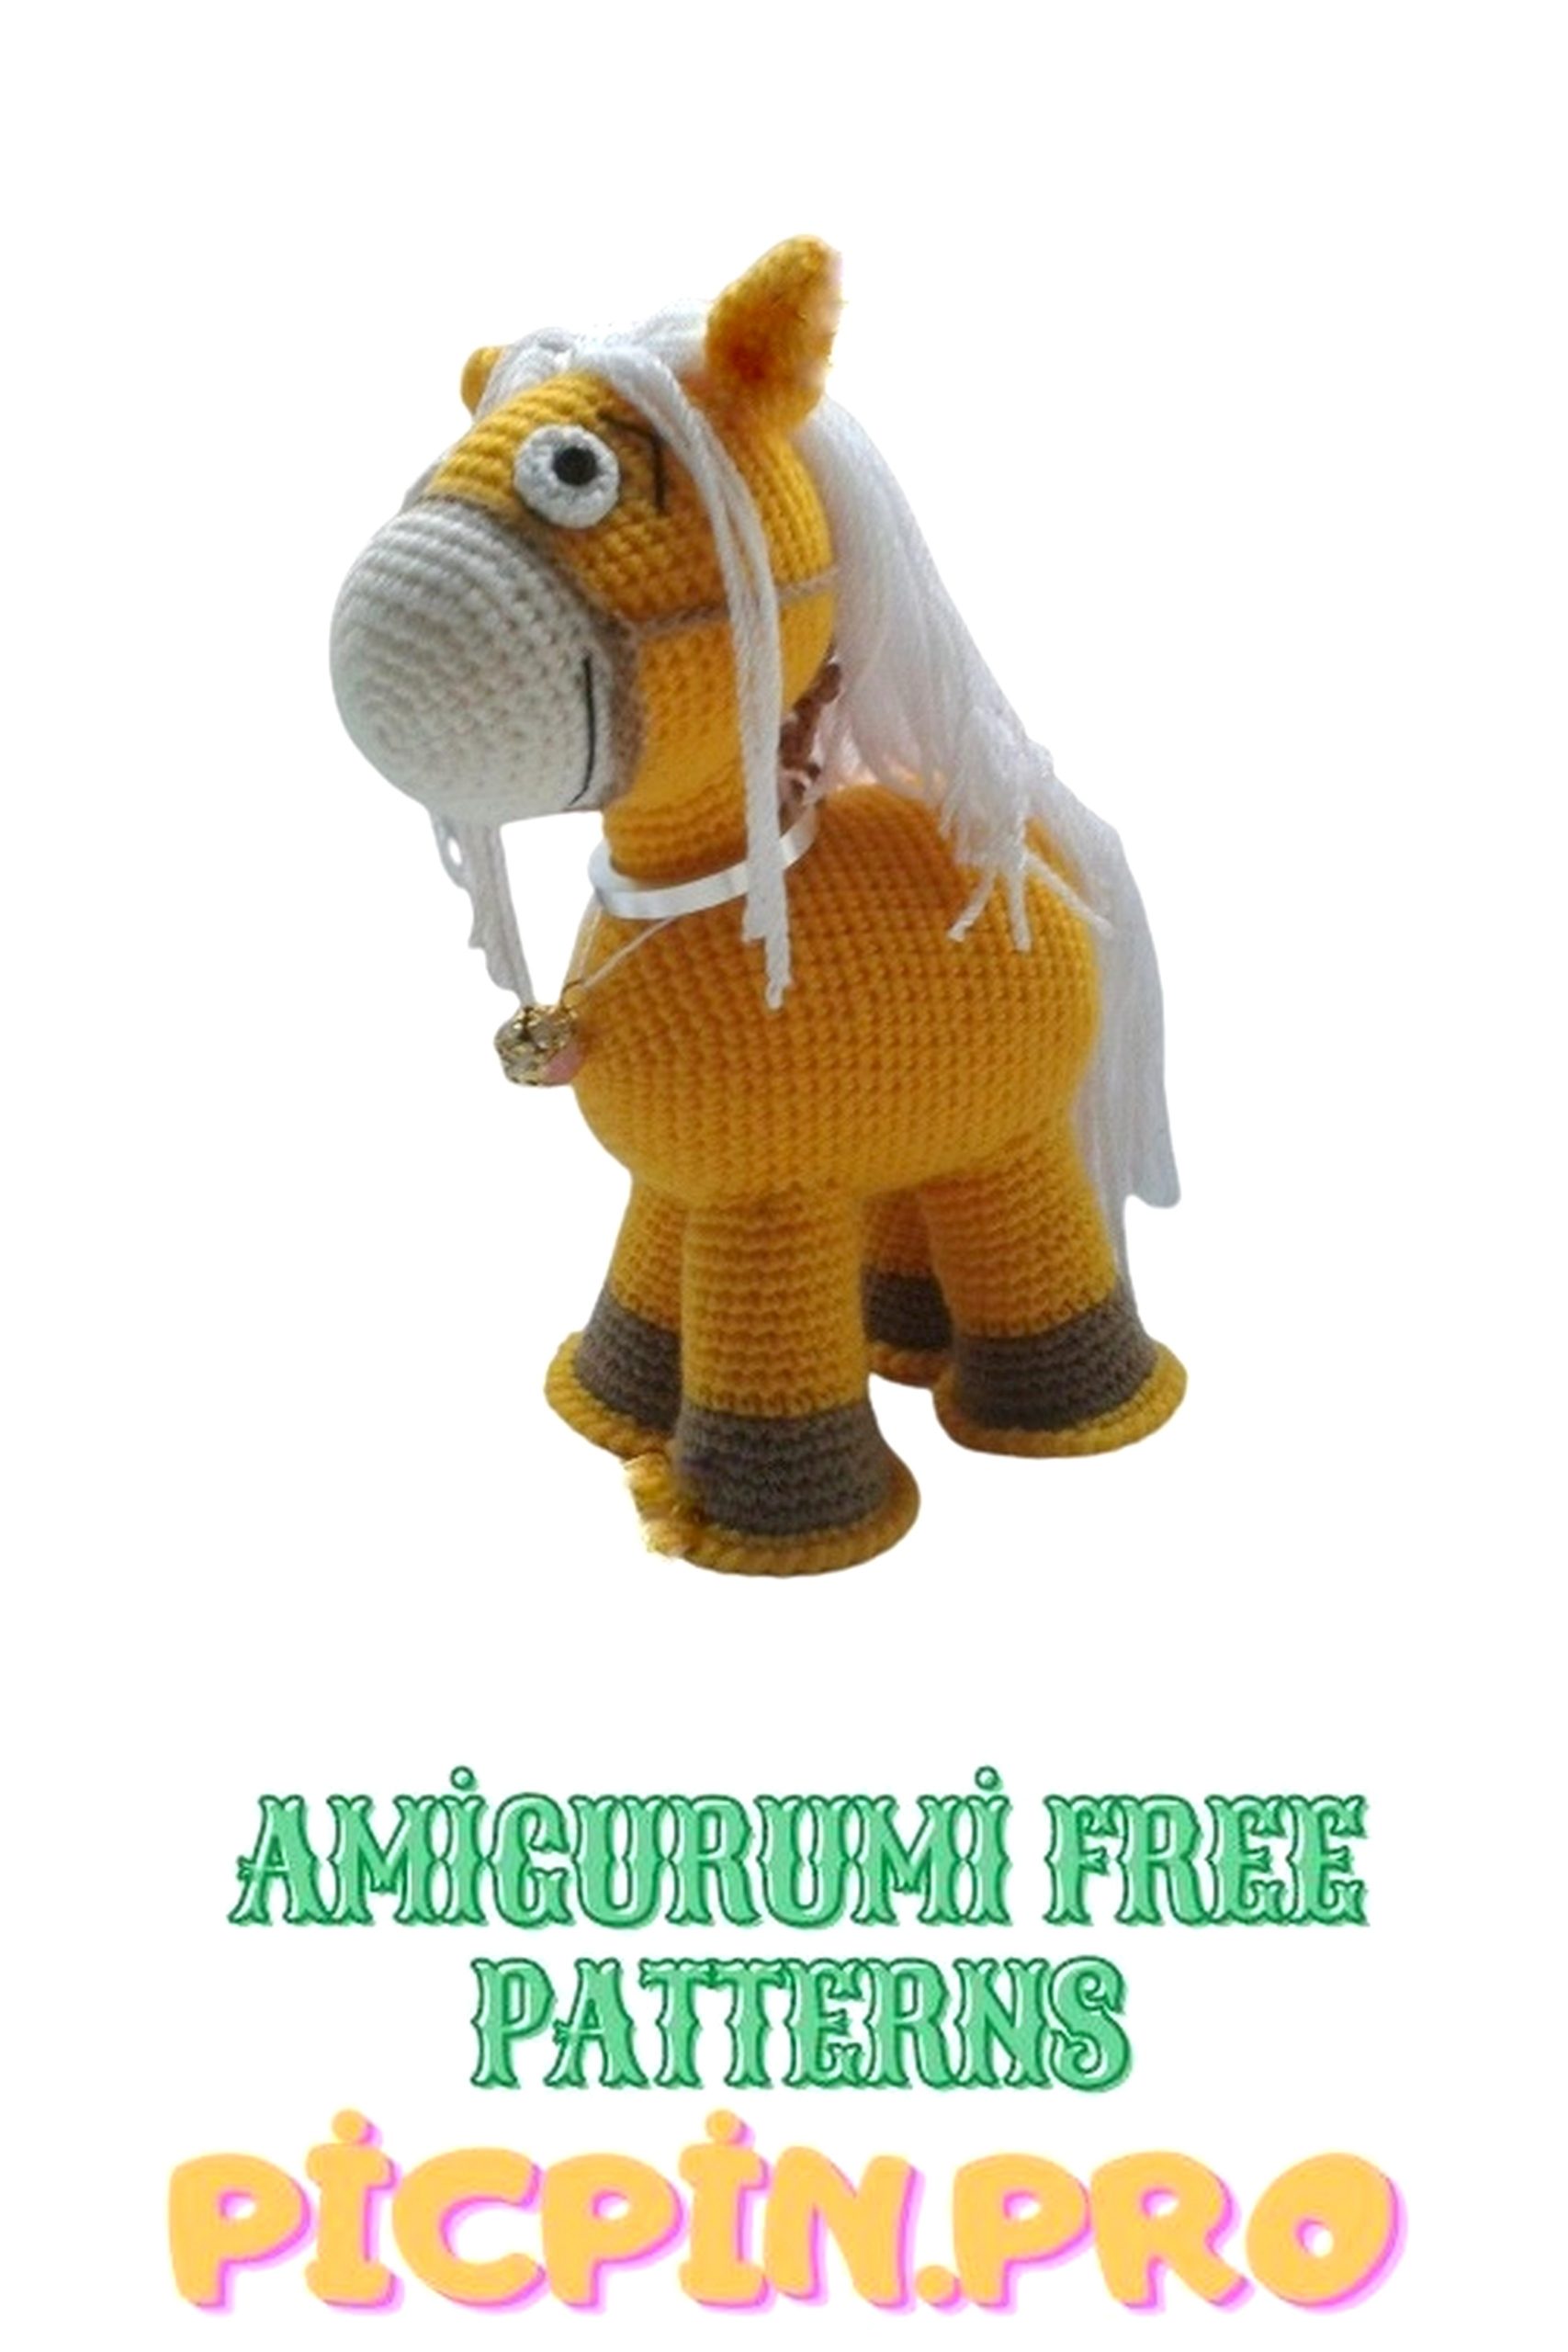
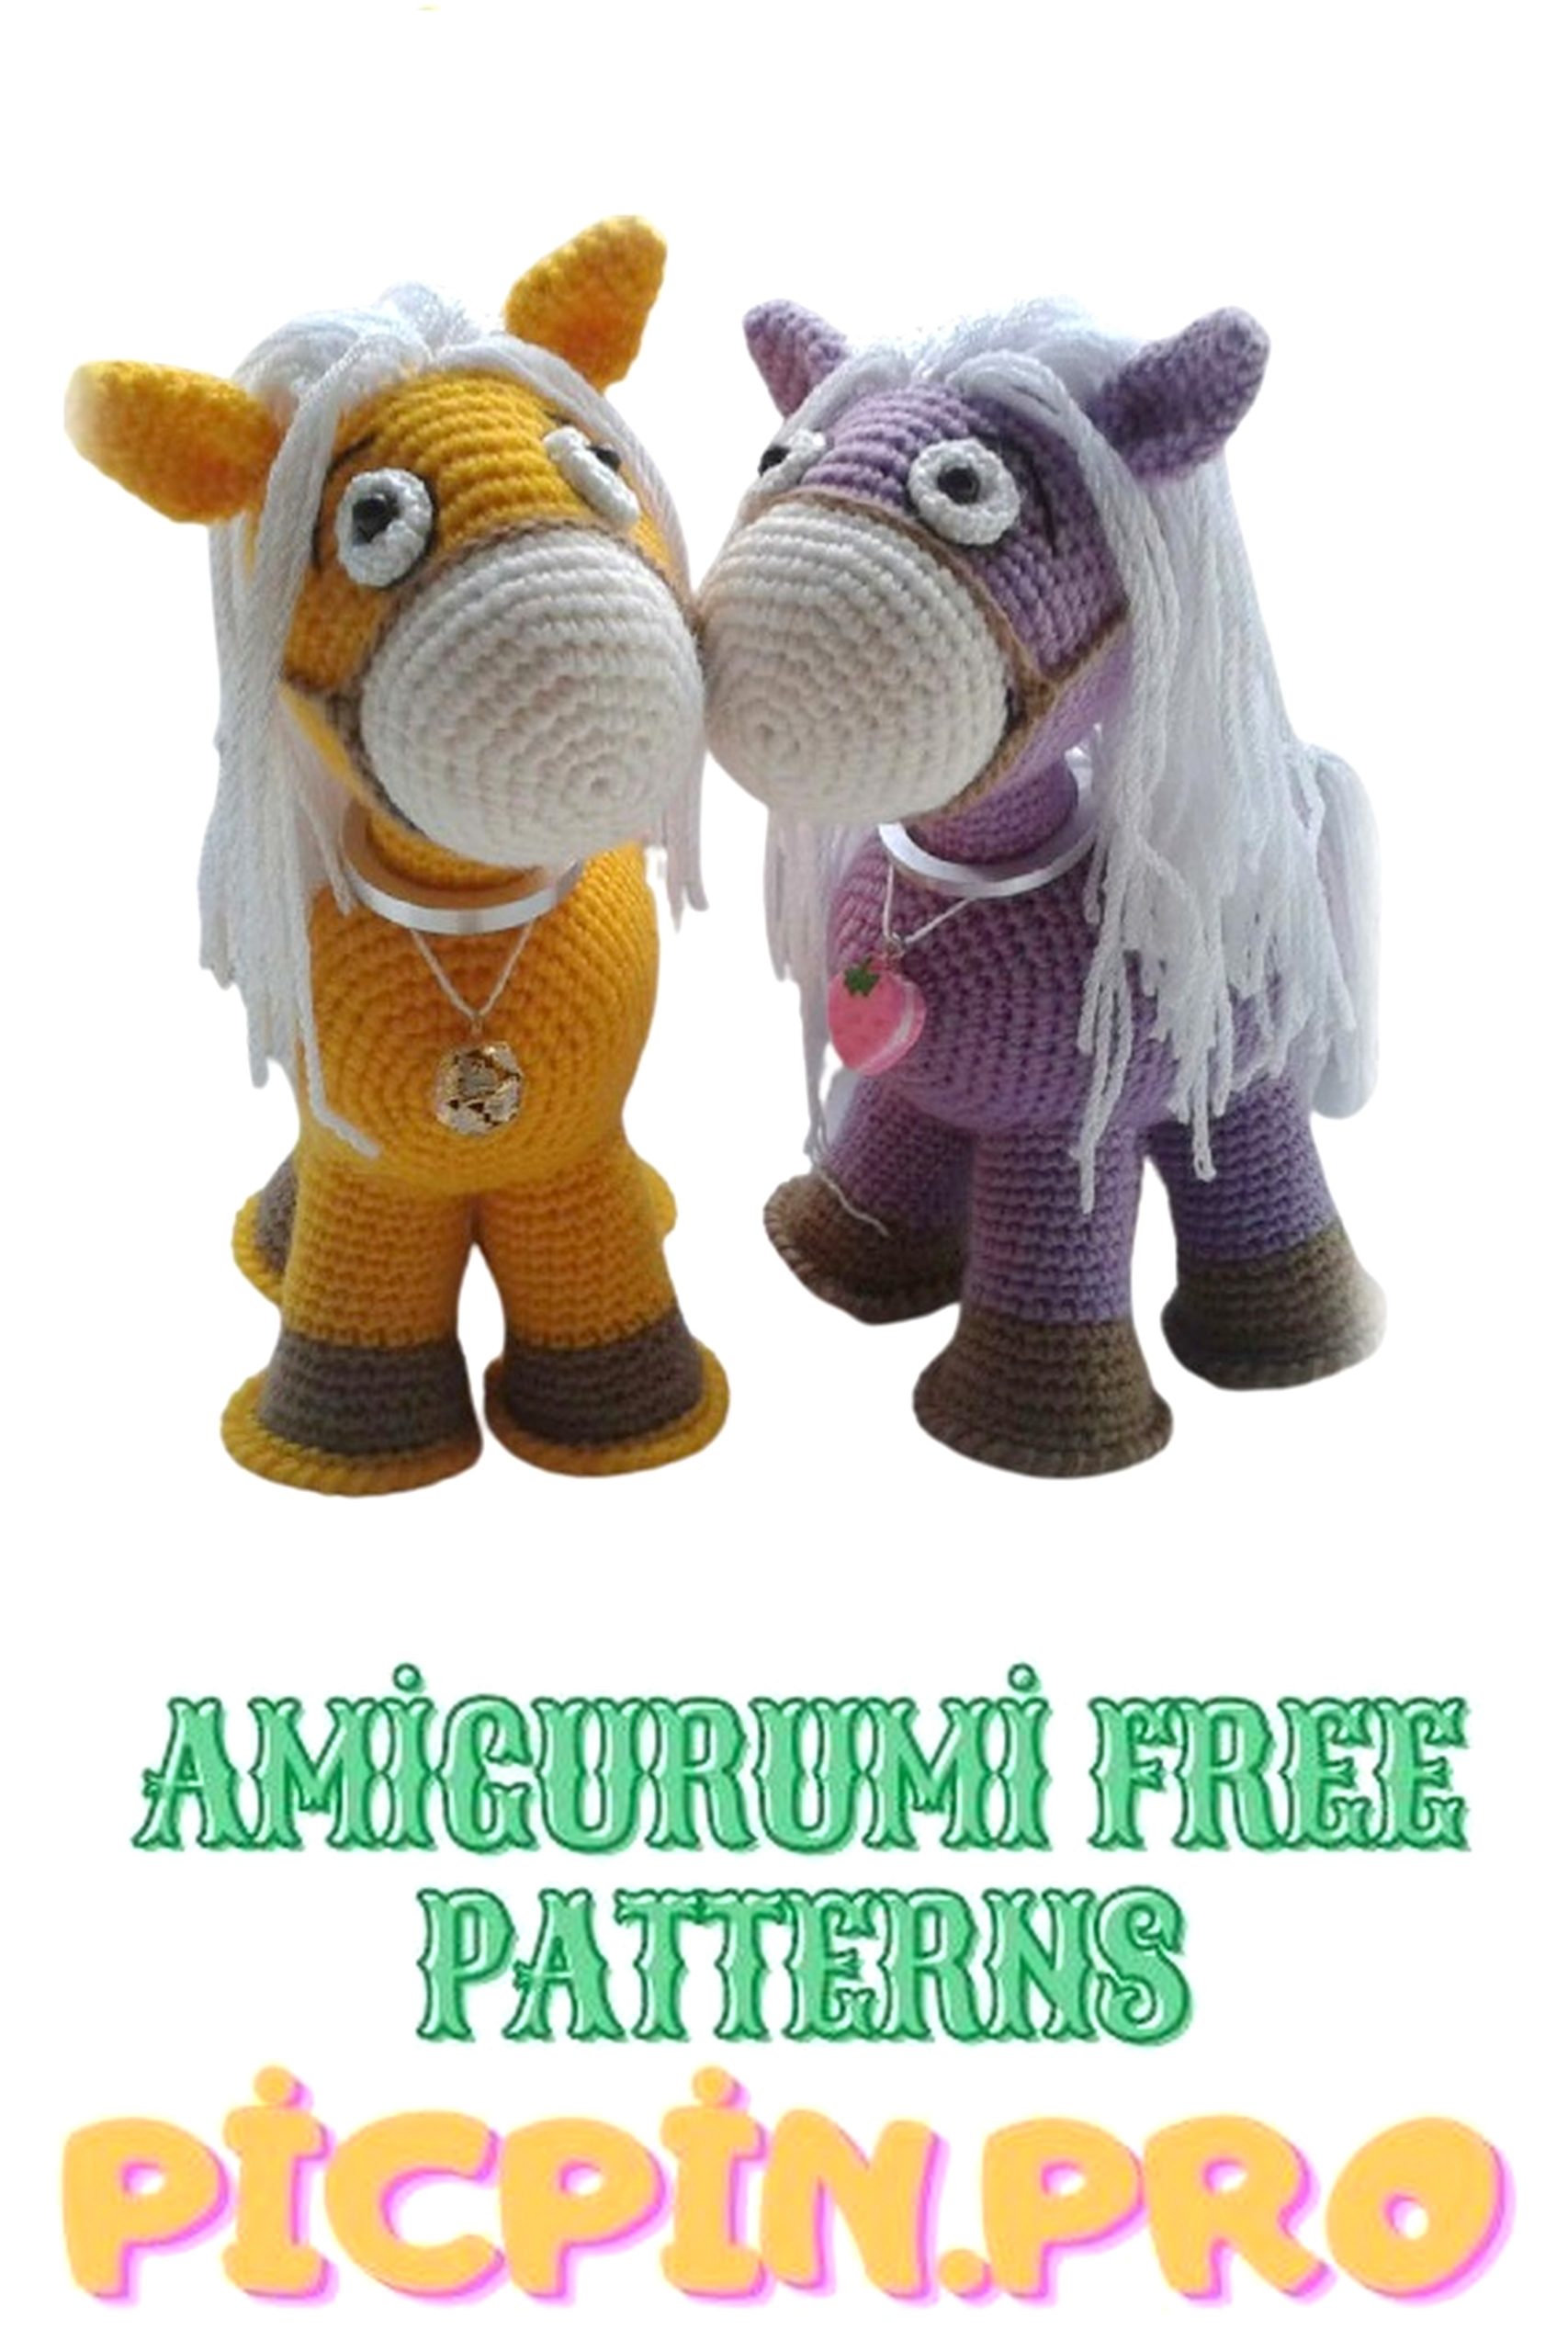
Cute Horse Amigurumi Free Crochet Pattern
Pinterest Offical Page : Picpin.pro
Facebook Group: Amigurumi Free Patterns
Facebook Offical Page: Free Amigurumi Picpin
Amigurumi crochet organic toys have been very popular lately; Now I will share with you amigurumi cute horse free pattern.
For knitting you will need:
– TWO color yarn, yarn for mane;
– 100% white cotton yarn for knitting eye proteins;
– a hook for your yarn;
– a little black cotton for embroidery of the mouth, eyebrows and eye contour;
– two black beads for eyes (if there are no beads – eyes can be embroidered);
– plastic or thick cardboard for the stability of the horse, I take the usual corner for repair white, can also be cut from a plastic lid for a can.
– synthetic winterizer or other filler of your choice;
– a long needle.
For knitting, I use the “Children’s whim” yarn, for the whites of the eyes, cotton Iris, for mane yarn Pekhorka “Streychevaya”.
Designations for knitting:
– single crochet (sc);
– double crochet (dc);
– air loop (ch);
– connecting posts (sl-st);
– strapping method “Rachich step”;
– dec (decrease) – decrease, a single crochet is knitted, 1 loop of the previous row is skipped and again single crochet;
– inc (increase) – in the loop of the previous row, knit 2 loops.
Dear needlewomen, I knit not in a spiral, but in a circle. At the junction of the rows a shovchik is formed. This method of knitting suits me more, because no the need to use a bias loop and the parts do not warp during knitting (see figure below).

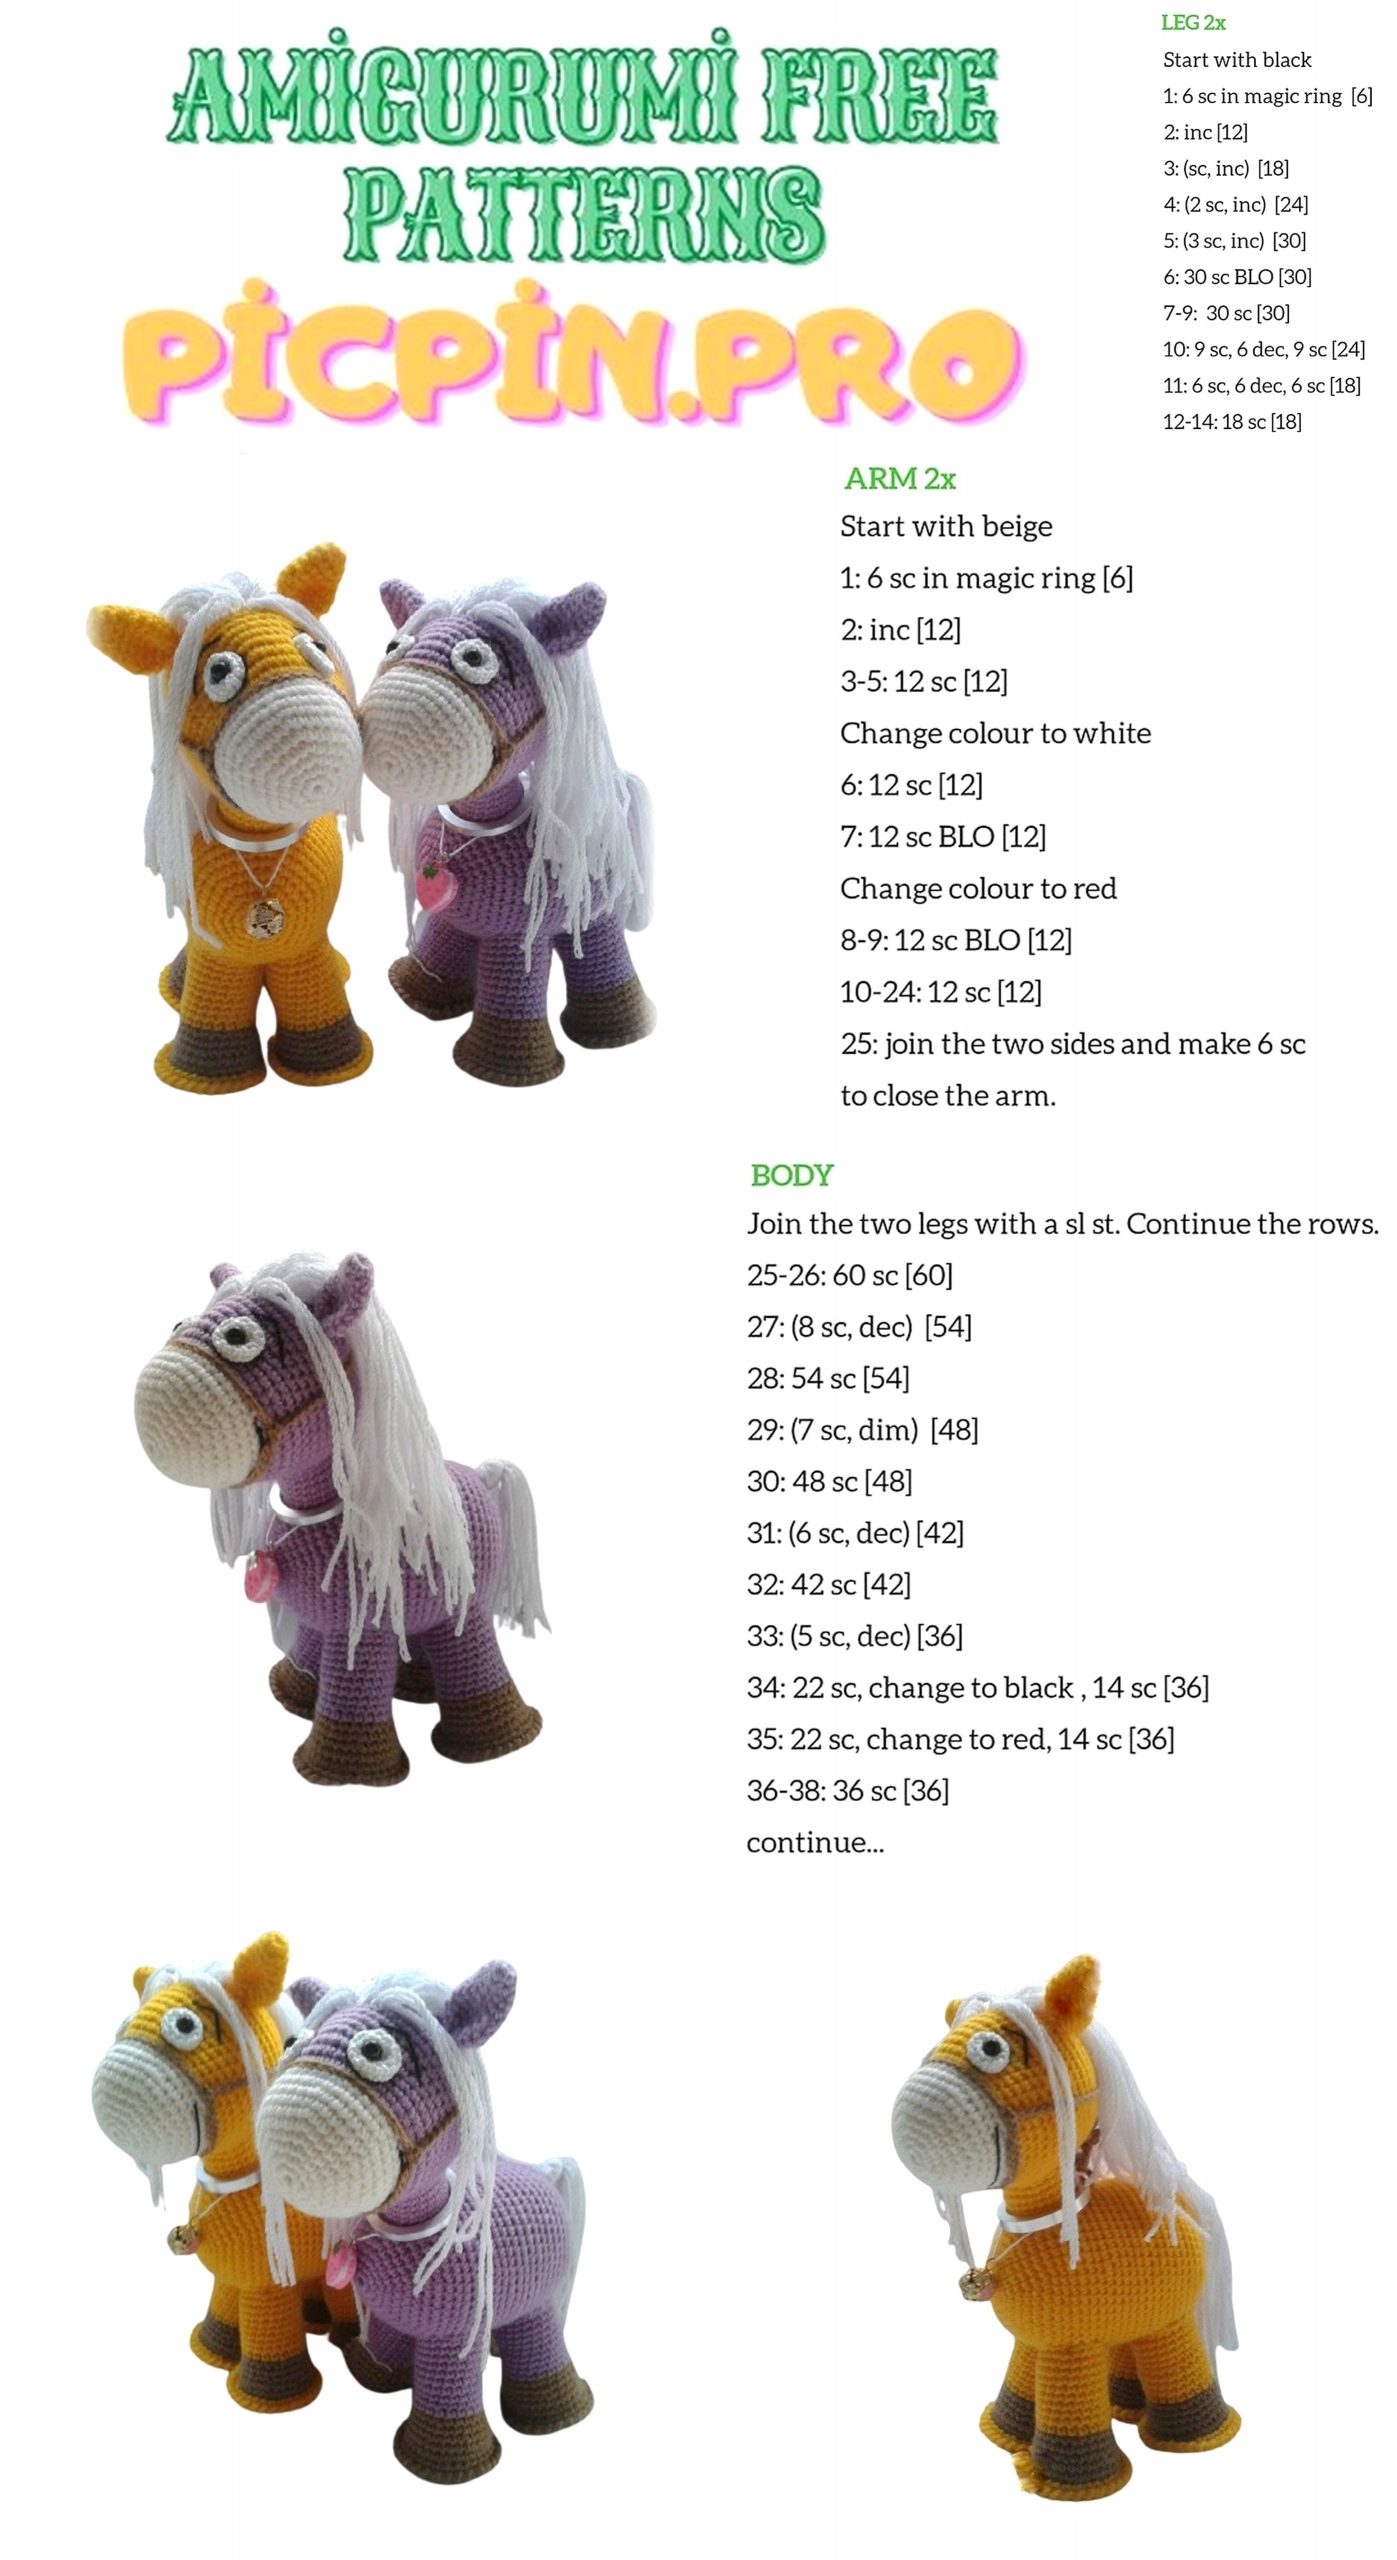
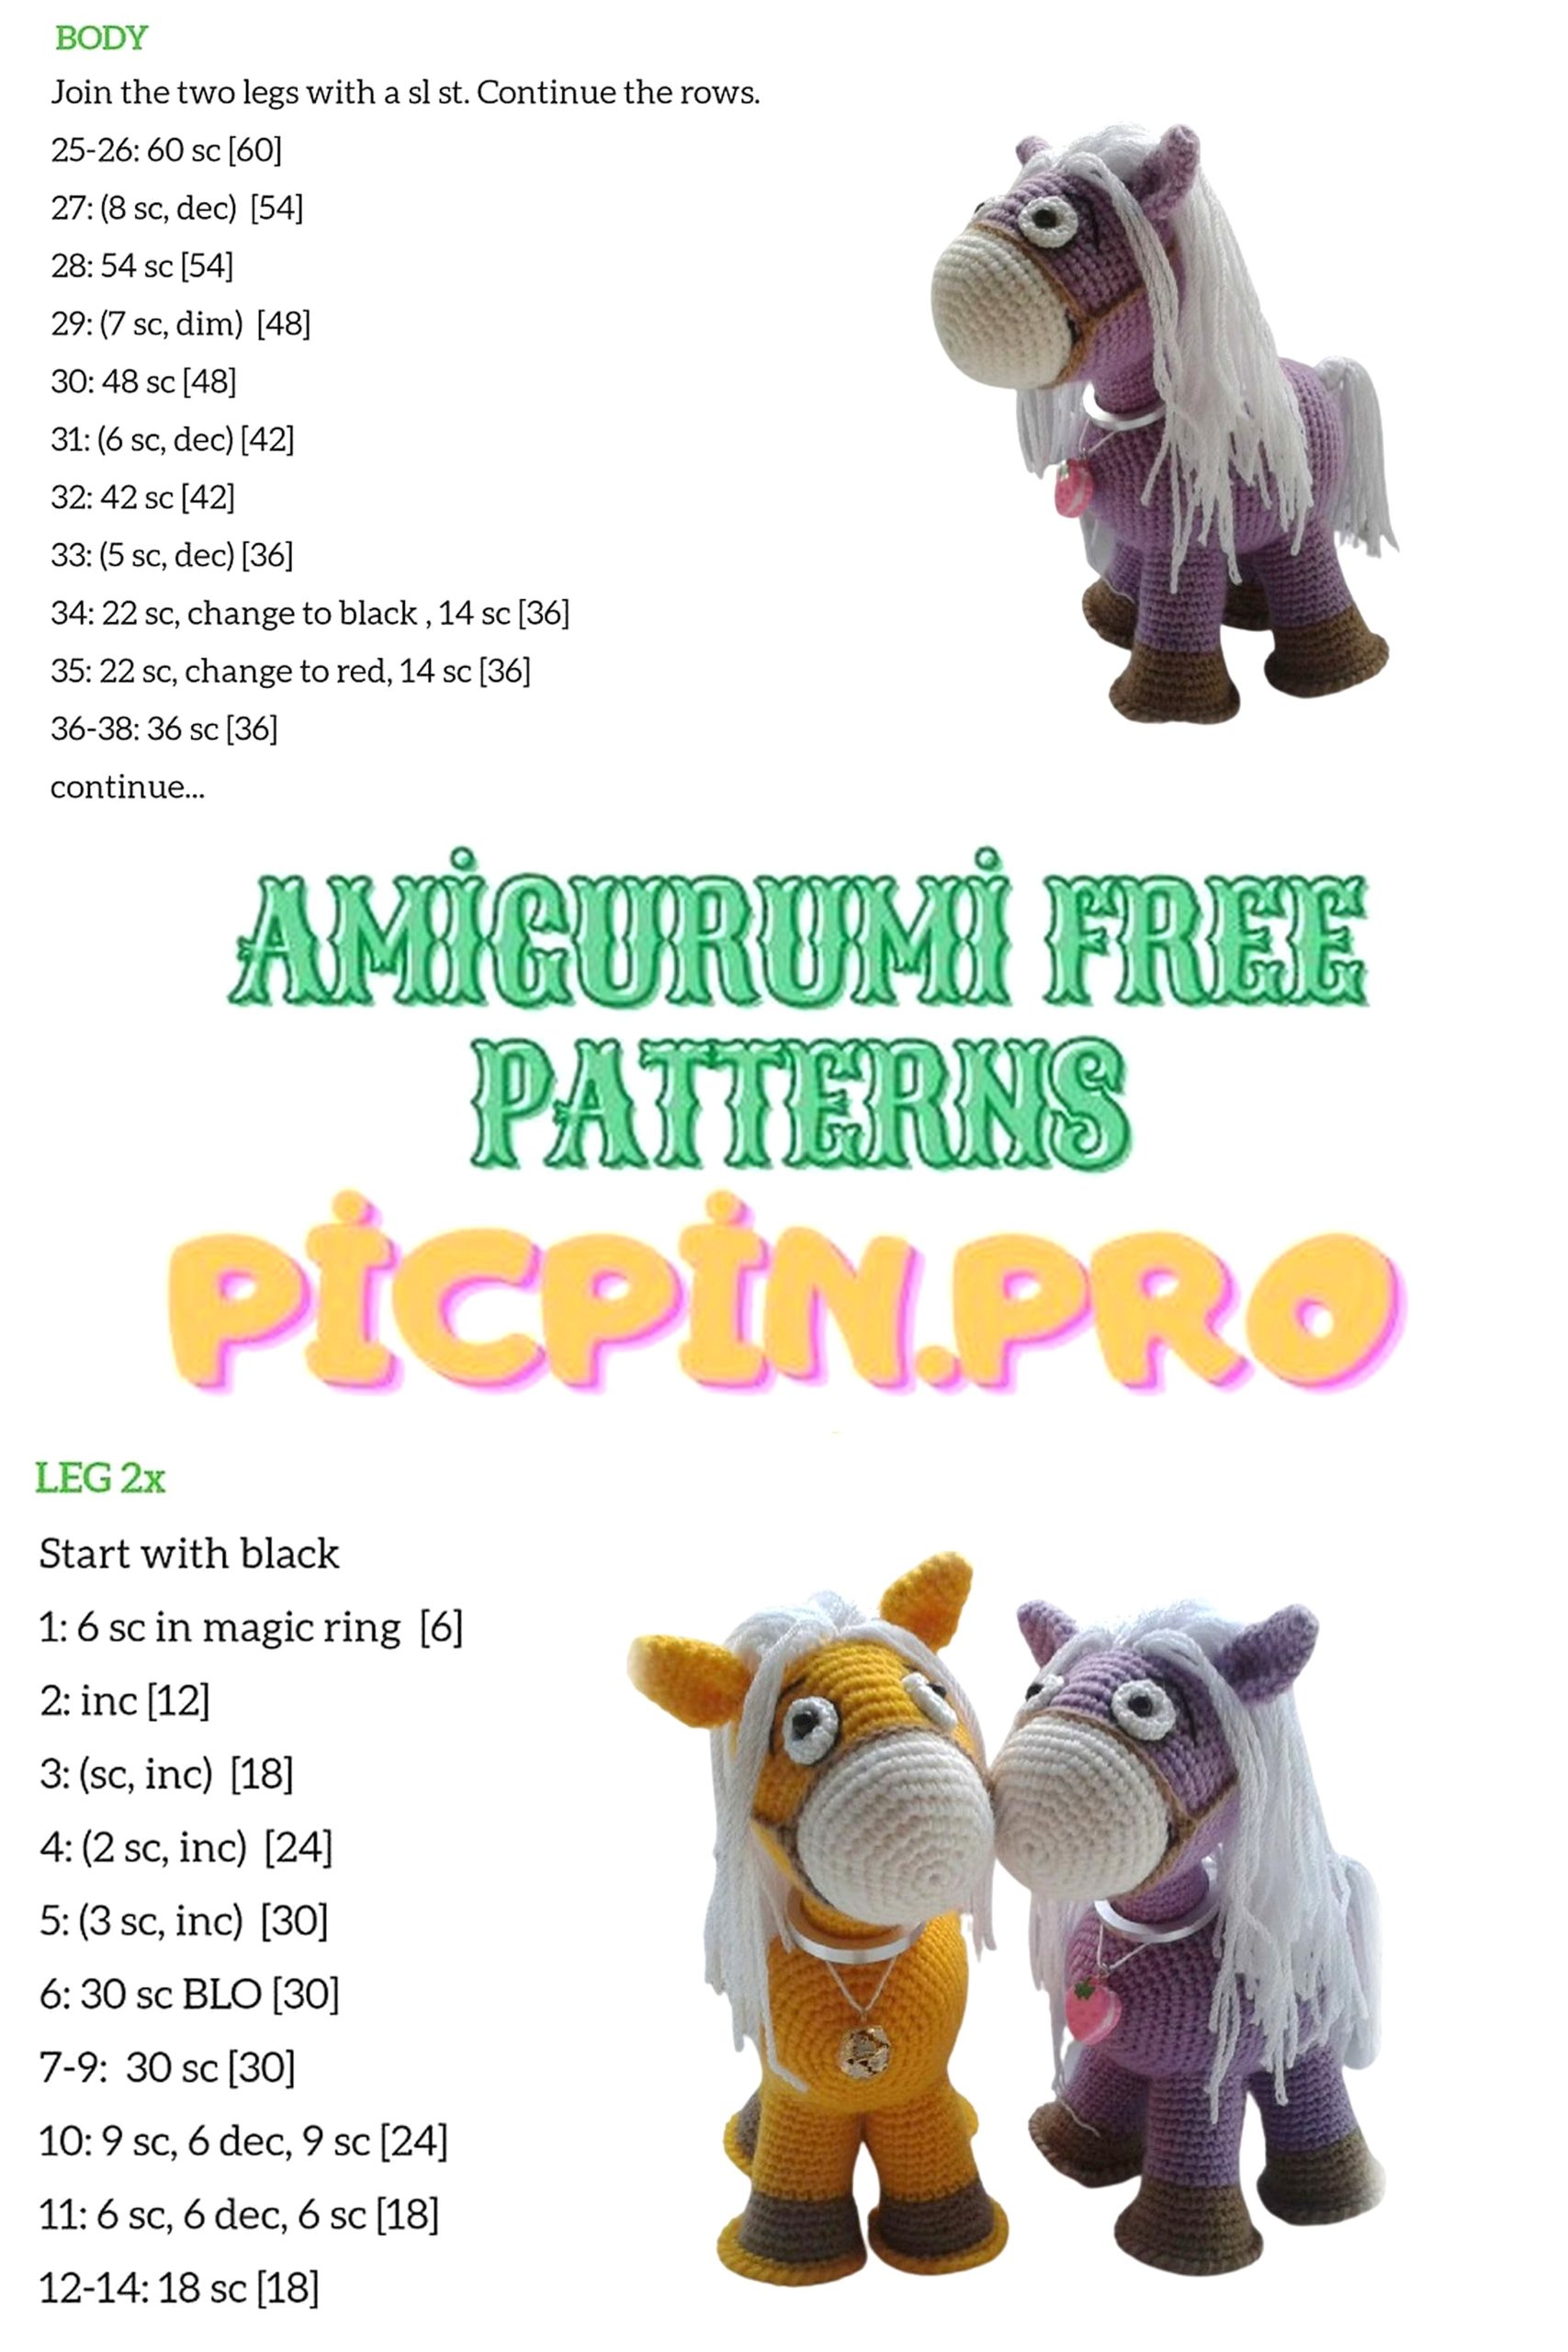
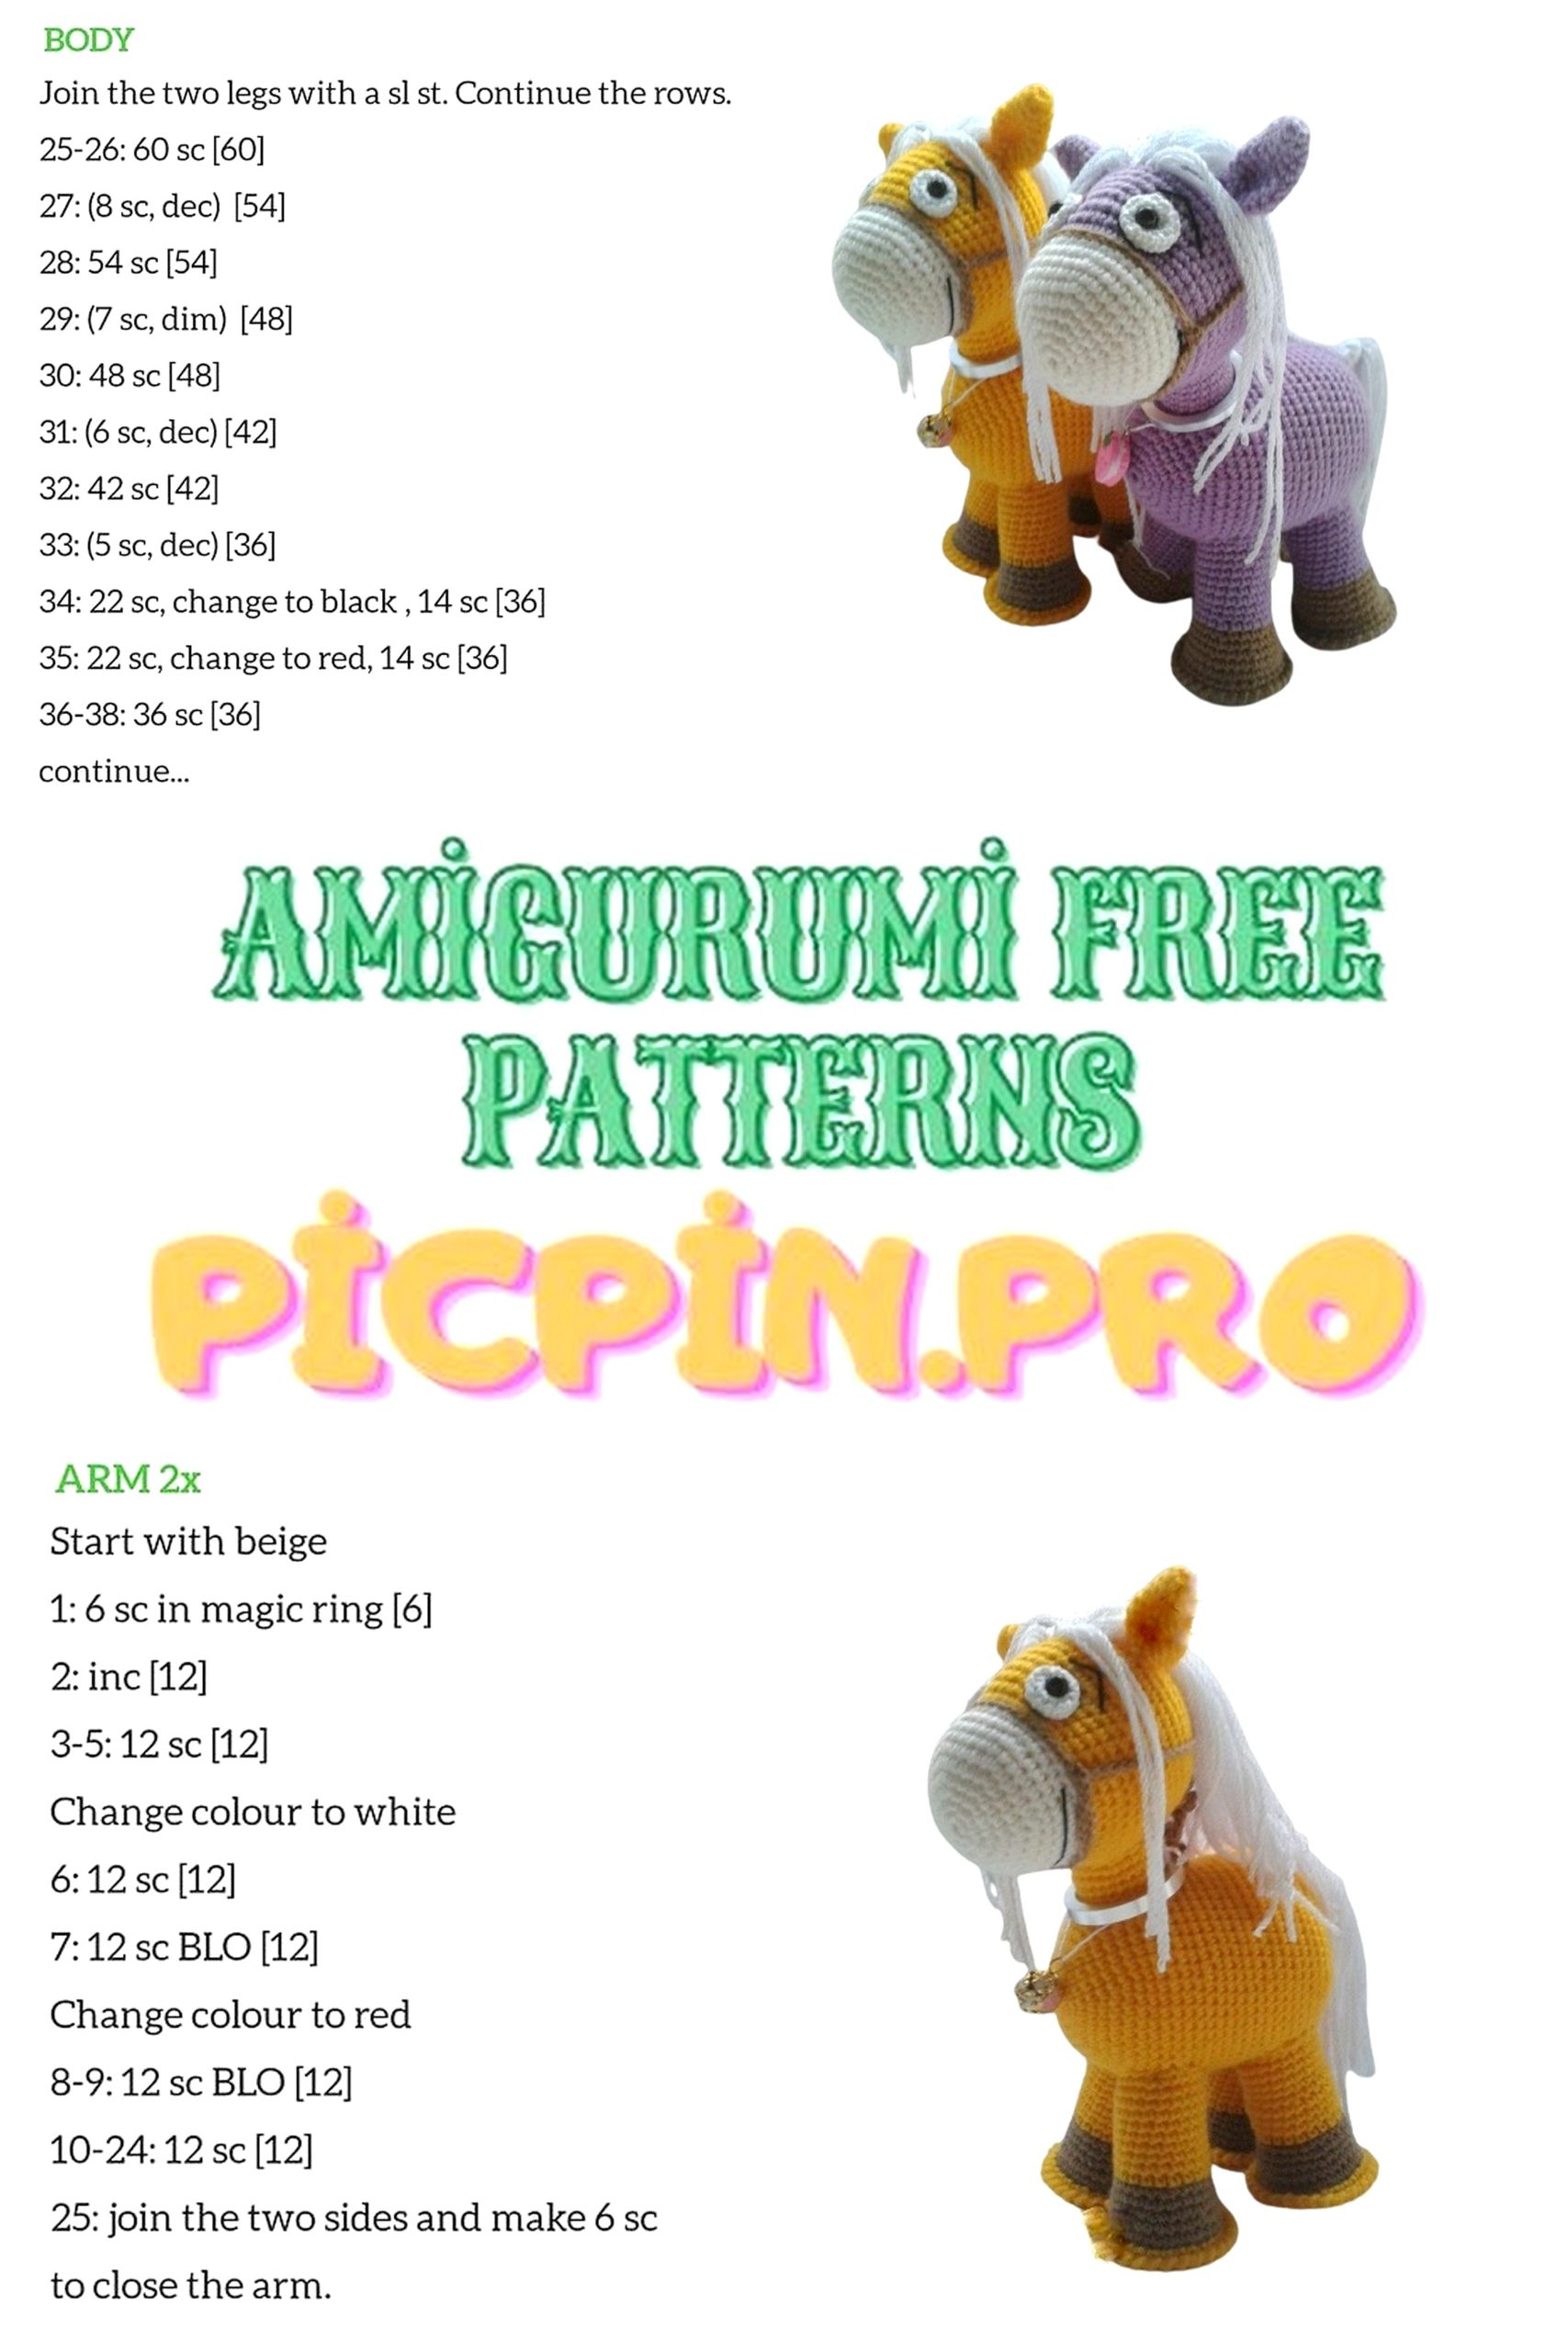
Knit legs
Brown thread. Close a chain of 5ch into a ring.
1 row: ch lift, 6sc in the ring, sl-st.
Each next row starts with ch rise and ends with sl-st.
2 row: In each sc of the previous row, connect 2 sc (12).
Increase – knit two from one loop.
3 row: * 1 sc, increase *, ** – knit to the end of the row (18)
4th row: * 2 sc, increase *, ** – knit to the end of the row (24)
5 row: * 3 sc, increase *, ** – knit to the end of the row (30)
6 row: We knit for the back wall of loops 30 sc (30)
7 row: 30 sc (30)
8 row: * 3 sc, decrease *, ** – knit to the end of the row (24);
A place connections ranks
We insert the insole that you cut out of plastic or cardboard. For the insole I draw 5 ruble coin.
9 row: 24 sc (24)
10 row: * 4 sc, decrease *, ** – knit to the end of the row (20)
We stuff the part in the knitting process quite tightly.
11 row: We pass to a thread of a different color, 20 sc (20)
12 – 22 rows 20 sc (20)
Leave a 20 cm thread for sewing on the legs.
If desired, the bottom of the legs can be bound in one row sc for the left front walls of the loops, and then oblige with the Rachchiy step method. The hockey step is ordinary sc, only they fit in reverse direction.
Tie another 3 legs in the same way.
Knit ears
The color of the horse’s body. Close a chain of 5ch into a ring.
1 row: ch lift, 6sc in the ring, sl-st.
Each next row starts with ch rise and ends with sl-st.
2 row: * 1 sc, increase *, ** – knit to the end of the row (9)
3 row: 9 sc (9)
4th row: * 2 sc, increase *, ** – knit to the end of the row (12)
5 row: * 3 sc, increase *, ** – knit to the end of the row (15)
6 row: 15 sc (15)
7 row: * 3 sc, decrease *, ** – knit to the end of the row (12)
8 row: * 2 sc, decrease *, ** – knit to the end of the row (9)
Leave 15 cm of thread for sewing.
Similarly, tie the second eye.
Knit torso
Close a chain of 5ch into a ring.
1 row: ch lift, 6sc in the ring, sl-st.
Each next row starts with ch rise and ends with sl-st.
2 row: In each sc of the previous row, connect 2 sc (12).
Increase – knit two from one loop.
3 row: * 1 sc, increase *, ** – knit to the end of the row (18)
4th row: * 2 sc, increase *, ** – knit to the end of the row (24)
5 row: * 3 sc, increase *, ** – knit to the end of the row (30)
6 row: * 4 sc, increase *, ** – knit to the end of the row (36)
7 row: * 5 sc, increase *, ** – knit to the end of the row (42)
8 row: * 6 sc, increase *, ** – knit to the end of the row (48)
9-14 rows: 48 sc (48)
15 row: * 7 sc, increase *, ** – knit to the end of the row (54)
16 – 28 rows: 54 sc (54)
29 row: * 7 sc, decrease *, ** – knit to the end of the row (48)
30 row: * 6 sc, decrease *, ** – knit to the end of the row (42)
31 row: * 5 sc, decrease *, ** – knit to the end of the row (36)
32 row: * 4 sc, decrease *, ** – knit to the end of the row (30)
33 row: * 3 sc, decrease *, ** – knit to the end of the row (24)
Fill the body with the filler rather tightly.
34 row: * 2 sc, decrease *, ** – knit to the end of the row (18)
35 row: * 1 sc, decrease *, ** – knit to the end of the row (12)
36 row: 6 decreases, fix the thread, cut, hide.

Knit neck
1 way:
Collect 25 air loops, lock them into a ring.
1 – 6 rows: 25 sc. Leave the thread for sewing on the head.
Sew the neck so that the center of the neck hole is between 11 and 12 rows torso.
2 way:
Set a marker (I use a tailor’s pin) between the 11th and 12th rows of the torso.
Collect 25 loops around the marker.
1 – 6 rows: 25 sc. Leave the thread for sewing on the head.
I am using the 2nd method.
I do not stuff the neck with the filler, but use a wooden bead with a diameter of 18 mm,
just put it in the hole. So the head will hold much better.
Knit head
Knit with a white thread. Close a chain of 5ch into a ring.
1 row: ch lift, 6sc in the ring, sl-st.
Each next row starts with ch rise and ends with sl-st.
2 row: In each sc of the previous row, connect 2 sc (12).
Increase – knit two from one loop.
3 row: * 1 sc, increase *, ** – knit to the end of the row (18)
4th row: * 2 sc, increase *, ** – knit to the end of the row (24)
5 row: * 3 sc, increase *, ** – knit to the end of the row (30)
6 row: * 4 sc, increase *, ** – knit to the end of the row (36)
7 row: 36 sc (36)
8 row: * 5 sc, increase *, ** – knit to the end of the row (42)
9 row: 42 sc (42)
10 row: 42 sc (42)
11 row: Go to the thread of body color. 42 sc (42)
12 row: 42 sc (42)
13 row: * 6 sc, increase *, ** – knit to the end of the row (48)
14 – 22 rows: 48 sc (48)
23 row: * 6 sc, decrease *, ** – knit to the end of the row (42)
24 row: 42 sc (42)
25 row: * 5 sc, decrease *, ** – knit to the end of the row (36)
26 row: * 4 sc, decrease *, ** – knit to the end of the row (30)
27 row: * 3 sc, decrease *, ** – knit to the end of the row (24)
Fill your head with filler tight enough.
28 row: * 2 sc, decrease *, ** – knit to the end of the row (18)
29 row: * 1 sc, decrease *, ** – knit to the end of the row (12)
30 row: 6 decreases. Fasten, cut, hide the thread.
Knit whites of the eyes
Squirrels can be knitted in a spiral. Little detail.
Knit with white cotton thread. Close a chain of 5ch into a ring.
1 row: 6sc per ring (6)
2 row: In each sc of the previous row, connect 2 sc (12).
3-4 rows: 12 sc (12)
5 row: 6 decreases
Similarly, connect the second part.
Making the face of the horse
1. Sew on the ears in the places indicated by the red pins. The distance between ears 12 – 13 columns. Tighten the ears at the base. Sew on the left thread.
2. Sew on eyes.
There is no need to sew the squirrels separately, I fasten them together with the black ones bead eyes. The eye area is marked with a yellow pin. When sewing on a peephole pull them together slightly.
You can embroider a black outline around the proteins – the eyes will become more expressive. Make out eyebrows and mouth with black cotton thread. So far, our horse looks like a donkey.
Make the horse’s mane
Cut the threads about 25 cm long. Excess can be cut when the mane is ready.
We fix 1 row of mane from ear to ear. For this:
– fold the thread in half;
– for the bend place we stretch the loop with a hook from two sides sc
– stretch the free ends of the thread in a loop
– tighten the thread
I attach the mane to the spot marked with blue pins. You can fasten the threads through row or each row, depending on how thick the mane will be.
When you have made the first row of mane – make in front of it a couple more rows towards face. If you had 10 threads in the first row, make 8 in the second and 6 in the third.
Horse assembly
1. Sew the legs very carefully. First front, then rear. The distance between front and back legs – 6 rows.
2. Make a ponytail. Cut the threads approx. 20 cm long. Pull them in place tail. Tie a knot.
3. If desired, you can tie the bridle to the muzzle. To do this, tie a chain of 150 air loops and sew it on a muzzle. I don’t sew, just pull the bound chain on the face, and then tie a knot under the mane.
My horse size: 16 cm in height, 13-14 cm in length.
That’s all. Our horse is ready.