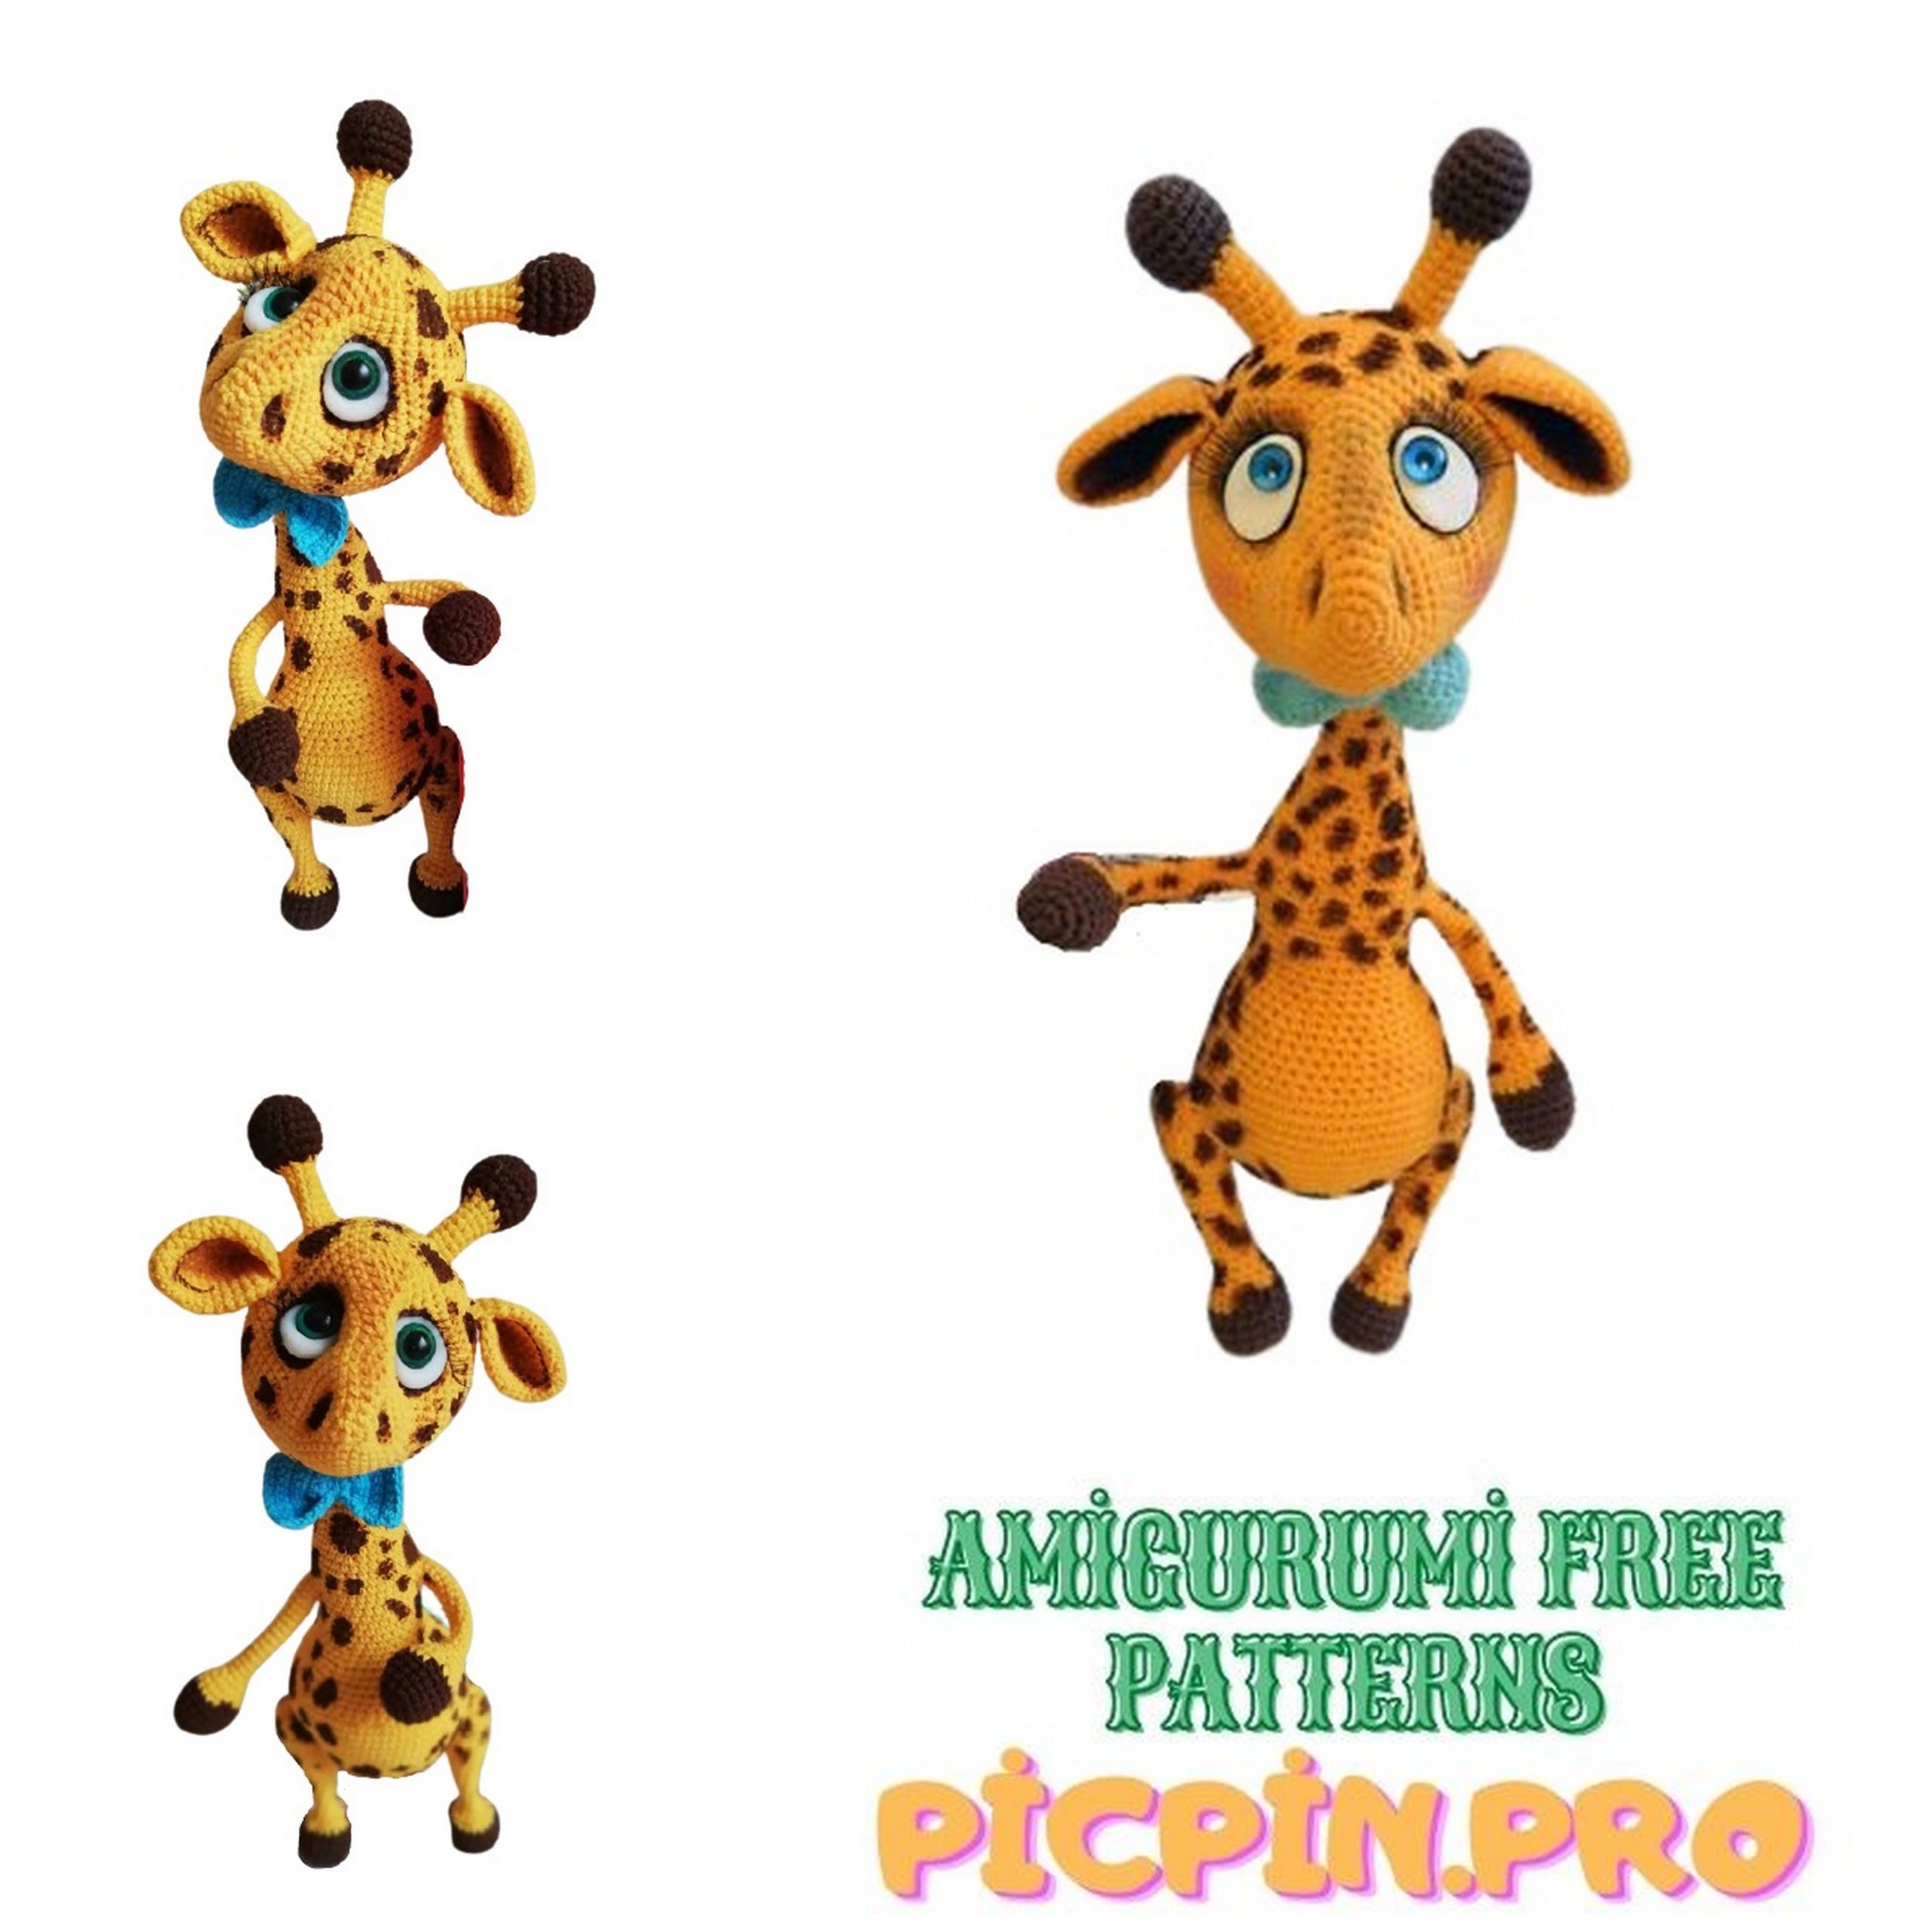
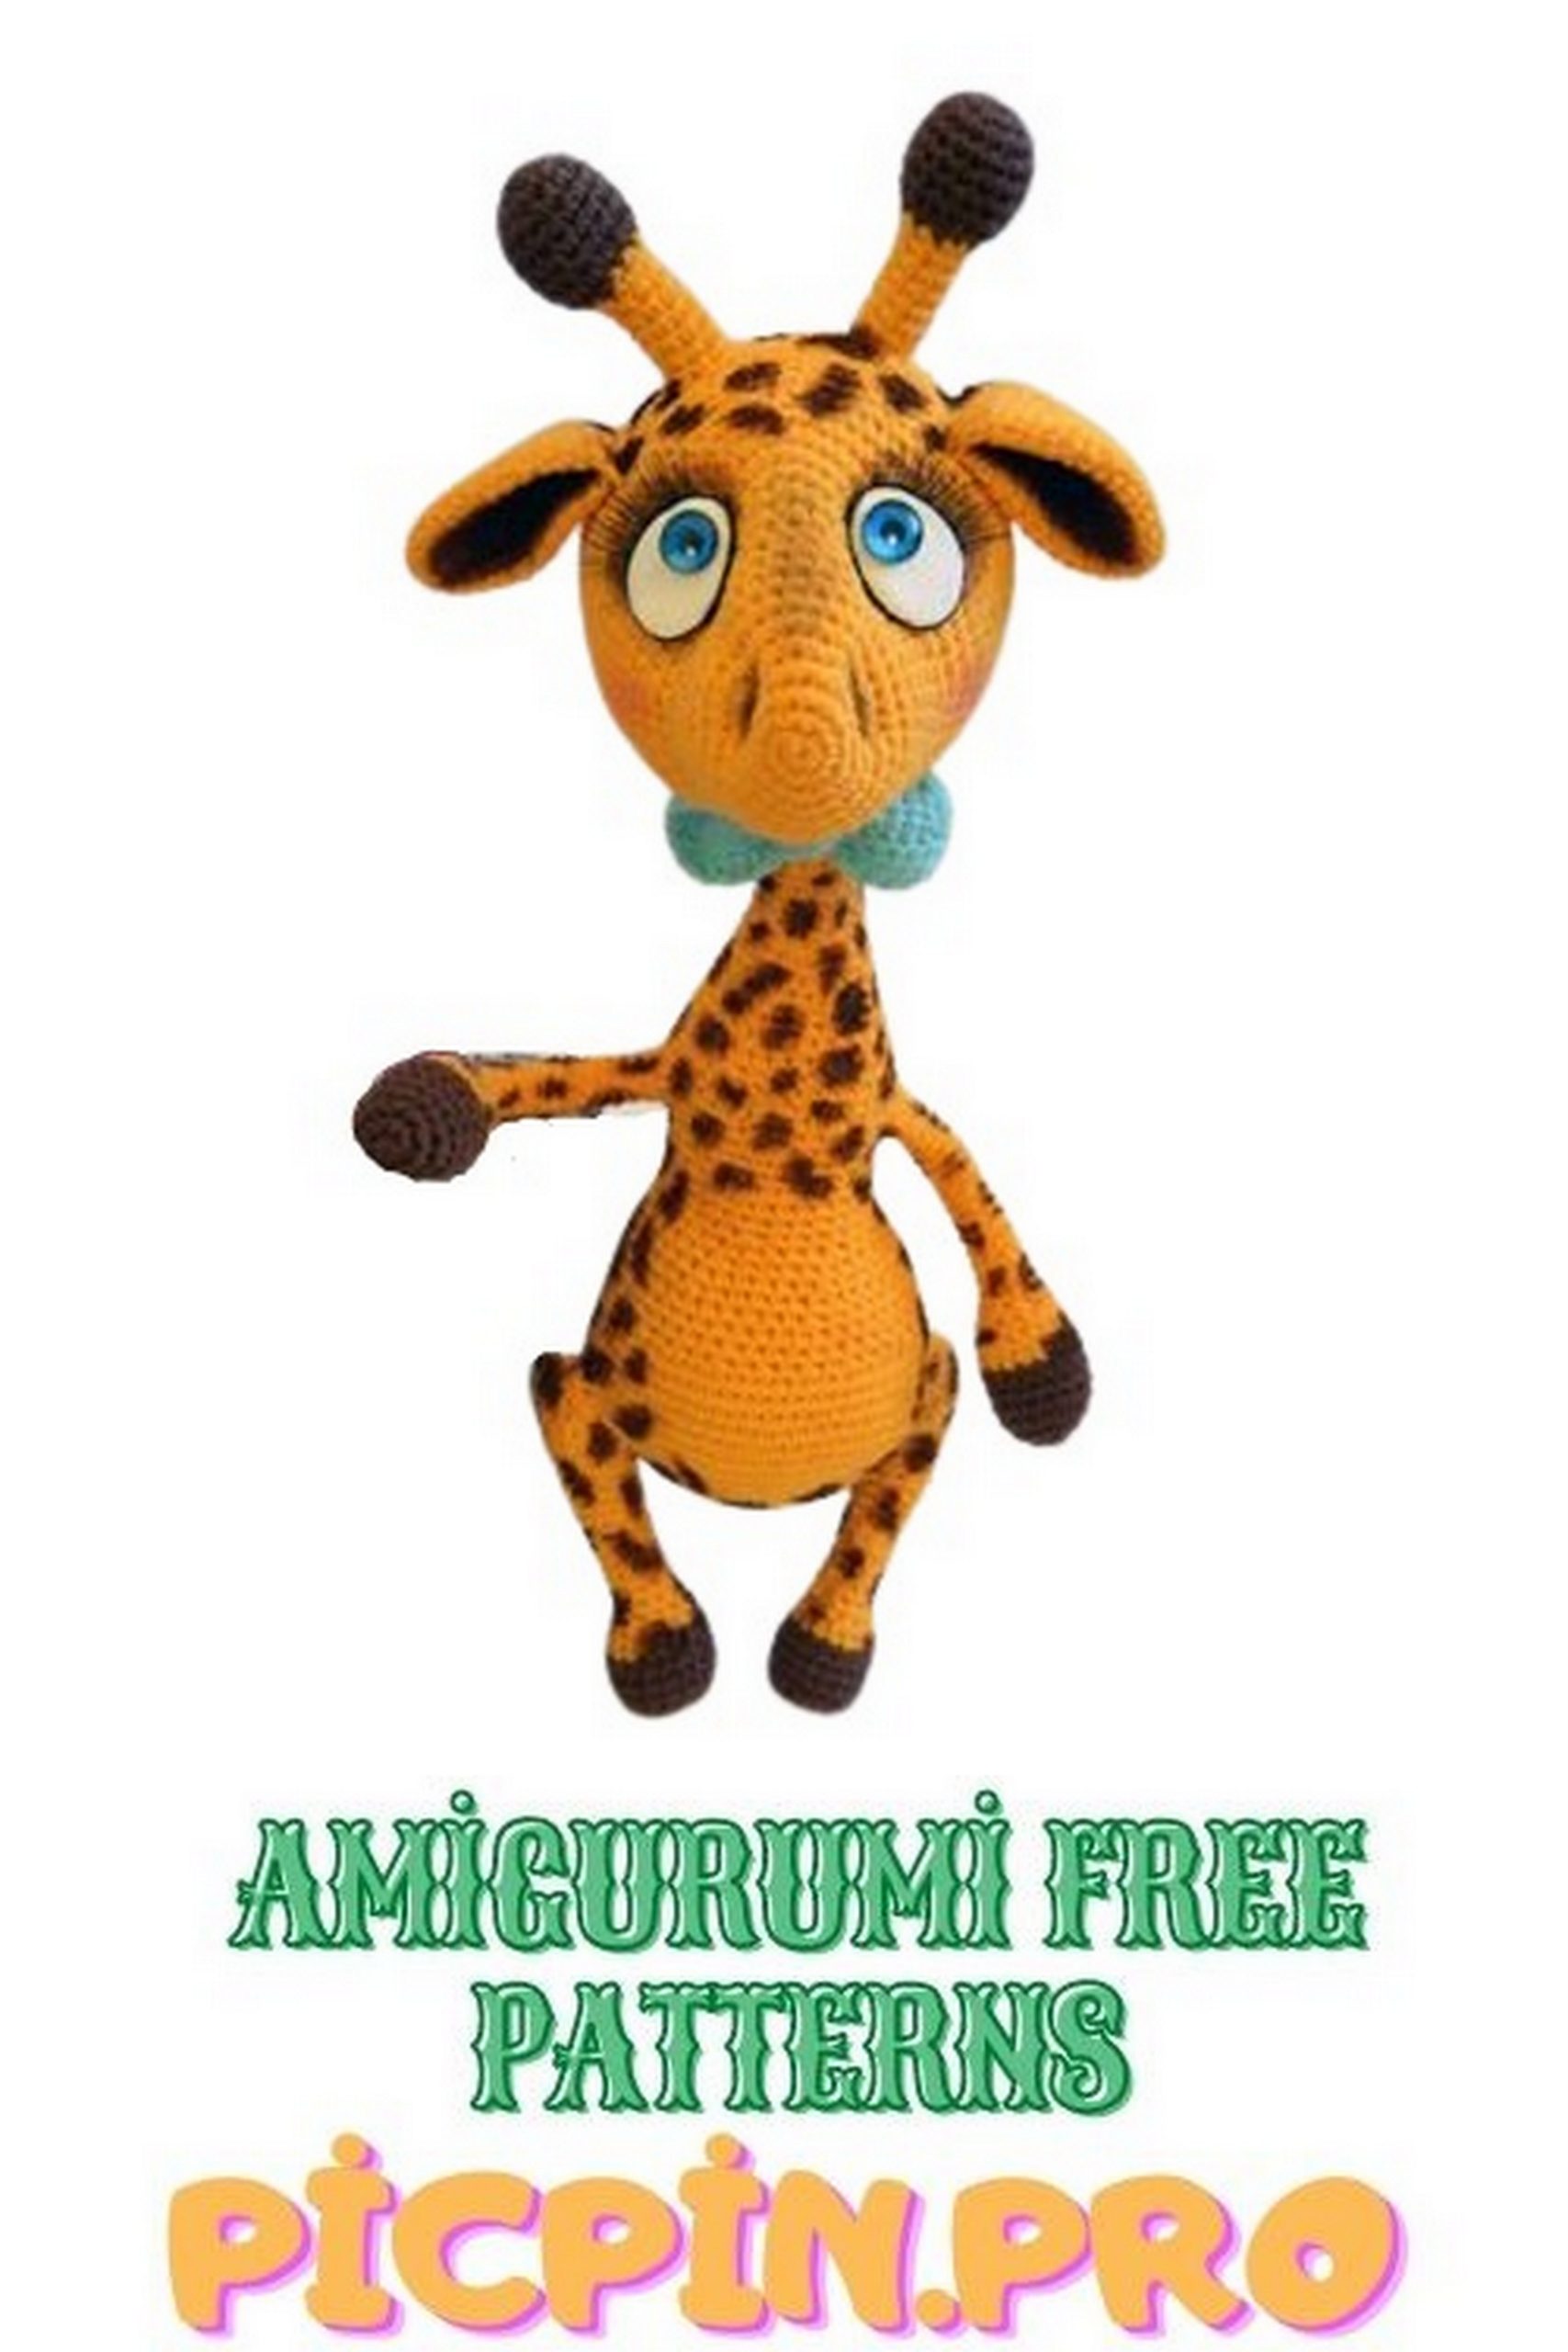
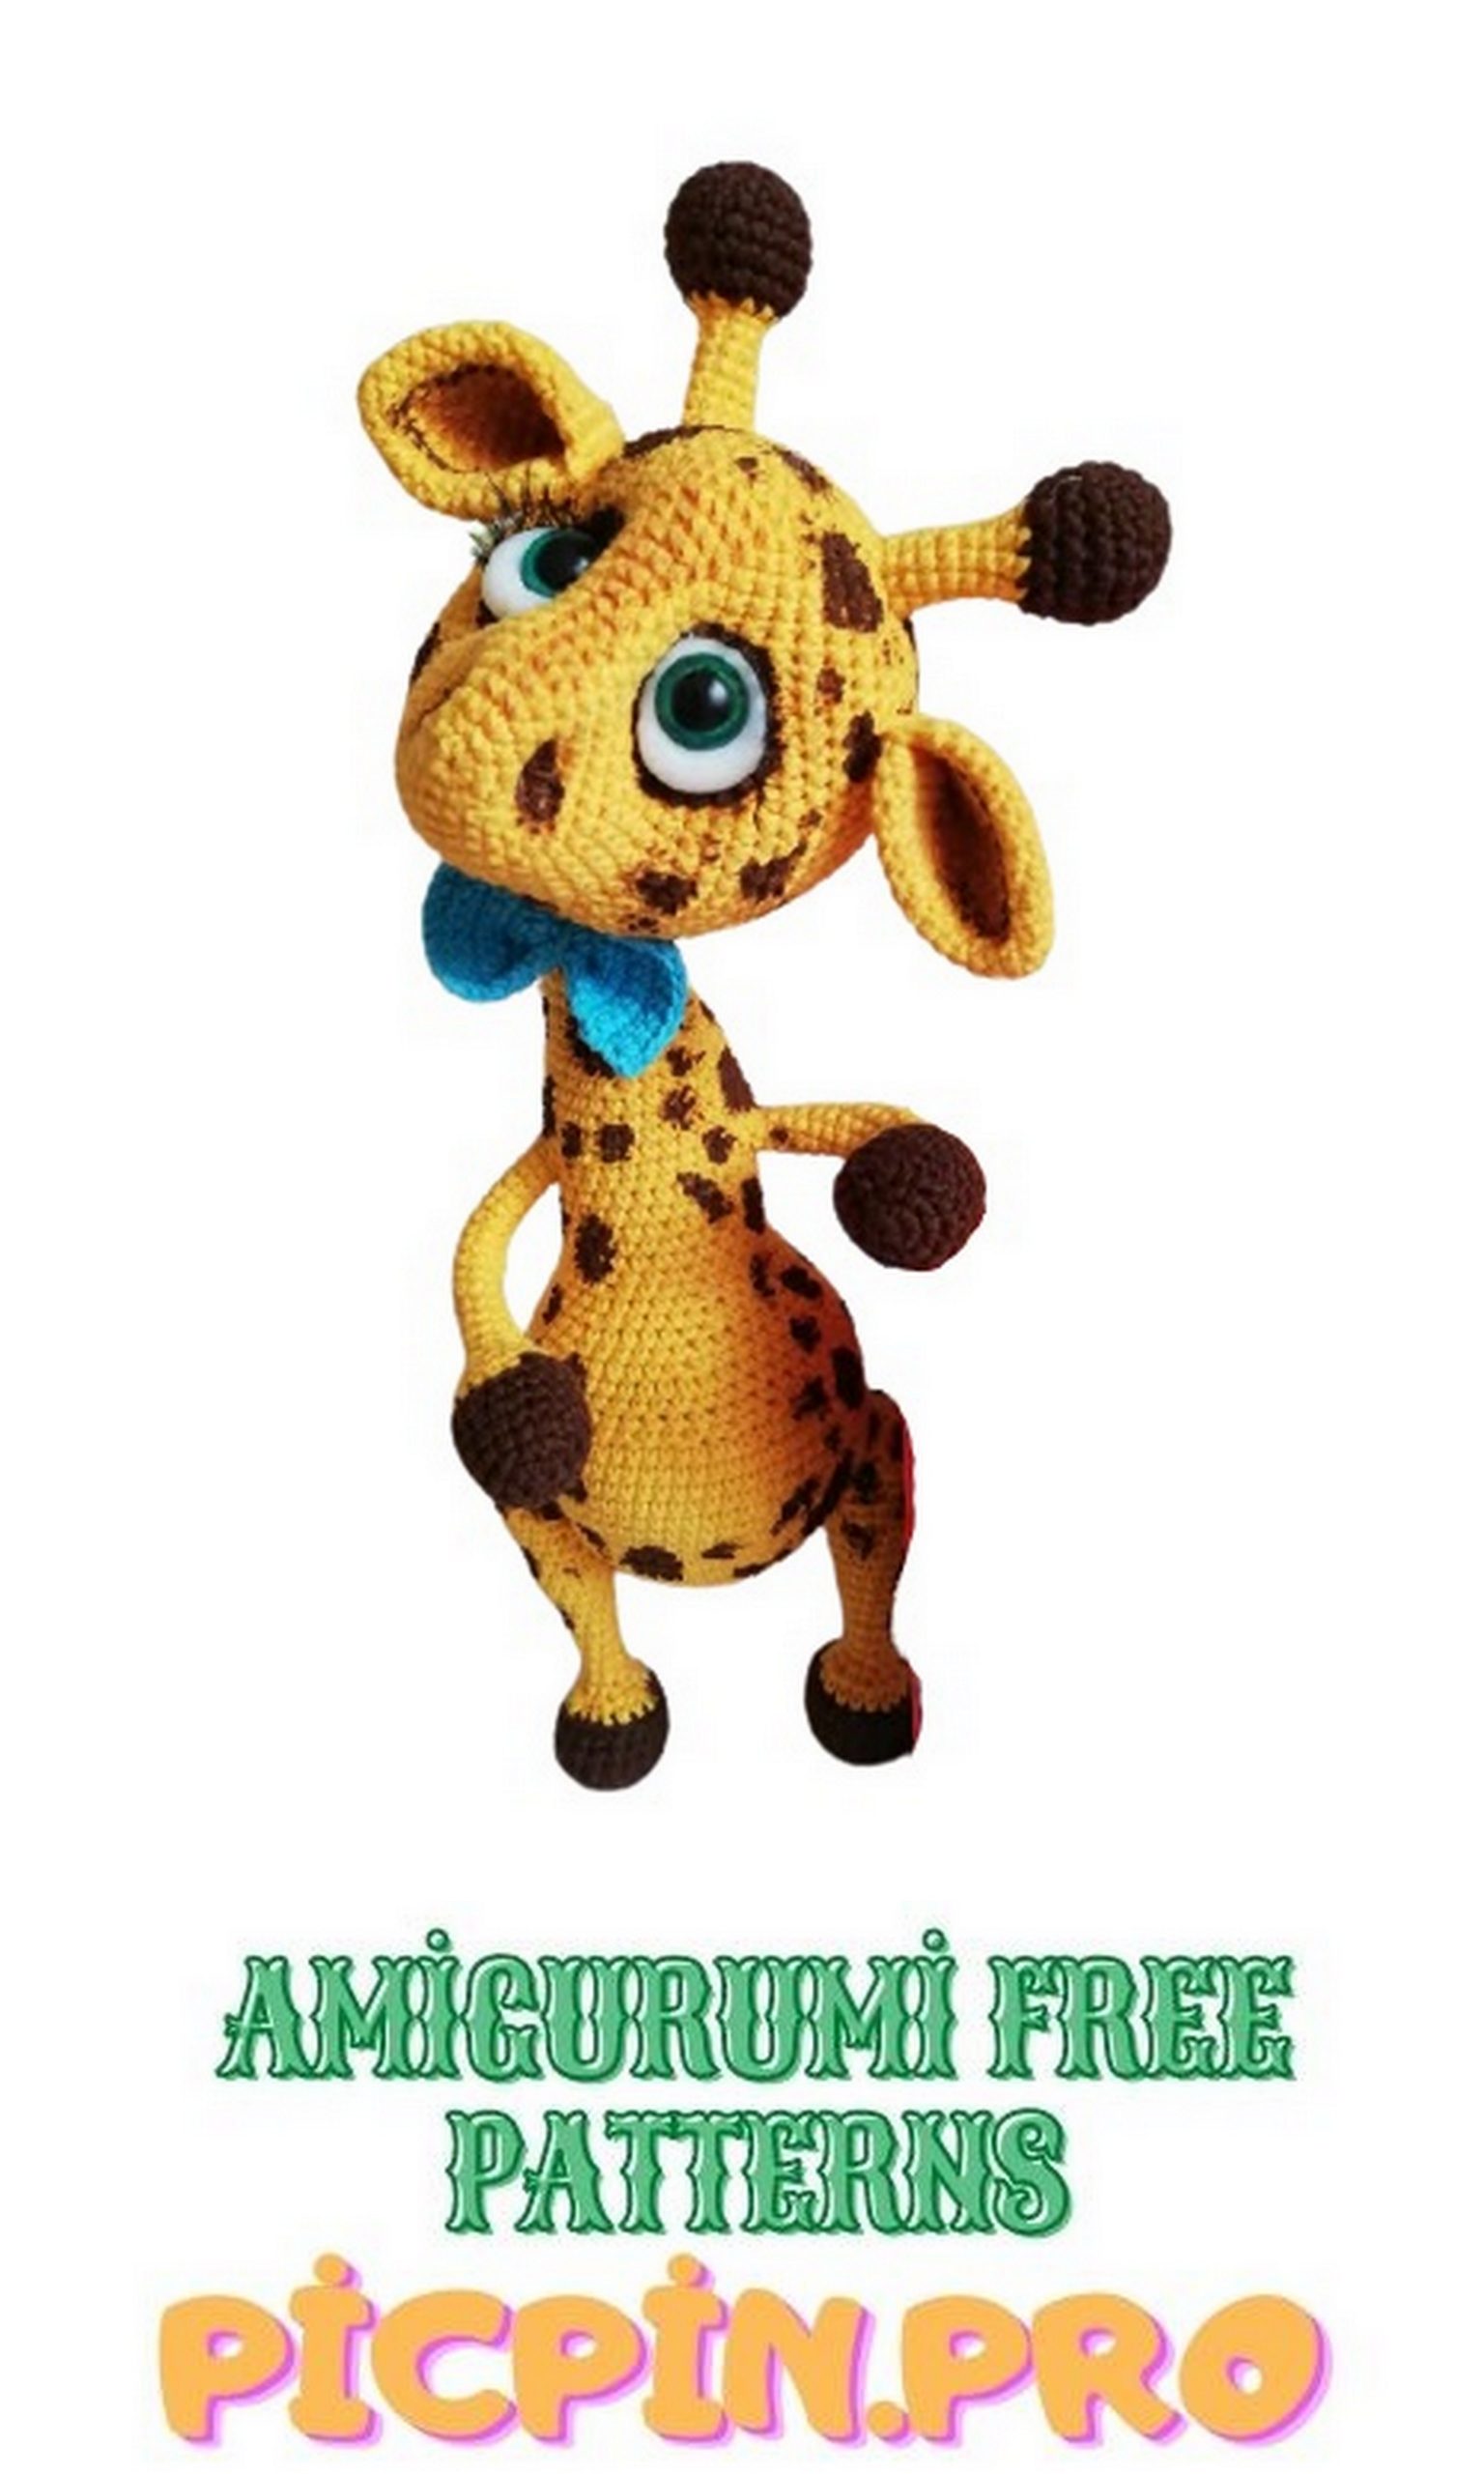
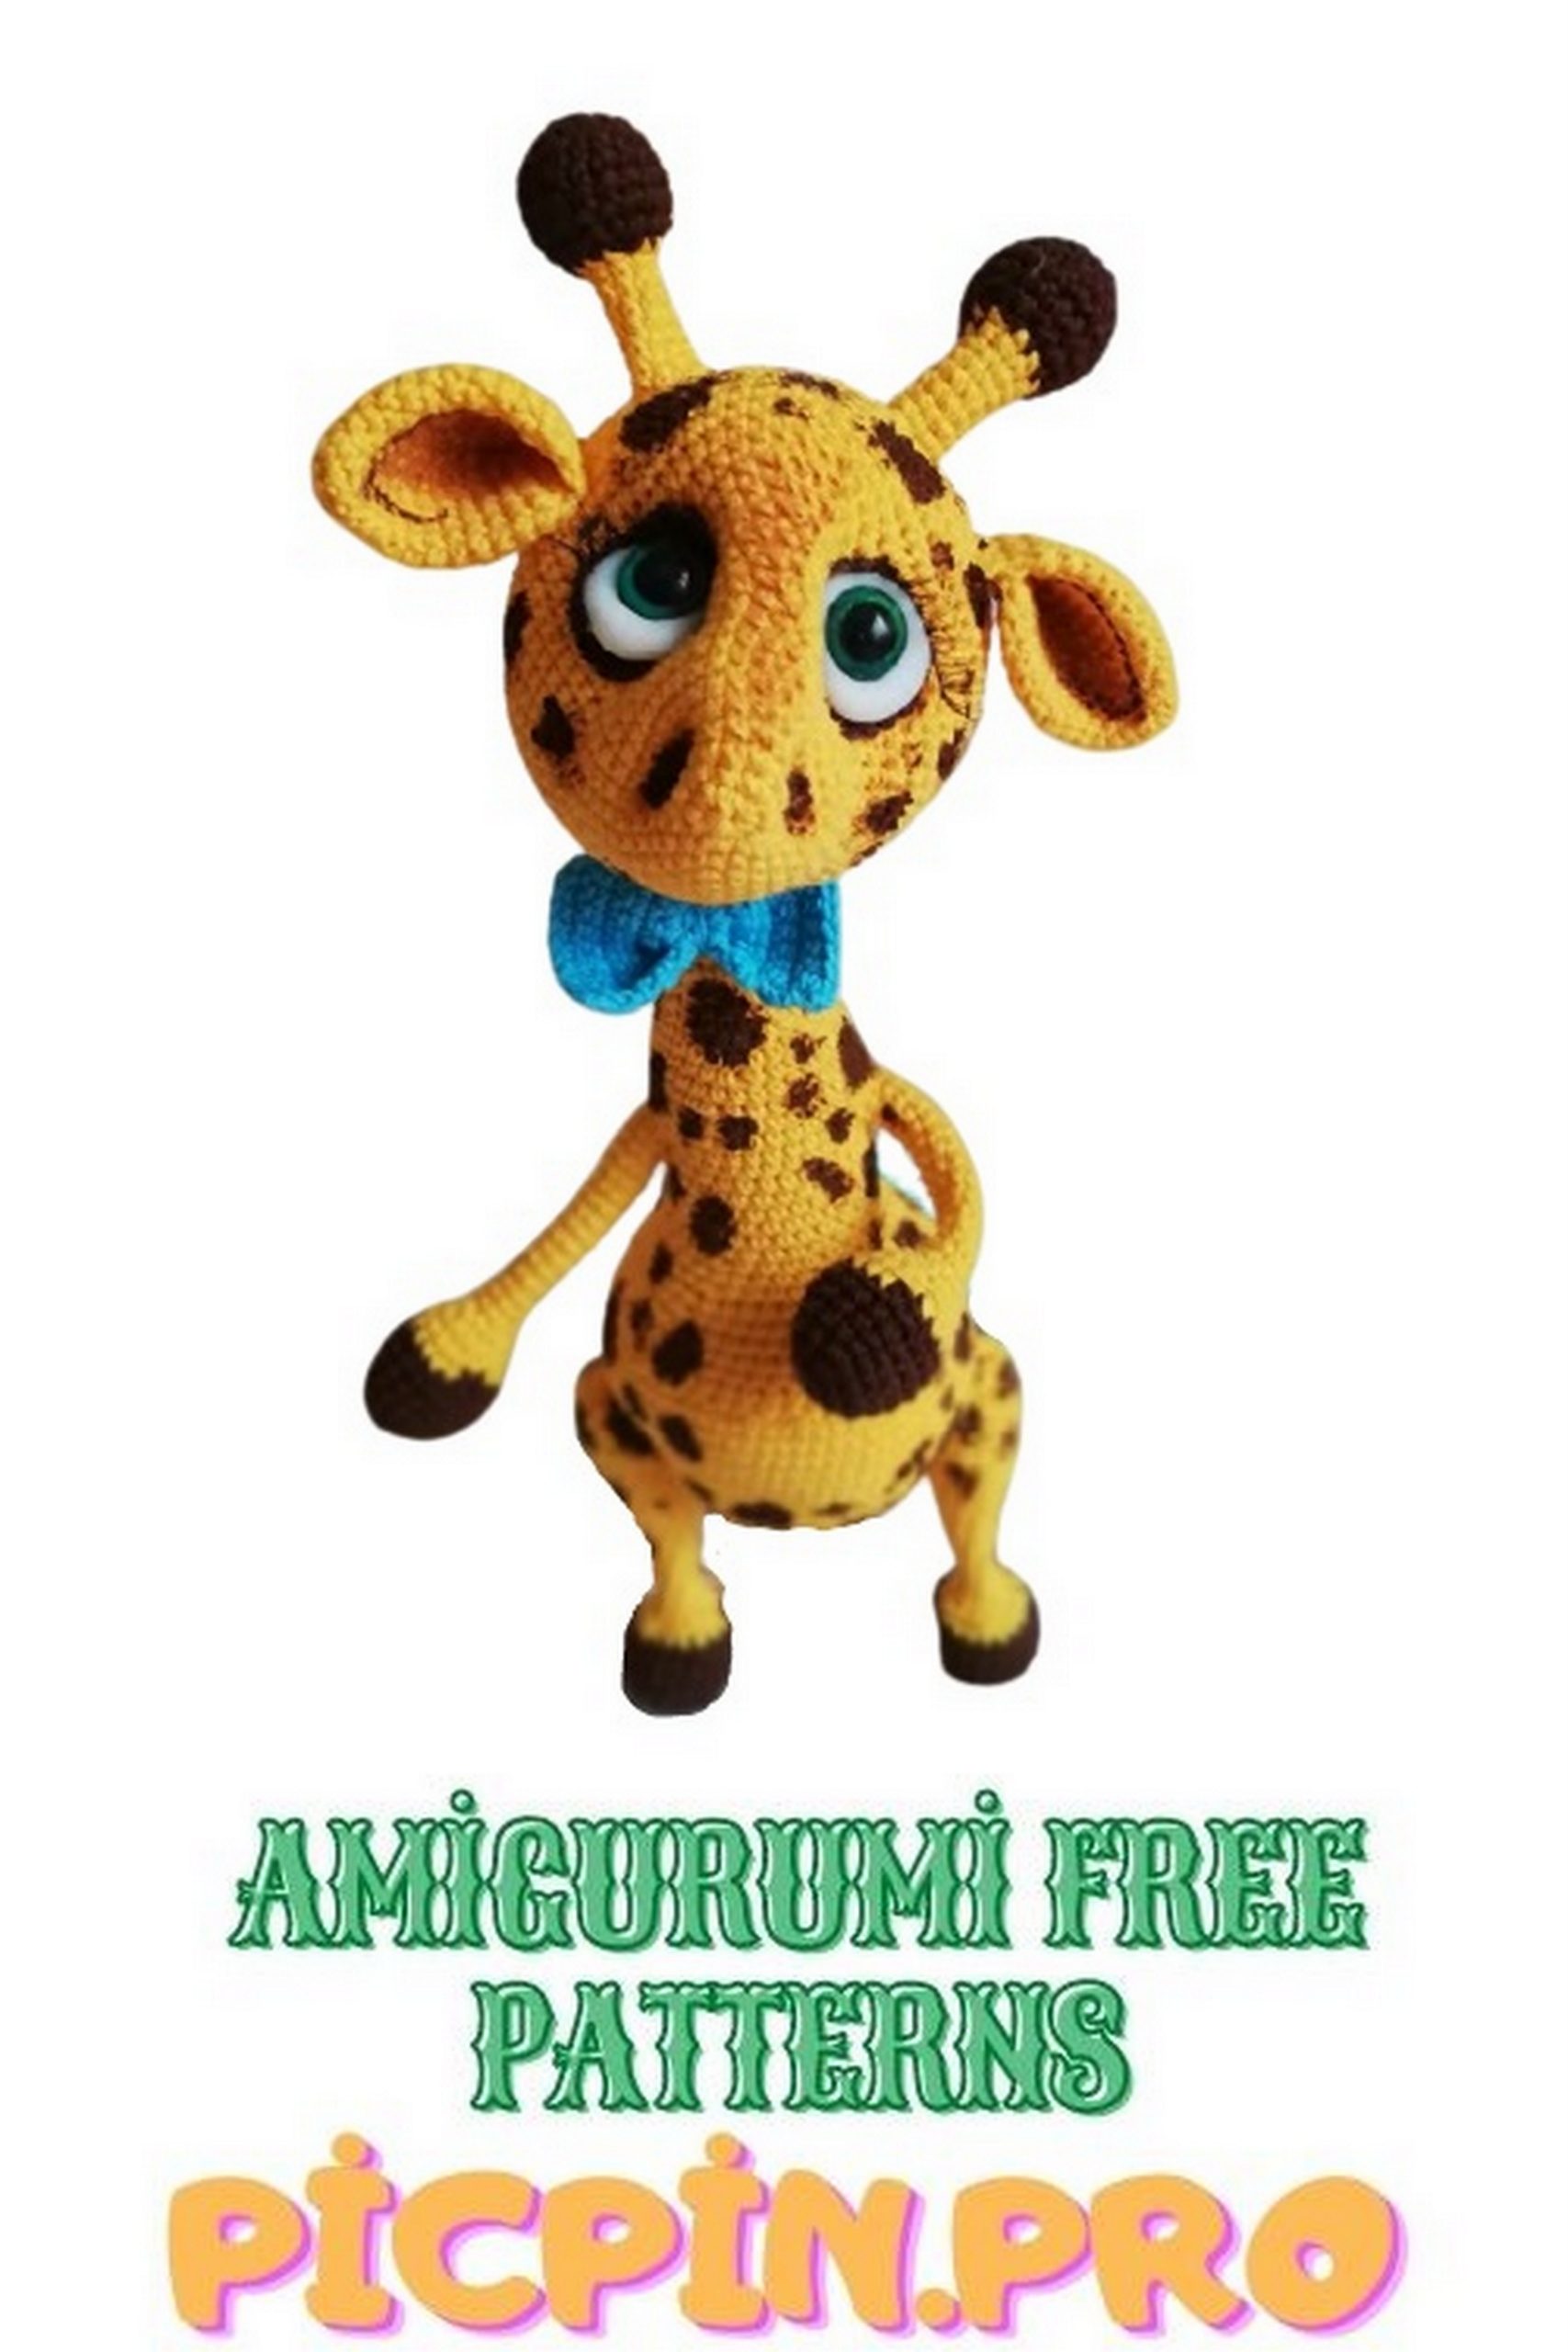
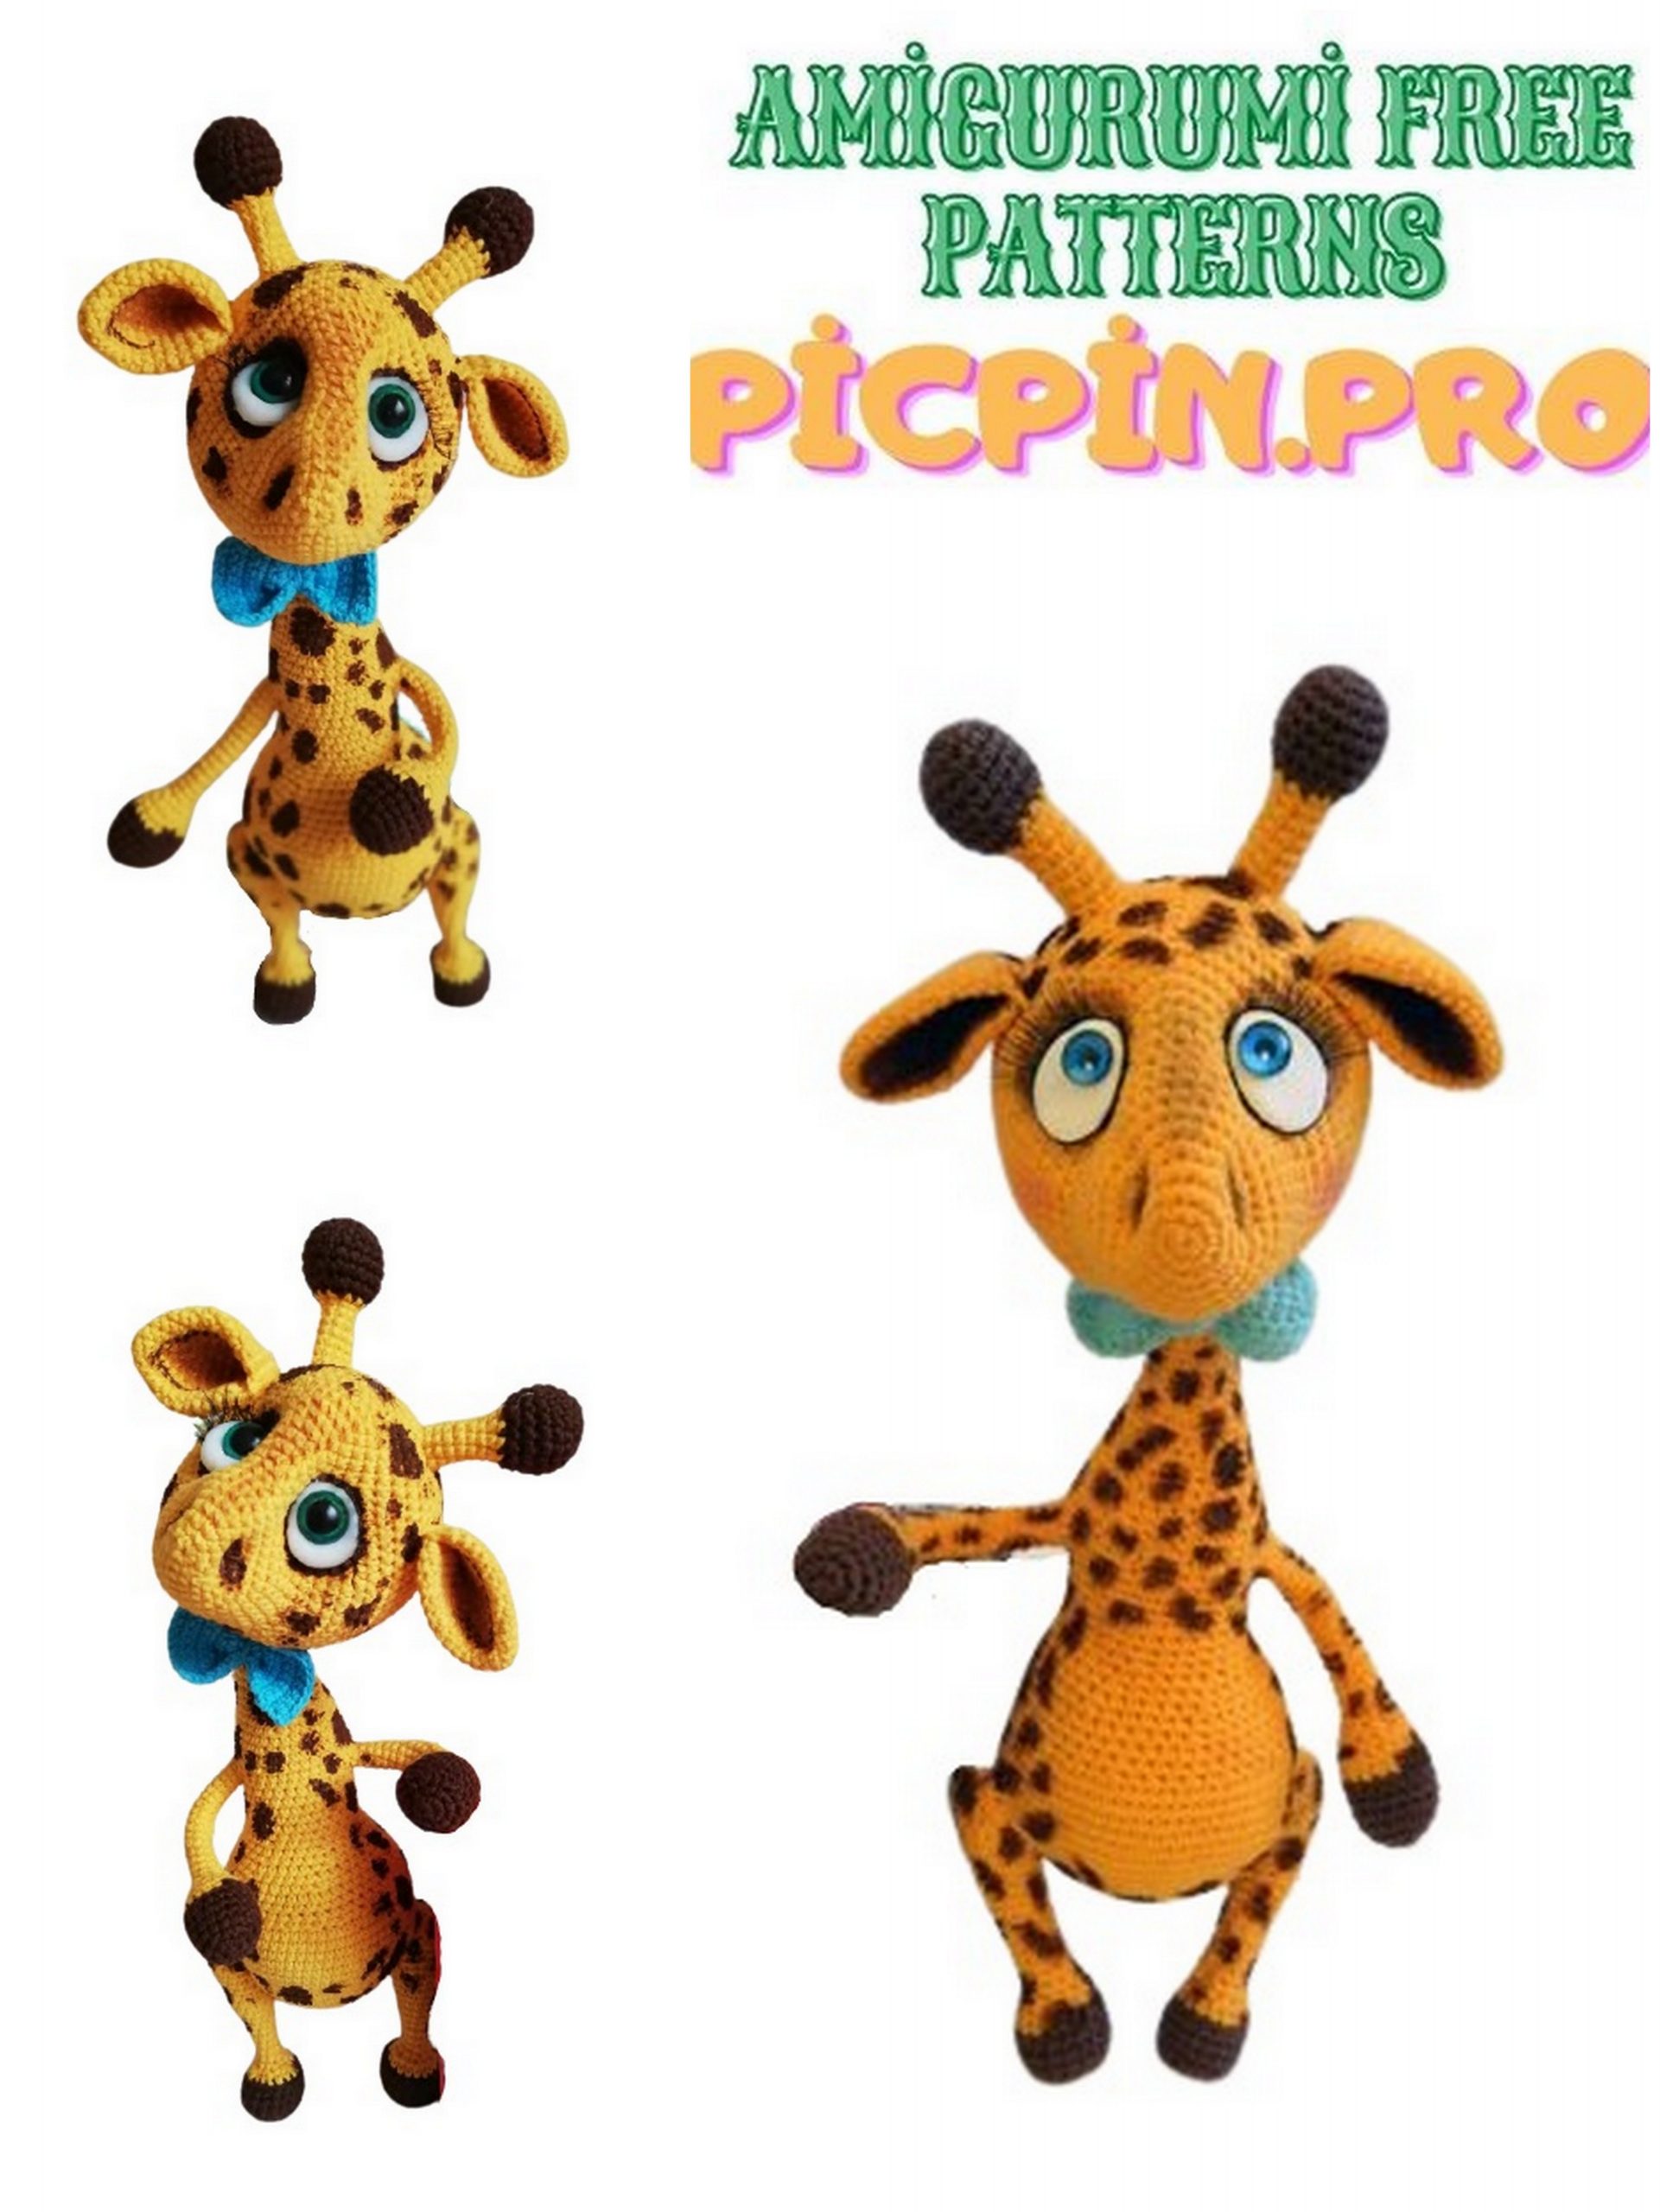
Cute Giraffe Amigurumi Free Crochet Pattern
Pinterest Offical Page : Picpin.pro
Facebook Group: Amigurumi Free Patterns
Facebook Offical Page: Free Amigurumi Picpin
Wonderful amigurumi animal patterns meet you here for free. You will love this cute amigurumi giraffe pattern.
Giraffe.
Abbrevations:
Ch – chain
Sc – single crochet
Inc – incraise (knit 2 sc in one loop)
Dec – decrease (knit 2 sc together)
() * n – repeat, for example (1 sc, inc) * 6 means that one single crochet and repeat the increase 6 times.
!!! We knit offset loops where indicated !!!
Materials and tools:
1. Yarn, main color (orange)
2. Yarn, auxiliary color (brown) – horns, hooves
3. Filler
4. Polymer clay (white)
5. Eyes
6. Acrylic paint (brown)
7. Hook of a suitable size, scissors, eyelashes, glue, stitching needle, wire, plaster, thread for tightening.
And so, let’s get started!
Left leg:
1row. – 6 sc into magic ring
2row. – 6 inc (12)
3row. – (1 sc, inc) x 6 (18)
We circle thick cardboard
4row. – 18 sc for the back of the hinge
5-7row. 18 sc (3 rows)
Change to orange yarn
8row. – 18 sc for the back of the hinge
We put the frame (photo 1)
9row. – (1 sc, dec) x 6 (12)
We stuff the detail
10row. – (2 sc, dec) x 3 (9)
11 – 15row. – 9 sc (5 rows)
16row. – 2 sc, inc, 6 sc (10)
17row. – 3 sc, inc, 6 sc (11)
18row. – 4 sc, inc, 6 sc (12)
19row. – 5 sc, inc, 6 sc (13)
20row. – 6 sc, inc, 6 sc (14)
21row. – 7 sc, inc, 6 sc (15)
22row. – 8 sc, inc, 6 sc (16)
23row. – 9 sc, inc, 6 sc (17)
24row. – 10 sc, inc, 6 sc (18)
Next, we knit in rotary rows.
25row. – ch., turn, 11 sc
26row. – ch., turn, dec, 7 sc, dec (9)
27row. – ch., turn, dec, 5 sc, dec (7)
28row. – ch., turn, dec, 3 sc, dec (5)
29row. – ch., turn, dec, 1 sc, dec (3)
30row. – ch., turn, 5 ubpo along the side, put an additional marker, 7 sc, put an additional marker, 3 dec along the side (15)
We fix the thread, cut it off.
Right leg:
We knit up to 16 rows in the same way as the left one.
16row. – 6 sc, inc, 2 sc (10)
17row. – 7 sc, inc, 2 sc (11)
18row. – 8 sc, inc, 2 sc (12)
19row. – 9 sc, inc, 2 sc (13)
20row. – 10 sc, inc, 2 sc (14)
21row. – 11 sc, inc, 2 sc (15)
22row. – 12 sc, inc, 2 sc (16)
23row. – 13 sc, inc, 2 sc (17)
24row. – 14 sc, inc, 2 sc (18)
Next, we knit in rotary rows.
25 – 30row. – we knit in the same way as the left leg.
We fix the thread, cut it off.
Handles (2 parts):
We start knitting with brown yarn.
1row. – 6 sc into magic ring
2row. – 6 inc (12)
3row. – (1 sc, inc) x 6 (18)
4 – 7row. – 18 sc (4 rows)
Change to orange yarn.
8row. – 18 sc for the back of the hinge
9row. – (4 sc, dec) x 3 (15)
We twist the frame for the pens (photo 2), leave the ends of the wire longer, since it will then go into the neck and head.
10row. – (3 sc, dec) x 3 (12)
We put the frame, we stuff the part. There is no need to fill further.
11row. – (2 sc, dec) x 3 (9)
12 – 26row. – 9 sc (15 rows)
We fix the thread, cut it off.
We knit the second handle in the same way.

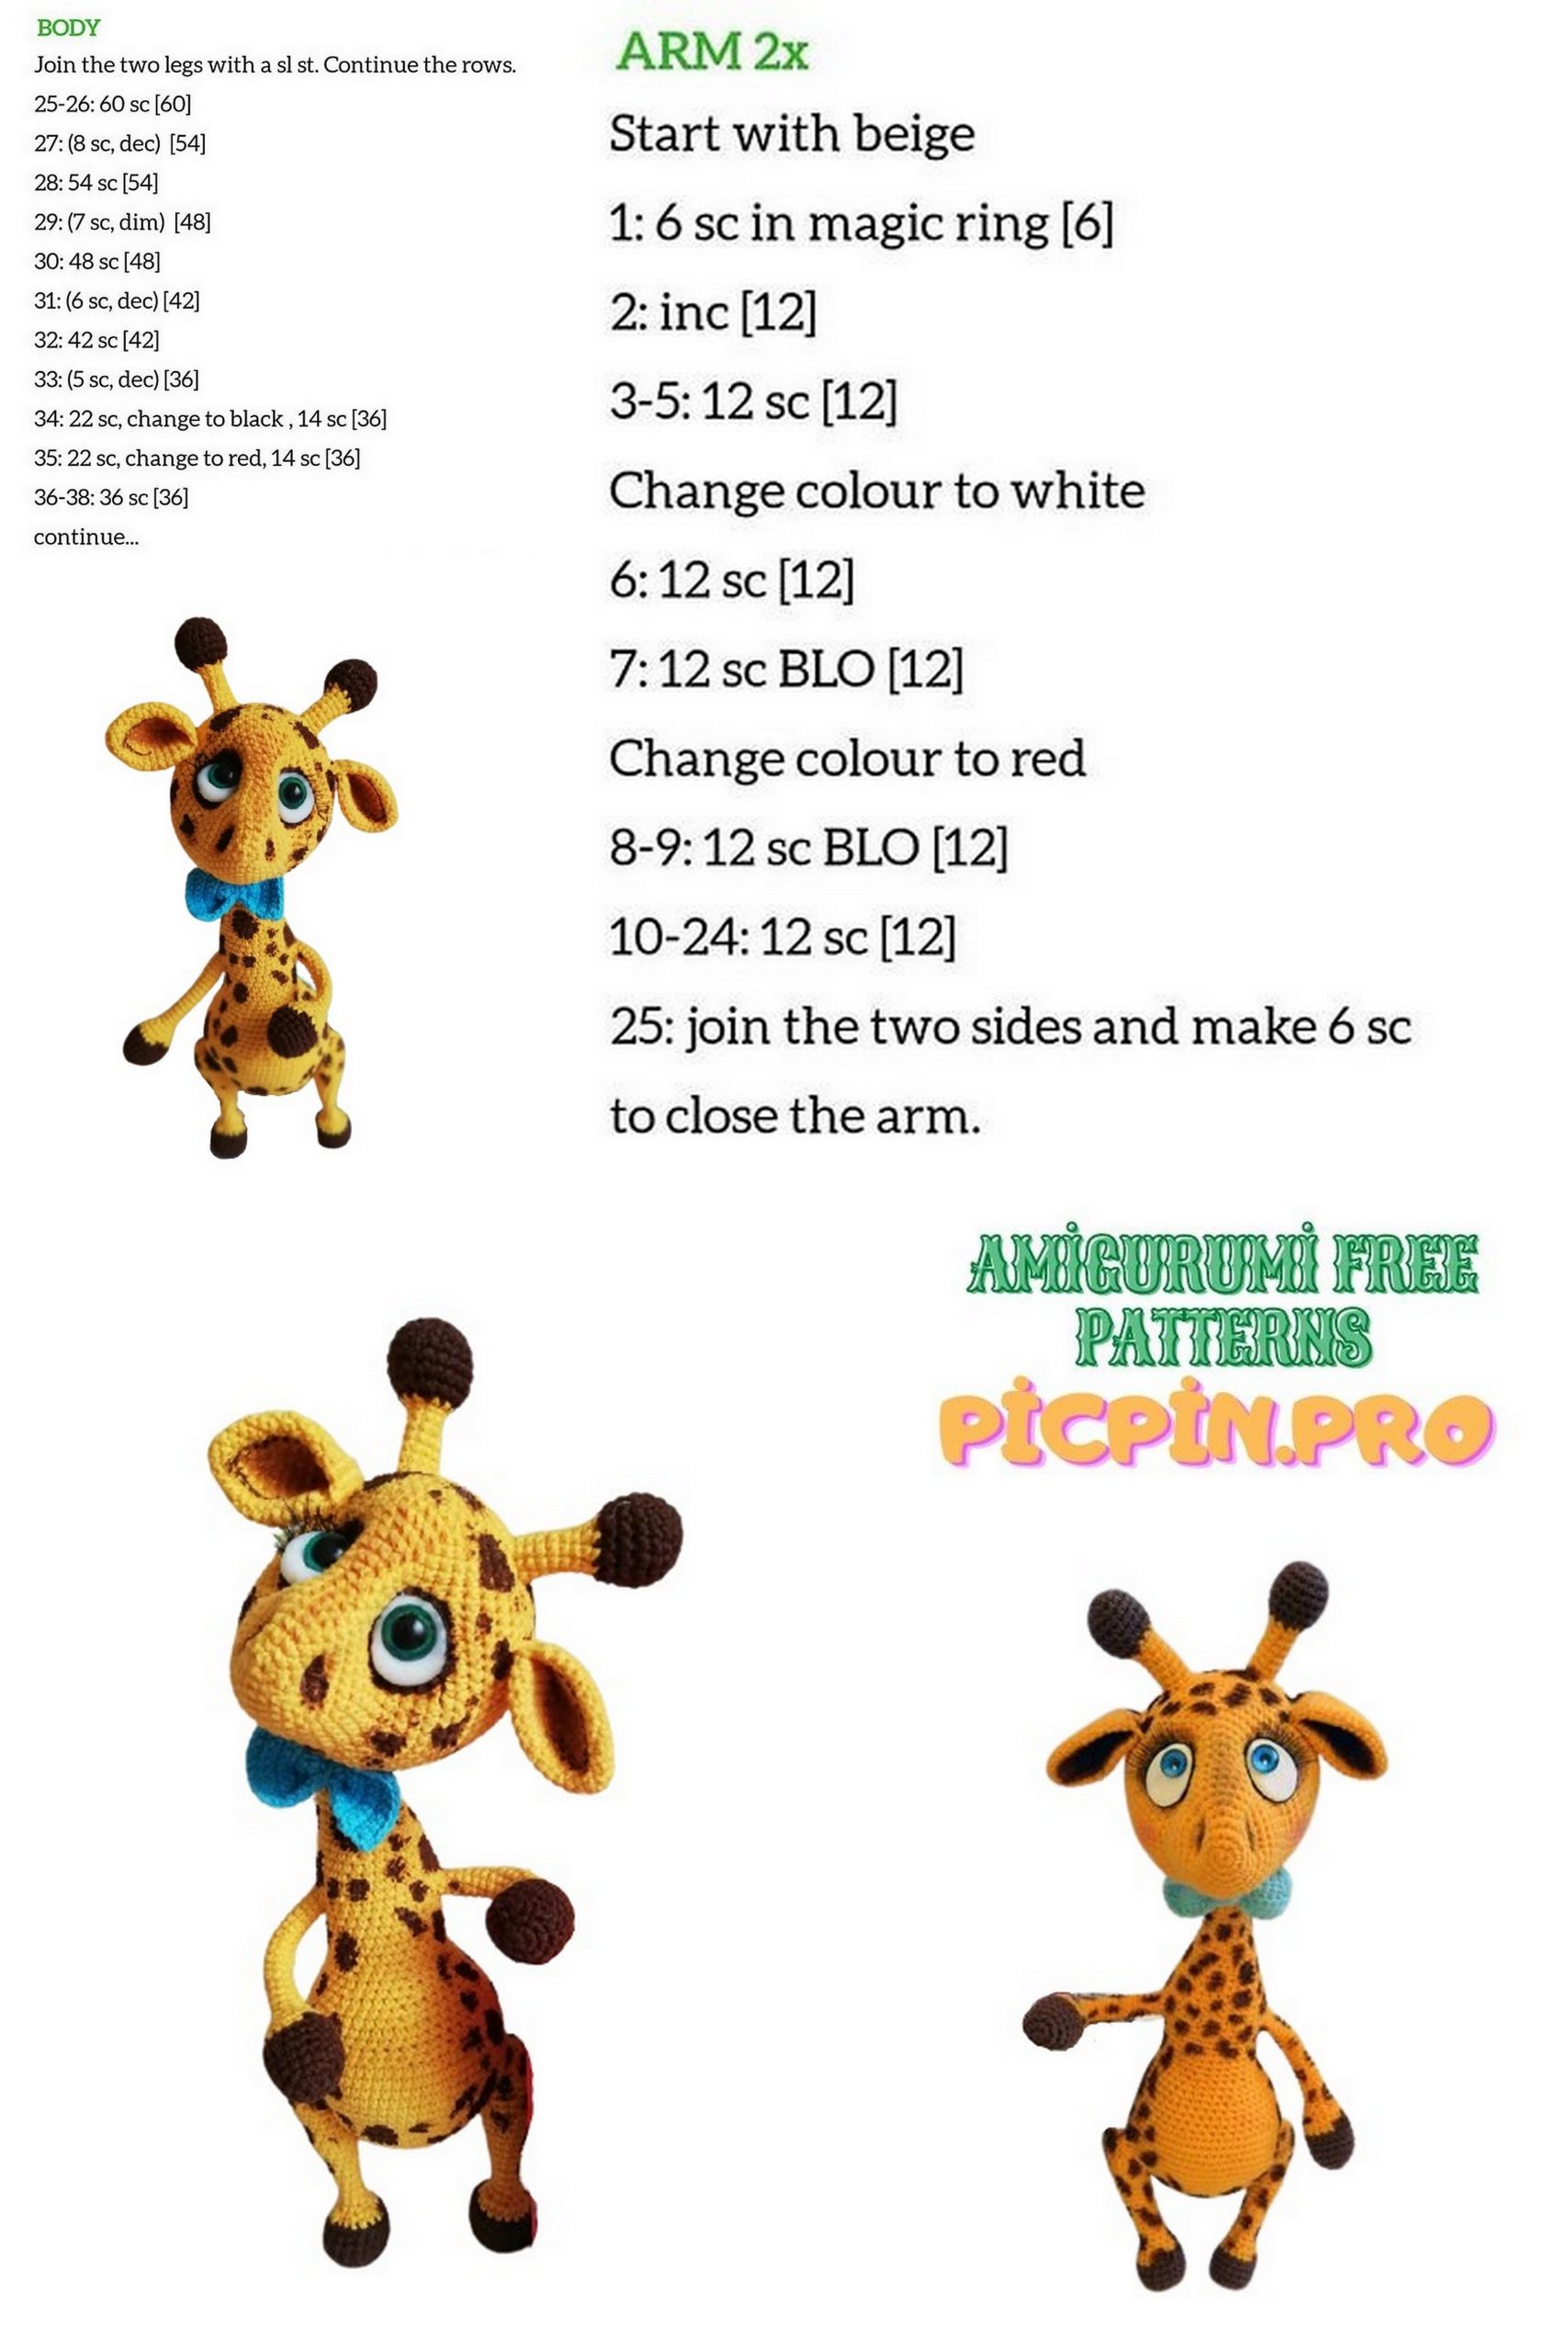
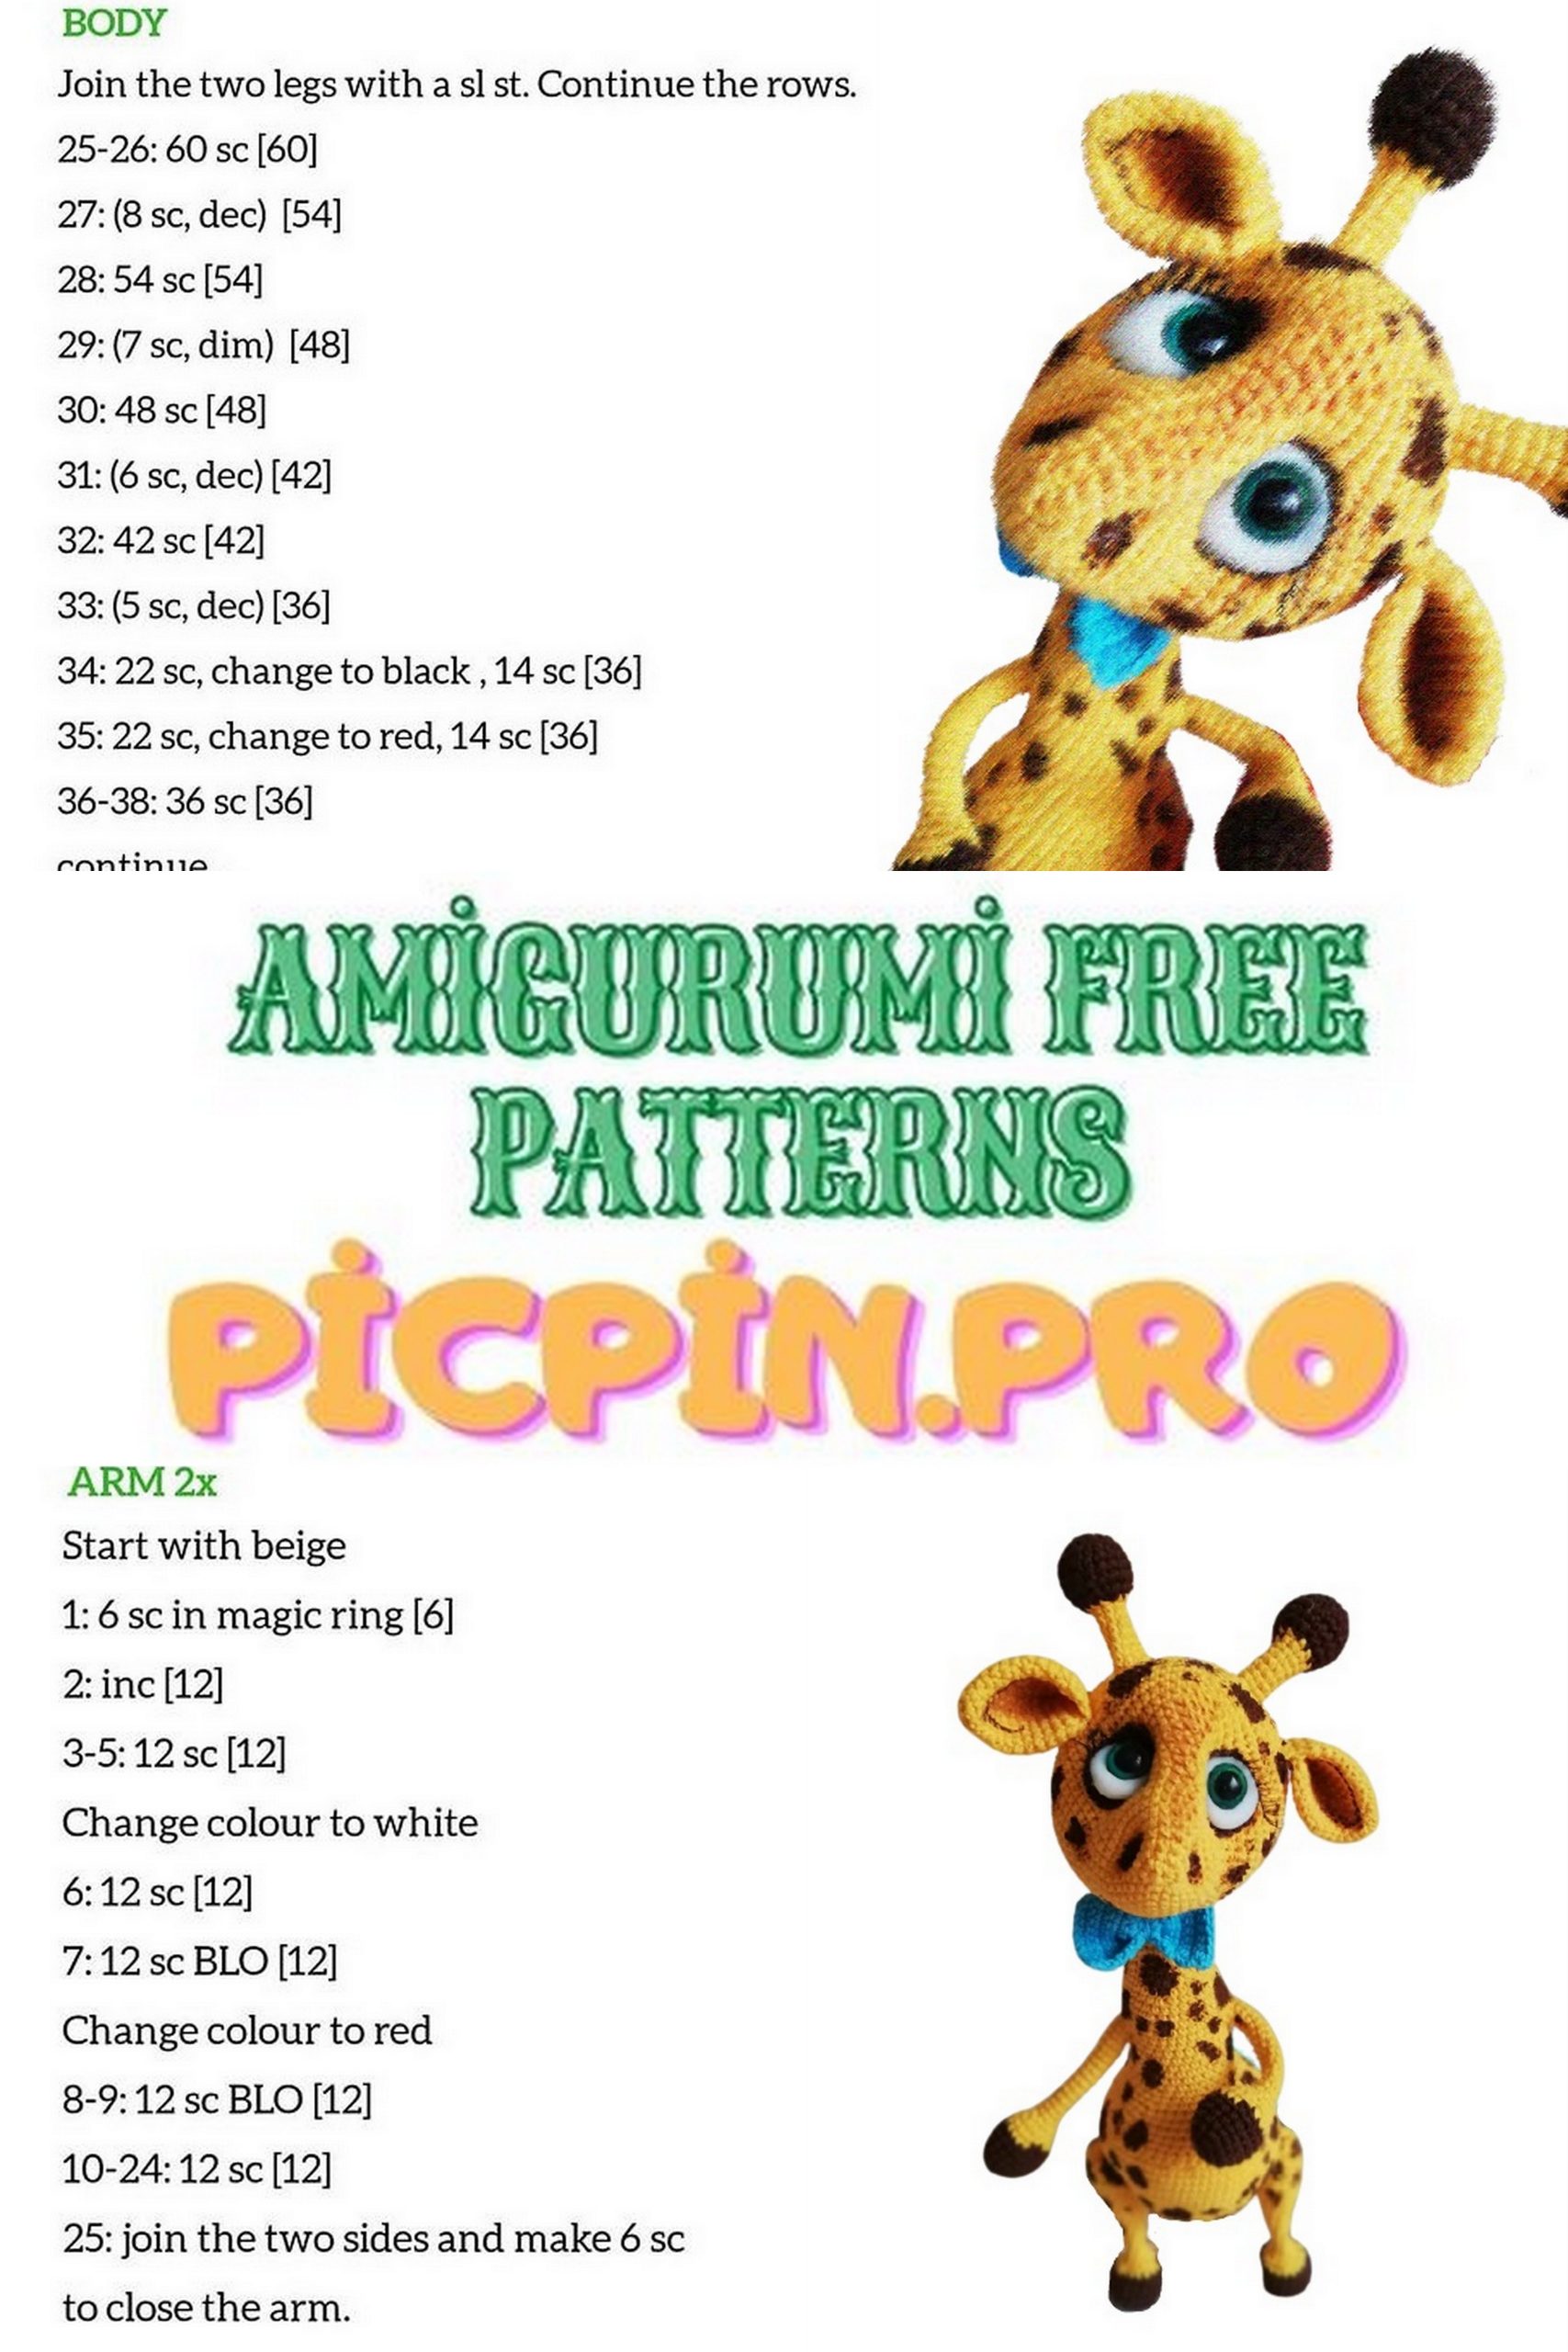
Taurus, neck:
We knit with orange thread.
1row. – 6 sc into magic ring
2row. – 6 inc (12)
3row. – (1 sc, inc) x 6 (18)
4row. – (2 sc, inc) x 6 (24)
5row. – (3 sc, inc) x 6 (30)
6row. – (4 sc, inc) x 6 (36)
7row. – (5 sc, inc) x 6 (42)
8row. – (6 sc, inc) x 6 (48)
9row. – (7 sc, inc) x 6 (54)
10row. – (8 sc, inc) x 6 (60)
11row. – 10 sc over the body, place the left leg face to face and knit 7 sc (from marker to marker), while grabbing the loops of the leg and body, 26 sc over the body, place the right leg face to the body and knit 7 sc (from marker up to marker), while grabbing the loops of the leg and body, 10 sc over the body (60)
12row. – 10 sc for the body, 8 sc for the left leg, 26 sc for the body, 8 sc for the right leg, 10 sc for the body (62)
13 – 17row. – 62 sc (5 rows)
In rows 15 and 17, if necessary, make an offset loop.
18row. – 15 sc, dec, 27 sc, dec, 16 sc (60)
19row. – 17 sc, (dec, 1 sc) x 9, 16 sc (51)
20row. – 13 sc, dec, 22 sc, dec, 12 sc (49)
21row. – dec, 47 sc (48)
22row. – 7 sc, dec, (14 sc, dec) x 2, 7 sc (45)
23row. – (13 sc, dec) x 3 (42)
24row. – 6 sc, dec, (12 sc, dec) x 2, 6 sc (39)
25row. – (11 sc, dec) x 3 (36)
26row. – 5 sc, dec, (10 sc, dec) x 2, 5 sc (33)
27row. – (9 sc, dec) x 3 (30)
28 – 32row. – 30 sc (5 rows)
We make offset loops, if necessary (I have 3).
33row. – 8 sc on the body, put the handle to the body face to face and knit together 3 sc, 12 sc on the body, apply the second handle to the body with the face and knit together 3 sc, 4 sc on the body (30)
34row. – 8 sc for the body, 6 sc for the handle, 12 sc for the body, 6 sc for the handle, 4 sc for the body (36)
We twist the wire from the legs together with the wire from the handles, wrap it with a plaster.
35row. – 36 sc
36row. – (10 sc, dec) x 3 (33)
37row. – 33 sc
38row. – (9 sc, dec) x 3 (30)
39row. – 30 sc
40row. – (8 sc, dec) x 3 (27)
41row. – 27 sc
42row. – (7 sc, dec) x 3 (24)
43row. – 24 sc
44row. – (6 sc, dec) x 3 (21)
45row. – 21 sc
46row. – (5 sc, dec) x 3 (18)
47row. – 18 sc
Stuff the detail.
48row. – (4 sc, dec) x 3 (15)
49 – 57row. – 15 sc (9 rows)
Stuff the part to the end. Cut the thread, leaving the end for sewing.
Head:
1row. – 6 sc into magic ring
2row. – 6 inc (12)
3row. – (1 sc, inc) x 6 (18)
4row. – (2 sc, inc) x 6 (24)
5row. – (3 sc, inc) x 6 (30)
6row. – (4 sc, inc) x 6 (36)
7 – 11row. – 36 sc (5 rows)
12row. – inc, 7 sc, (inc, 1 sc) х 3, 8 sc, (1 sc, inc) х 3, 7 sc, inc (44)
13row. – 1 sc, inc, 8 sc, (inc, 2 sc) х 3, 7 sc, (2 sc, inc) х 3, 8 sc, inc (52)
14row. – 2 sc, inc, 9 sc, (inc, 3 sc) x 3, 6 sc, (3 sc, inc) x 3, 9 sc, inc (60), 1 loop offset, if necessary
15row. – inc, 58 sc, inc (62)
16row. – 1 sc, inc, 59 sc, inc (64), 1 loop bias, if necessary
17row. – 1 sc, inc, 60 sc, inc, 1 sc (66)
18 – 22row. – 66 sc (5 rows), 1 offset loop, if needed
23row. – 30 sc, 3 ch., 3 sc skip, 33 sc (66)
24row. – 30 sc, 3 sc in ch., 33 sc (66)
25 – 27row. – 66 sc (3 rows)
28row. – (9 sc, dec) x 6 (60)
29row. – (8 sc, dec) x 6 (54)
30row. – (7 sc, dec) x 6 (48)
31row. – (6 sc, dec) x 6 (42)
32row. – (5 sc, dec) x 6 (36)
33row. – (4 sc, dec) x 6 (30)
We put the body frame in the hole where the air loops were made.
Align the direction of the nose parallel to the tummy, sew the head to the body. You can sew later (see photo)
34row. – (3 sc, dec) x 6 times (24)
We fill the detail.
35row. – (2 sc, dec) x 6 times (18)
Stuff the part to the end.
36row. – (1 sc, dec) x 6 (12)
37row. – 6 dec (6).
Pull the hole, fasten the thread, cut it, hide it.

Ears (2 parts):
!!! No need to stuff the item !!!
1row. – 6 sc into magic ring
2row. – (inc, 1 sc) x 3 (9)
3row. – 1 sc, (inc, 2 sc) х 2, inc, 1 sc (12)
4row. – 2 sc, (inc, 3 sc) х 2, inc, 1 sc (15)
5row. – 3 sc, (inc, 4 sc) х 2, inc, 1 sc (18)
6row. – 4 sc, (inc, 5 sc) х 2, inc, 1 sc (21)
7row. – 5 sc, (inc, 6 sc) х 2, inc, 1 sc (24)
8row. – 24 sc
9row. – (3 sc, inc) x 6 (30)
10 – 14row. – 30 sc (5 rows)
15row. – fold the eyelet in half and knit by both edges (15)
16row. – fold the eyelet in half again and knit by both edges (7)
We fasten the thread, cut it, leaving the end for sewing.
We knit the second ear in the same way.
Horns (2 parts):
We knit with brown yarn.
1row. – 6 sc into magic ring
2row. – 6 inc (12)
3row. – (1 sc, inc) x 6 (18)
4 – 7row. – 18 sc (4 rows)
8row. – (1 sc, dec) x 6 (12)
We fill the detail. Change the thread to orange.
9row. – (2 sc, dec) x 3 (9)
10 – 17row. – 9 sc (8 rows)
We fill the part tightly enough. We fasten the thread, cut it, leaving the end for sewing.
We knit the second horn in the same way.
Tail:
We dial 12 ch. knit from the second loop from the hook 11 connecting posts. We fasten the thread, cut it off, leave the end for sewing. We make a small brush at the tip of the ponytail.
Registration:
We begin to tighten the eye sockets.
1. We count from the beginning of knitting 10 rows (in the center of the muzzle).
We put a pin (photo 1).
2. From the pin we count to the left and to the right by 5 sc (photo 2).
3. From the central pin, count up 5 sc (photo 3)
4. From the top central pin, count to the left and right by 6 sc (photo 4). We tighten the eye sockets (photo 5).
Repeat several times. The stronger the tightening, the more expressive the face will look.
We tighten the nostrils.
1. From the beginning of knitting we count 5 sc (in the center of the muzzle). We put a pin (photo 6)
2. From this pin we count left and right by 7 sc (photo 7)
3. From the side pins, count up 4 sc (photo 8). we tighten the nostrils in the same way as the eye sockets.
We tint the ears, nostrils, eye area.
We sew on the ears (for my giraffe they are sewn from the 20th to the 25th row).
Sew on the horns (photo 9).
Eyes:
!!! To prevent the clay from getting dirty, it is better to use gloves !!!
We sculpt two identical balls, select the size ourselves, flatten them a little. If you have eyes on a leg, then you need to make a hole for it, if glued, then it is not necessary. We bake, let cool (since warm clay breaks very well). We insert the eyes, or glue it, if you wish, you can make cilia. To do this, we coat a thin glue strip along the top of the eye, apply eyelashes, press, let dry. We paint the contour of the peephole with acrylic paint, let it dry, if desired, you can varnish it.
We glue the eyes to the face.
Paint the spots with acrylic brown paint. Let it dry.
That’s all! Congratulations, our giraffe is ready !!!