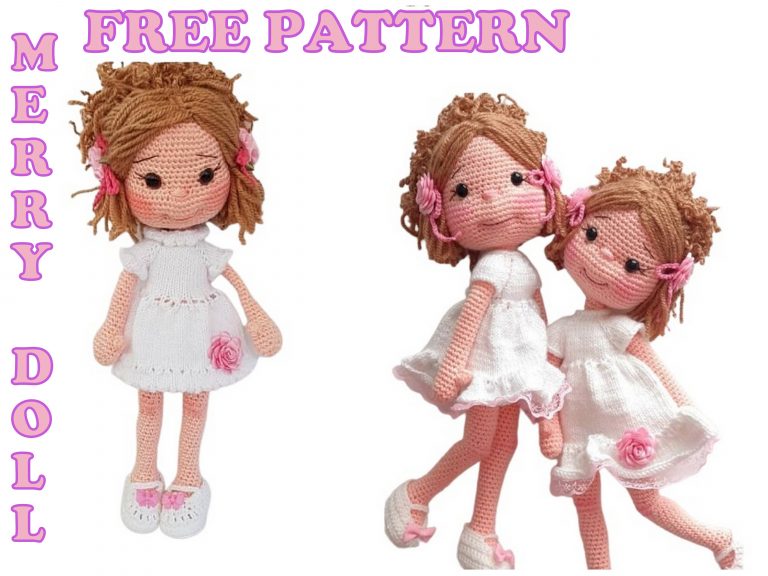
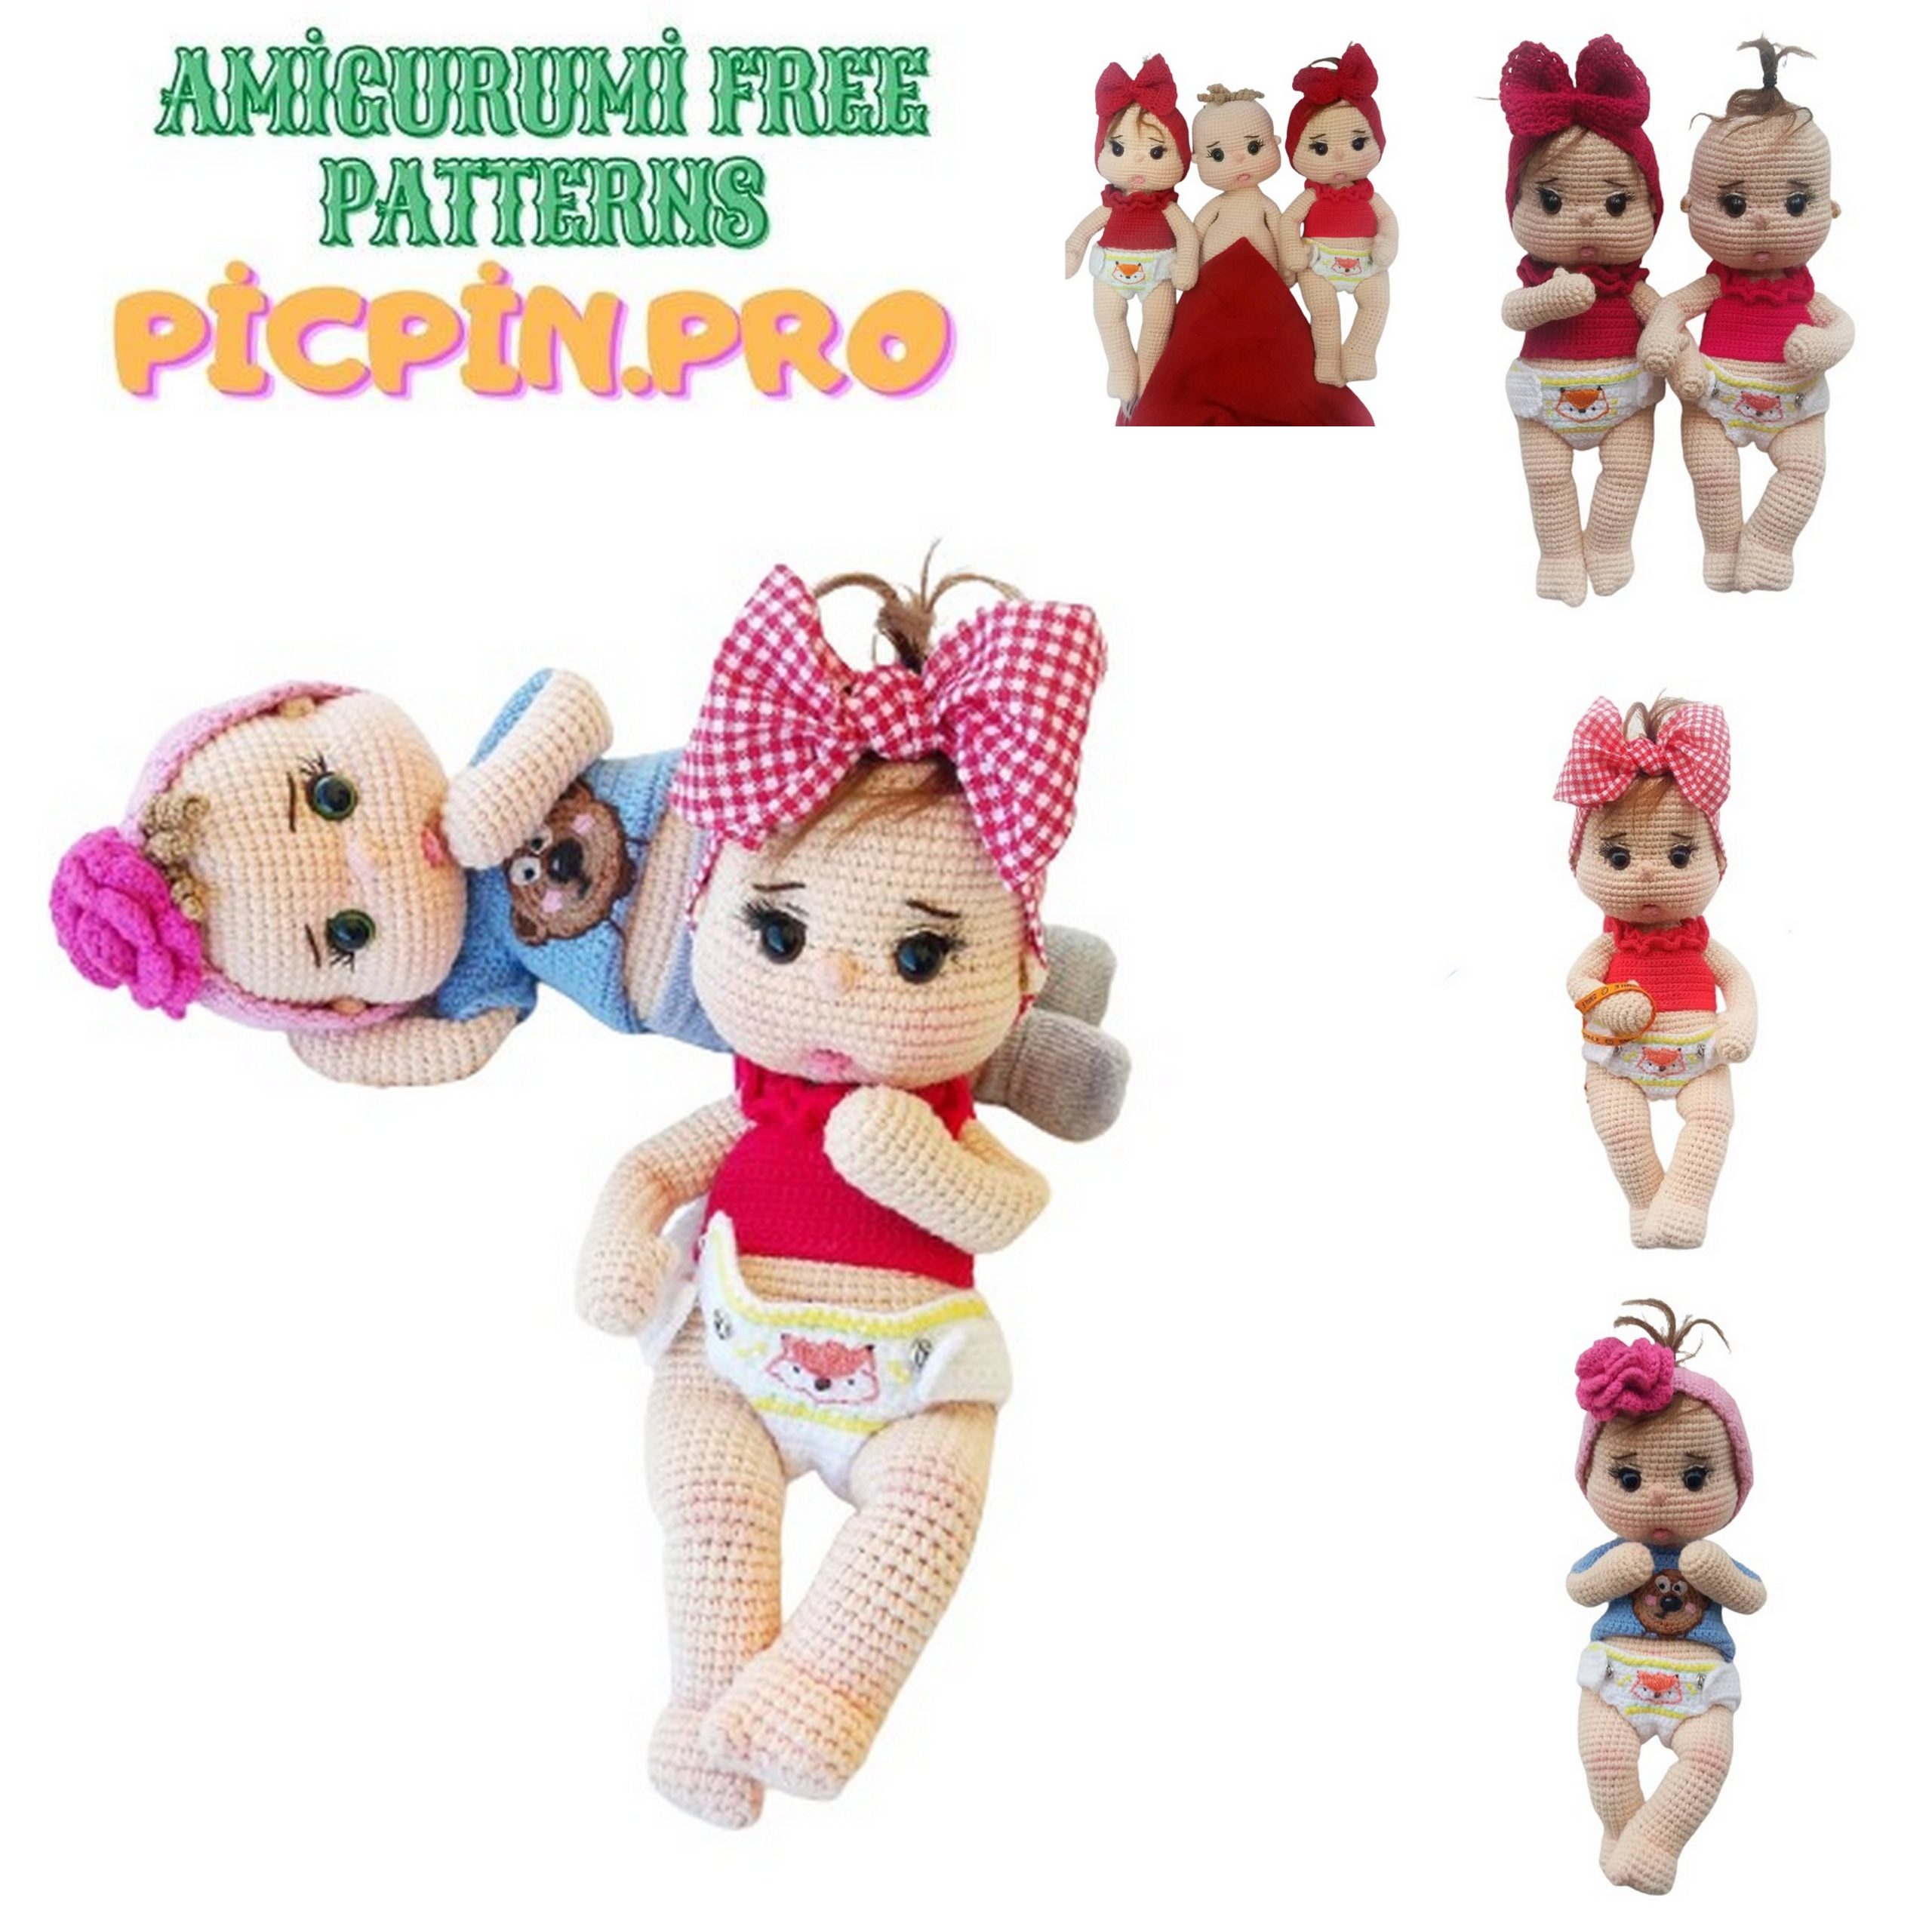
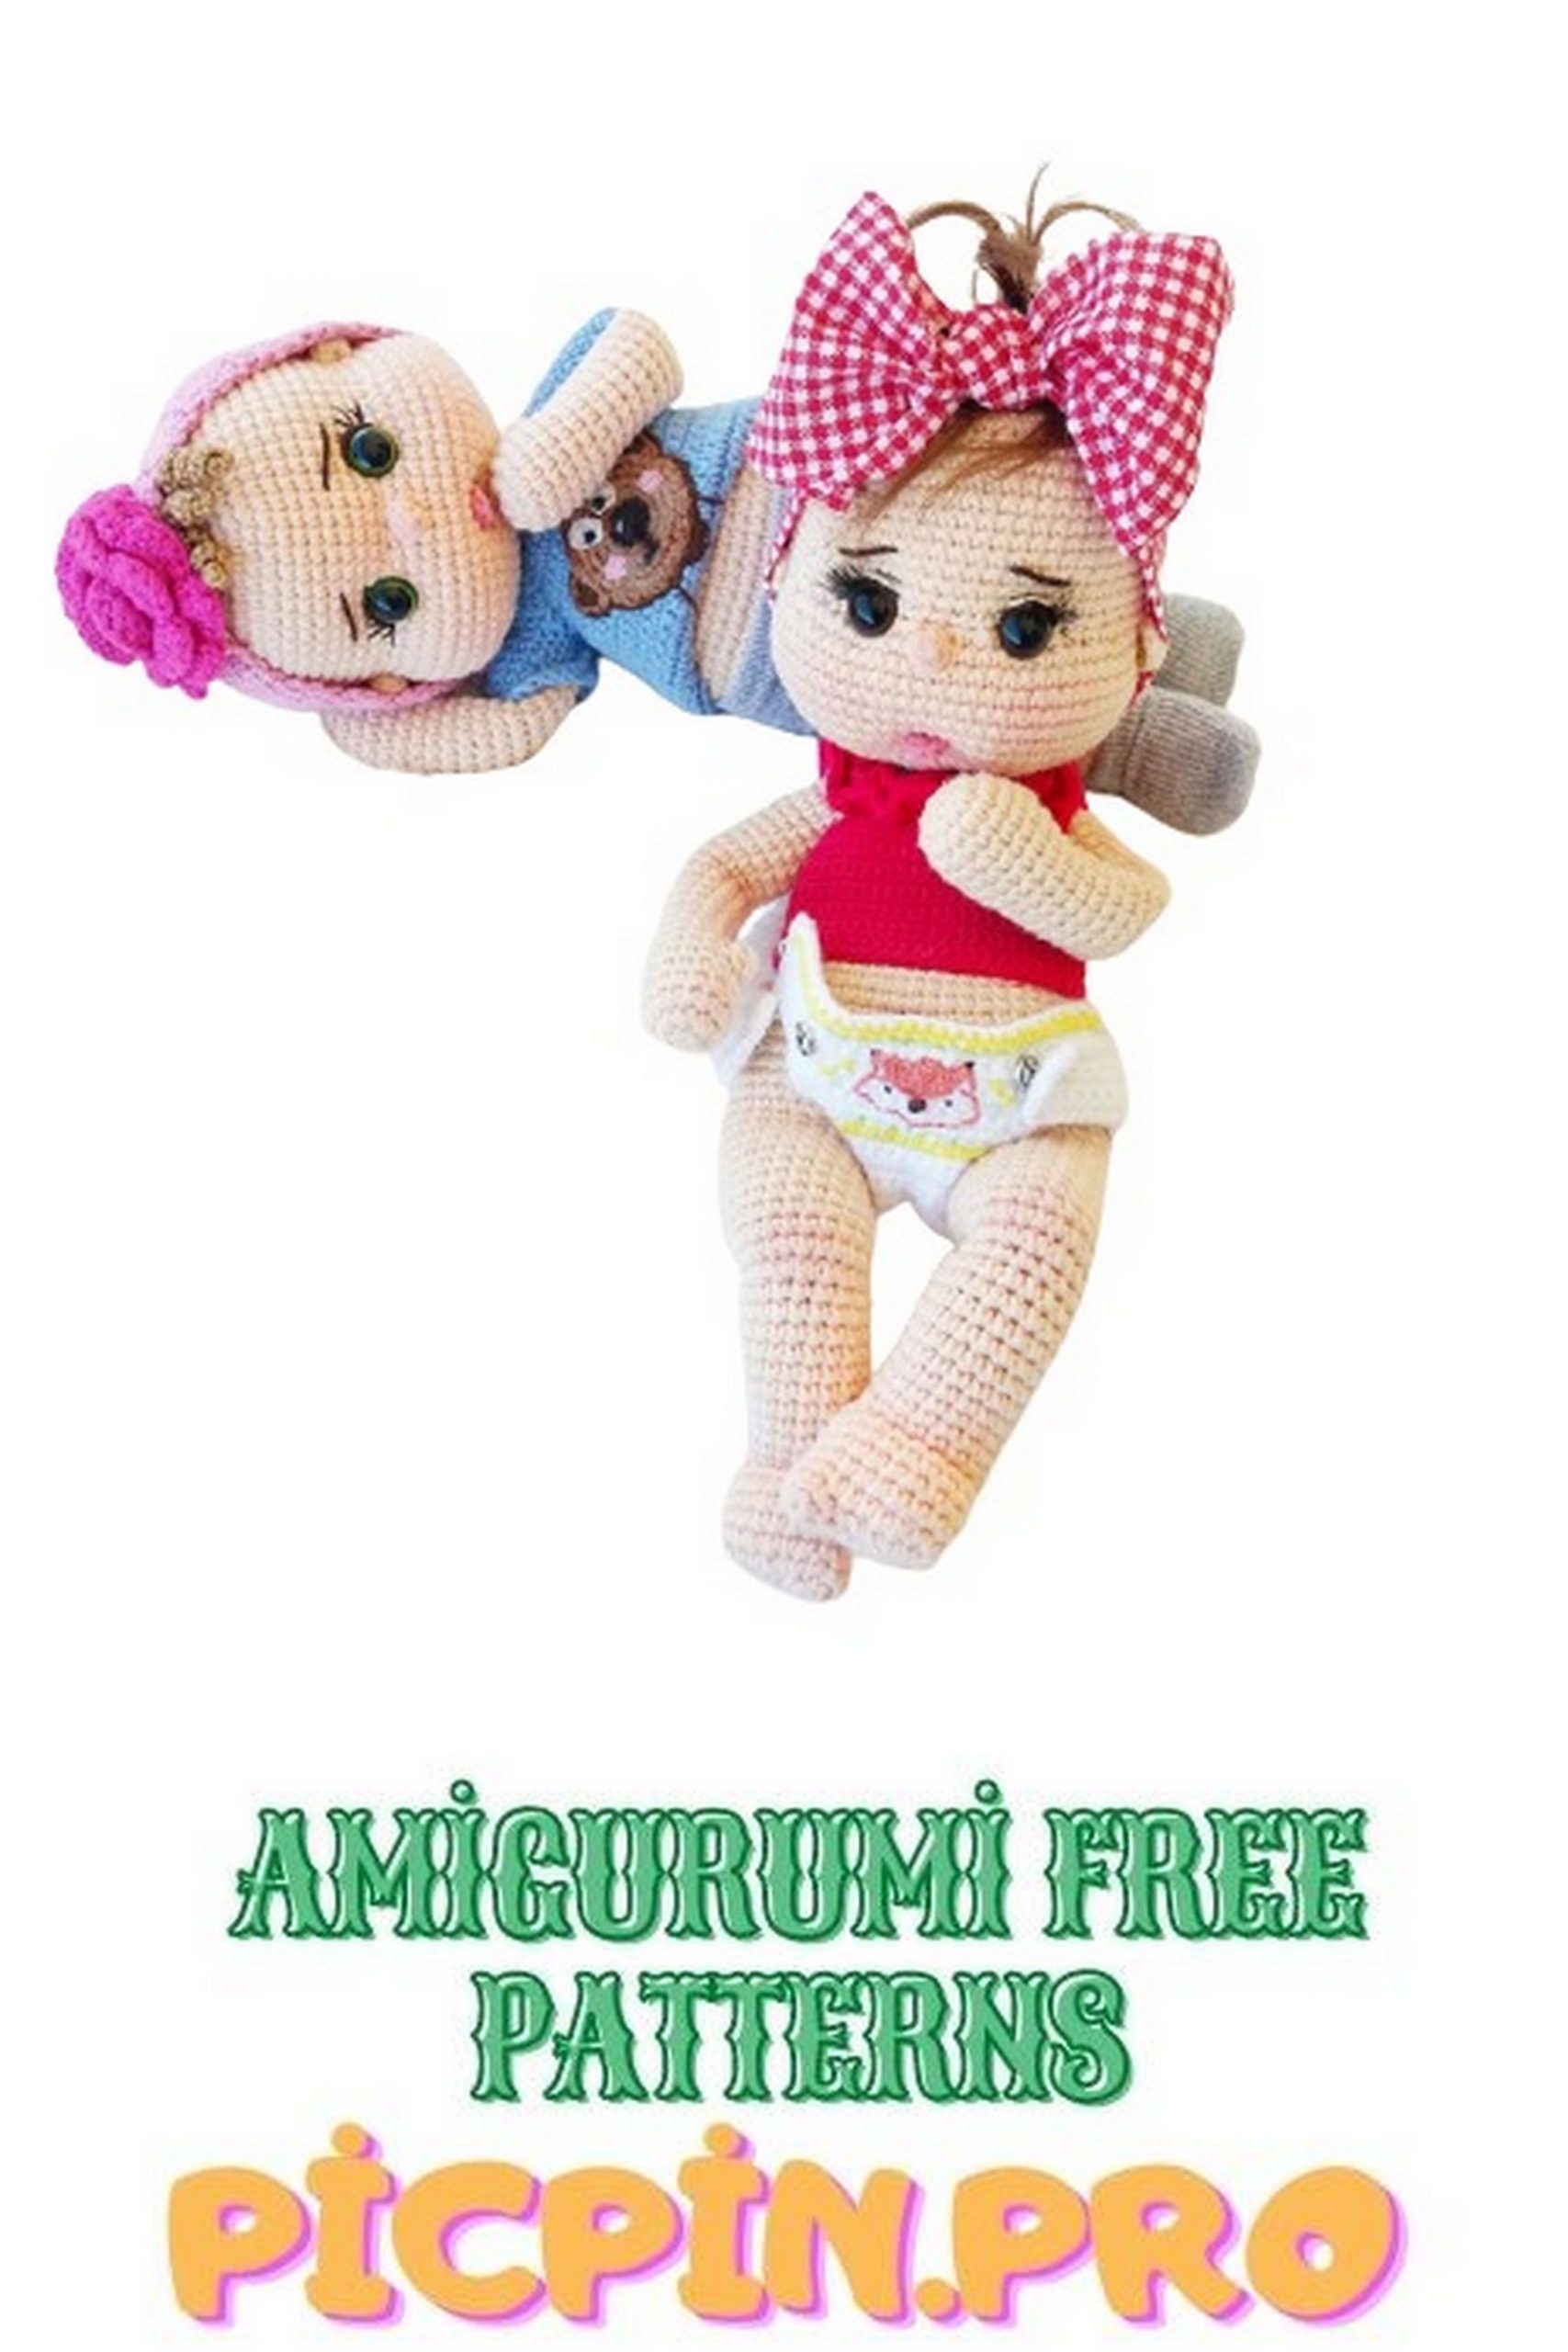
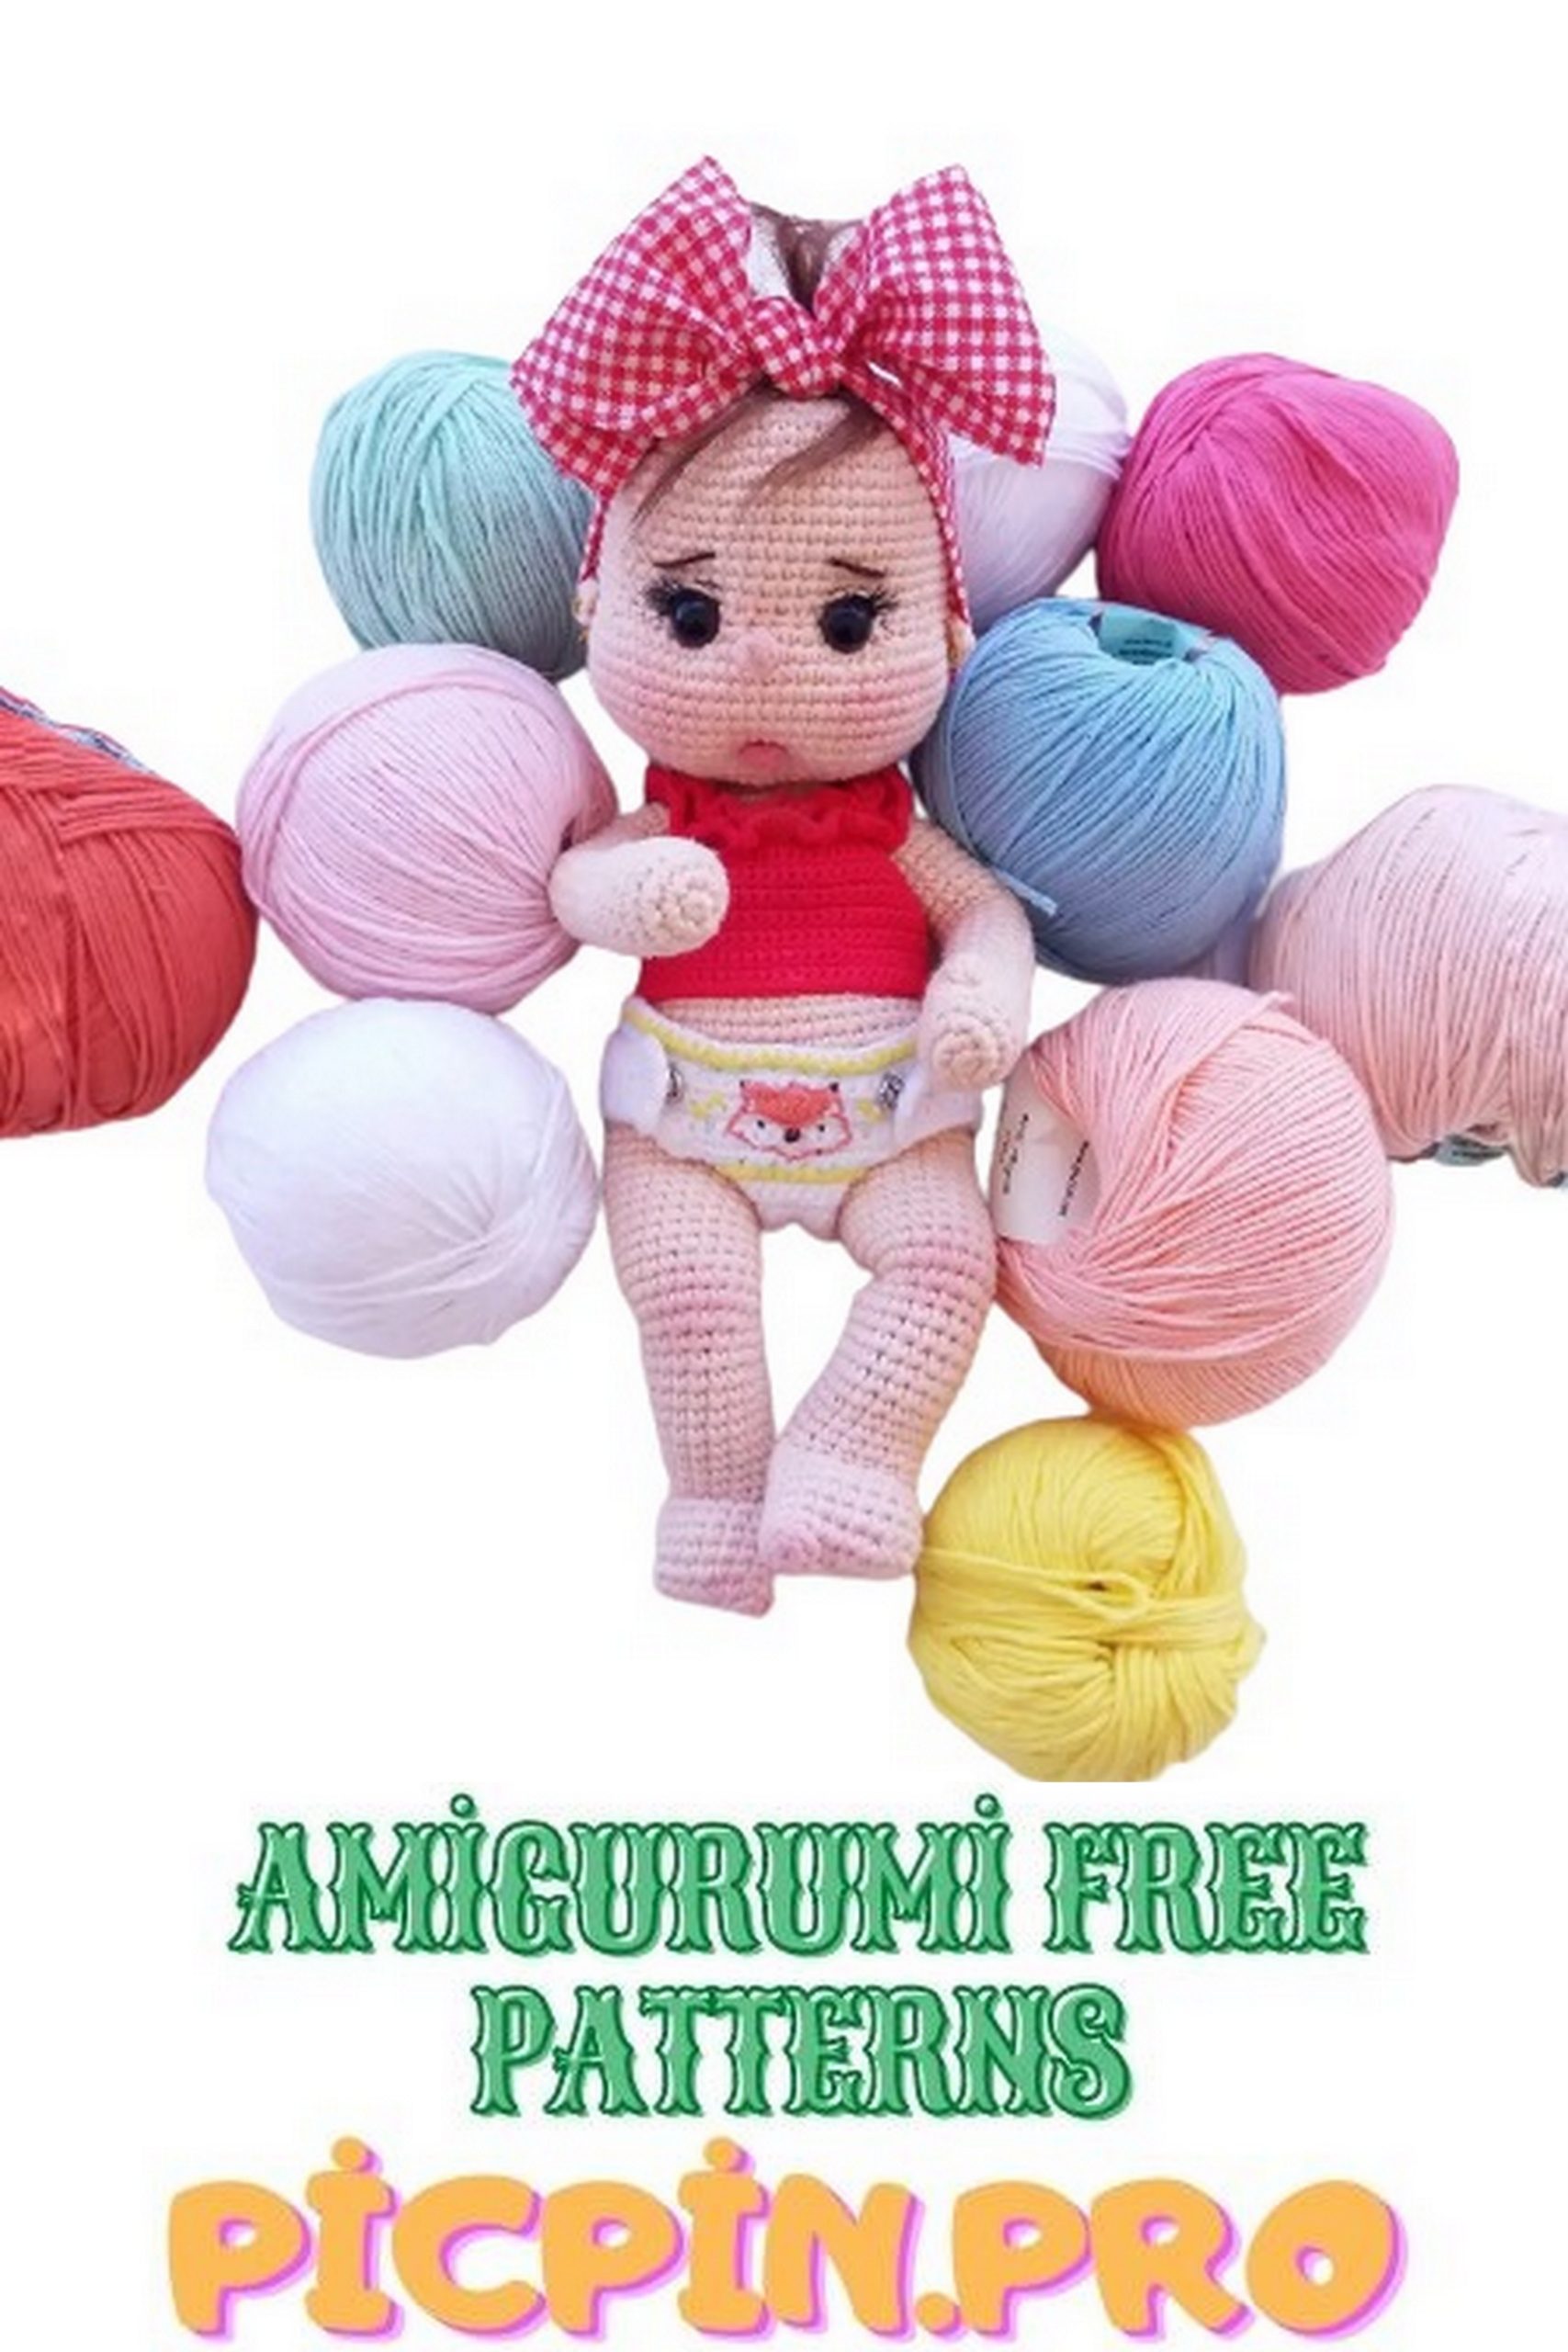
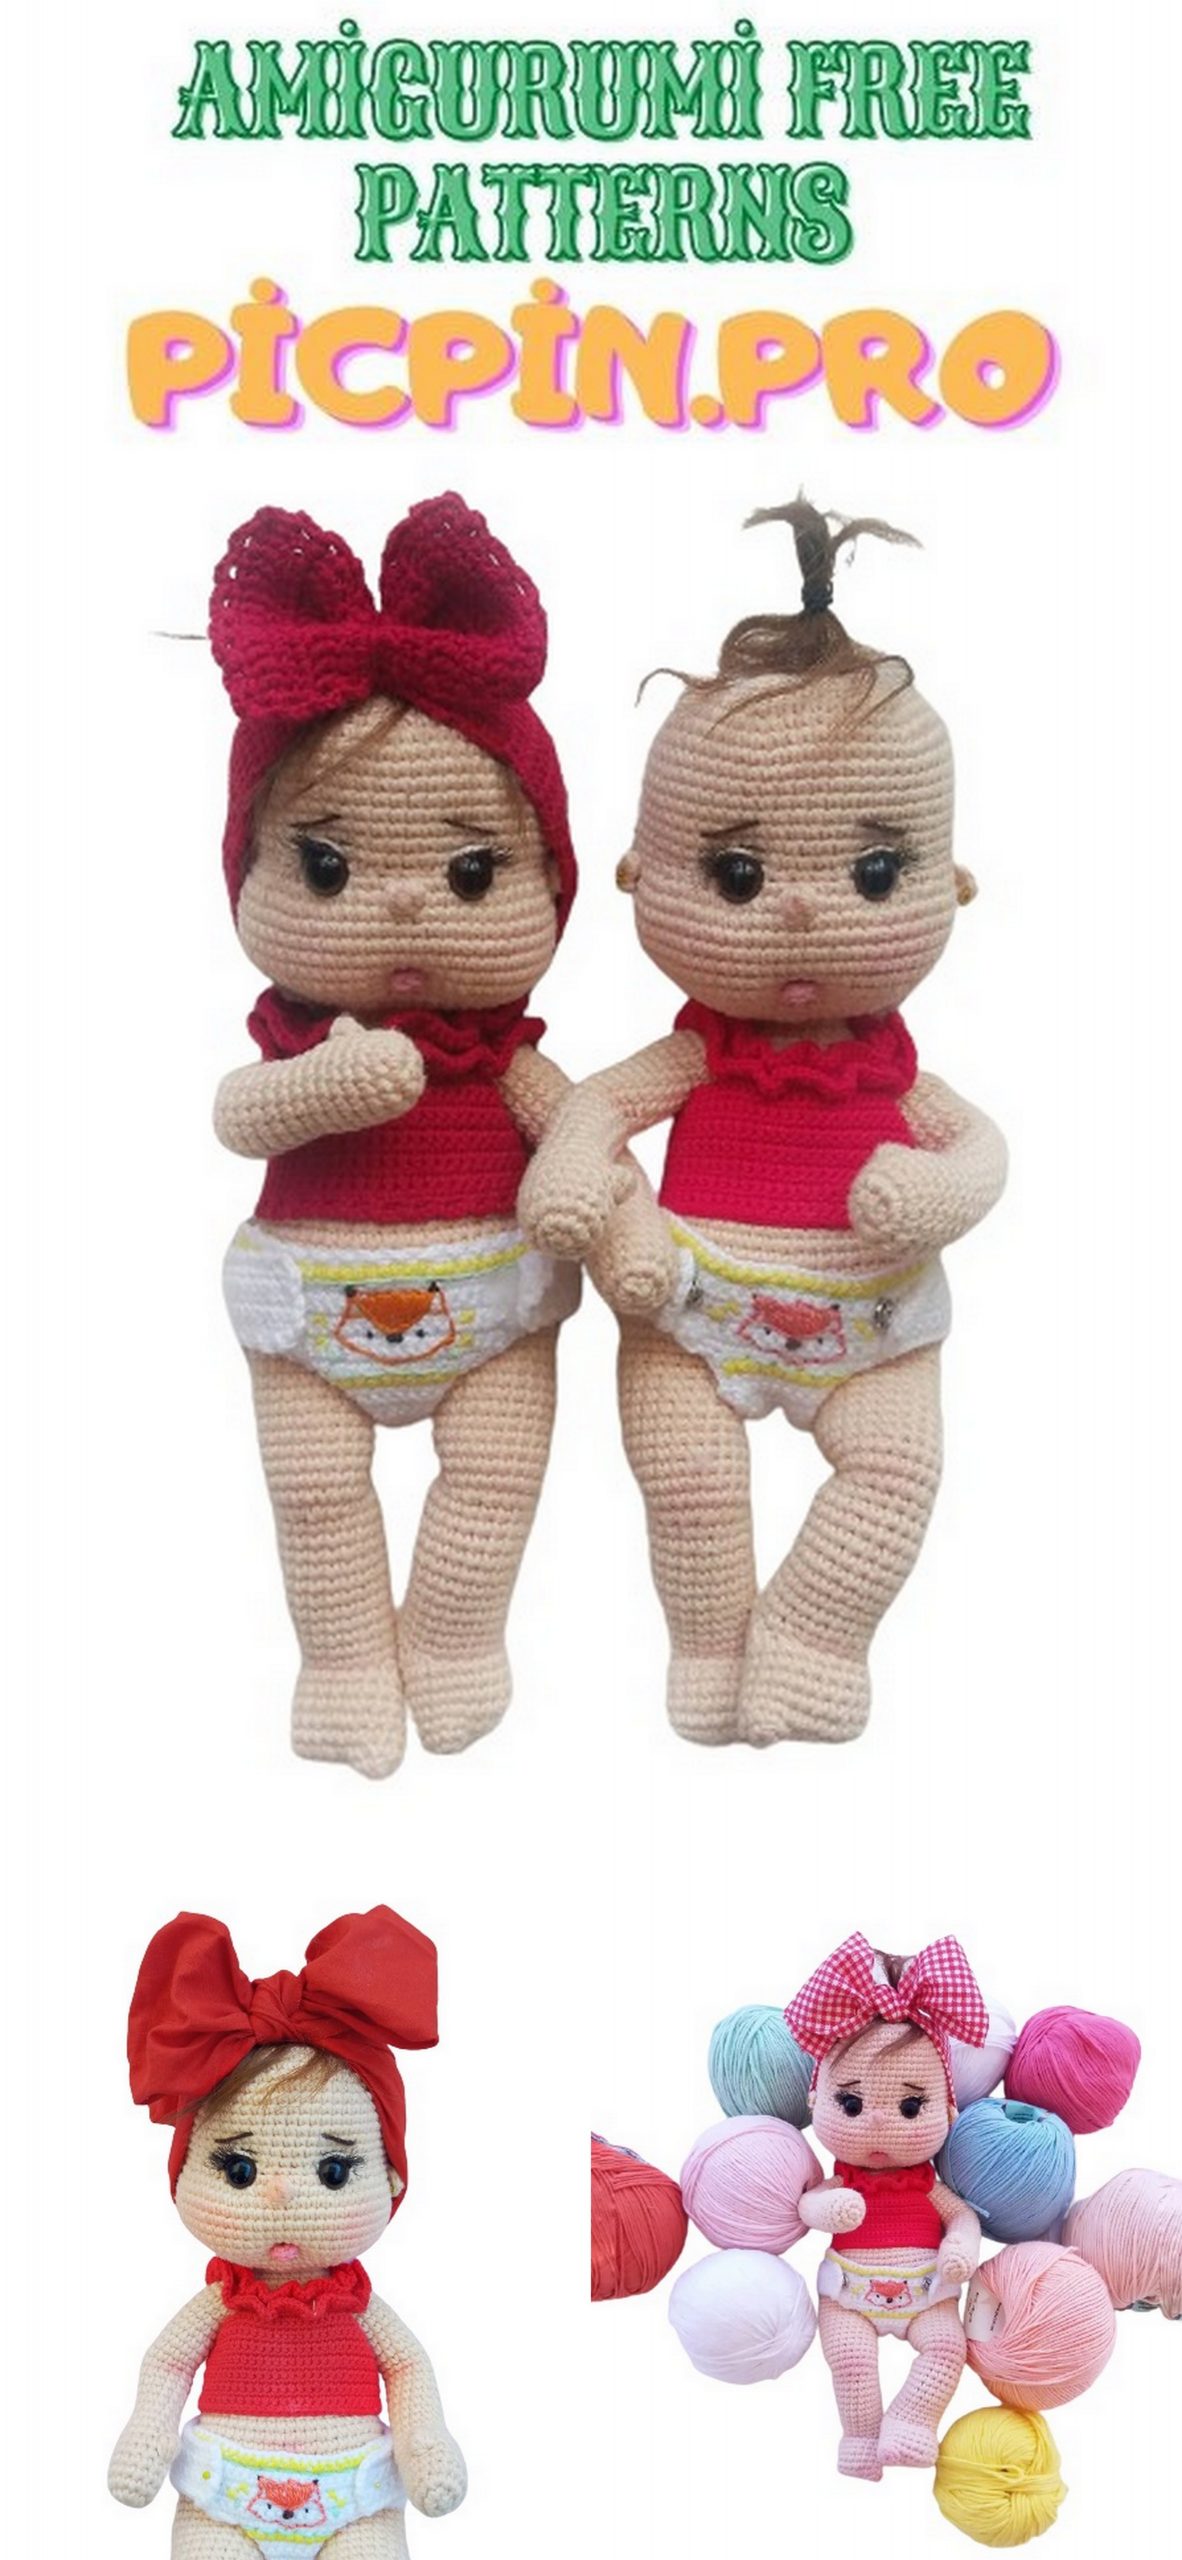
Diaper Baby Amigurumi Free Pattern
Pinterest Offical Page : Picpin.pro
Facebook Group: Amigurumi Free Patterns
Facebook Offical Page: Free Amigurumi Picpin
Amigurumi doll patterns are with you on this site for free with hundreds of varieties. In this article, I shared the amigurumi diaper baby pattern.
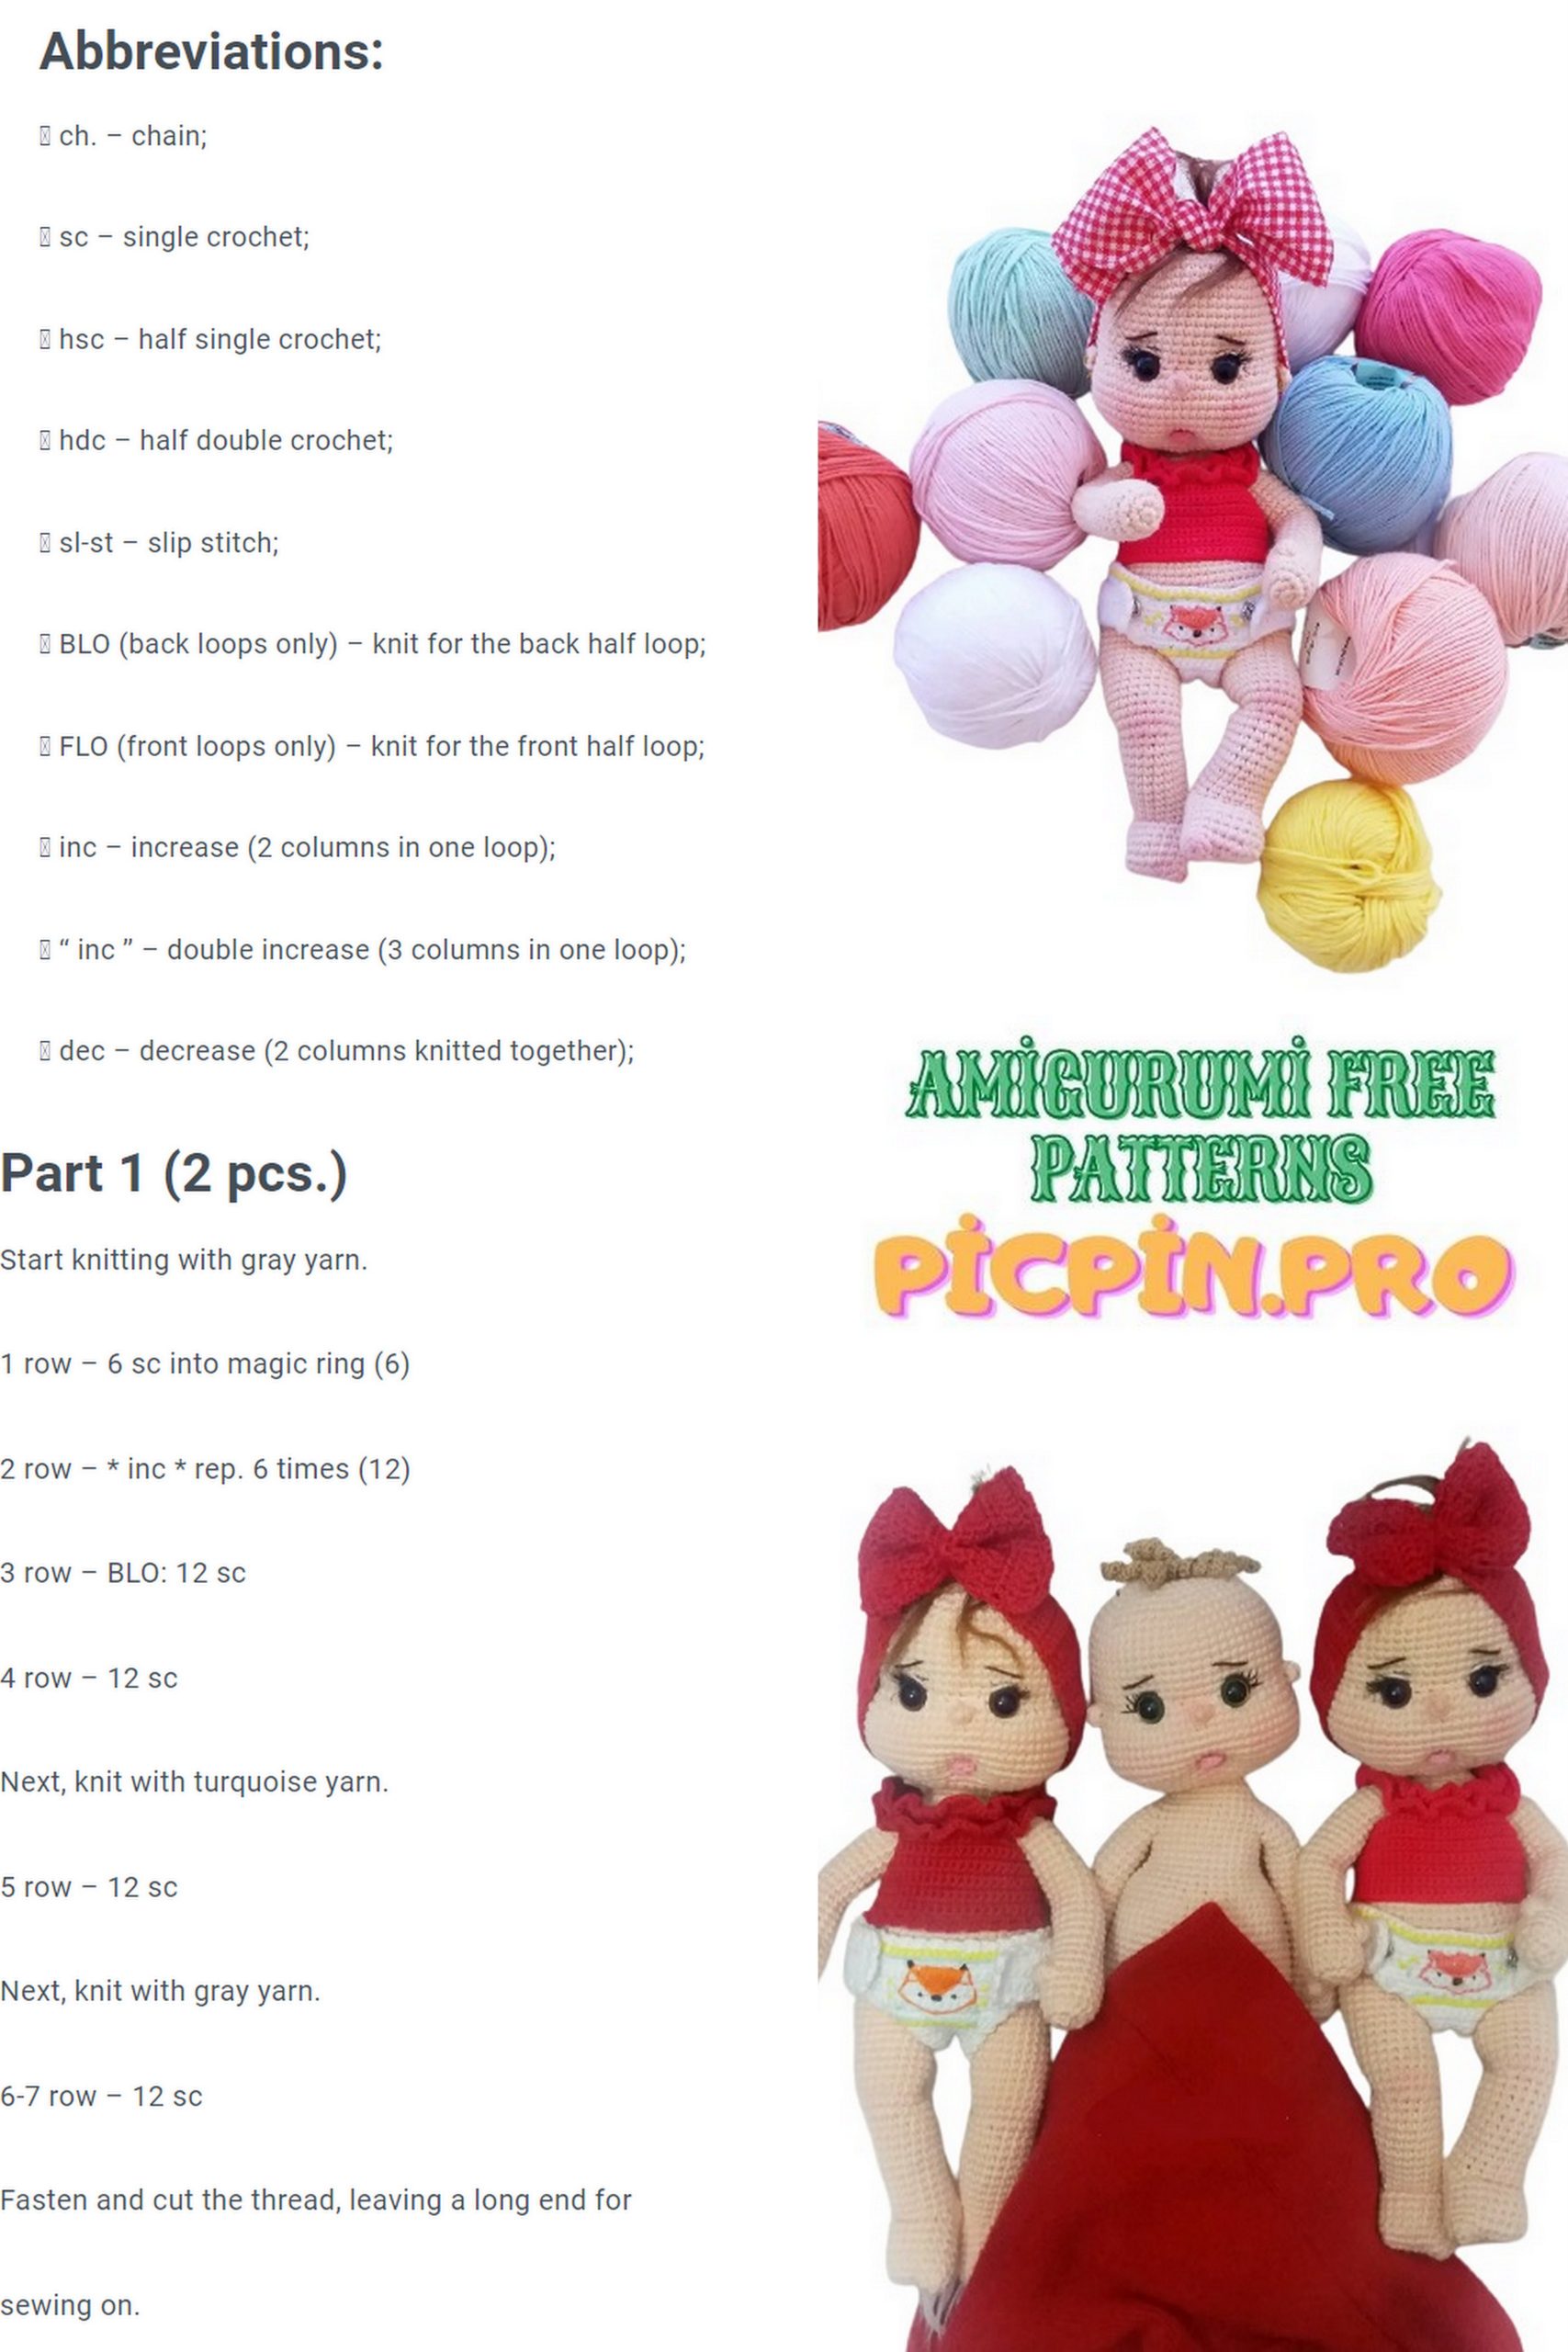
ABBREVIATION used in the template:
SC ——– single crochet
inc ——— incraise / 2SC in 1 loop
INC3 ——– double incraise / 3SC in 1 loop
DEC3 ——— double decrease / 3SC knit 1 loop
DEC ——— decrease
DC ——– double crochet
INC-DC —— double crochet incraise
CH———–chain
* ——- Repeat the instructions in parentheses the specified number of times
Stitch marker — Mark the beginning of the row
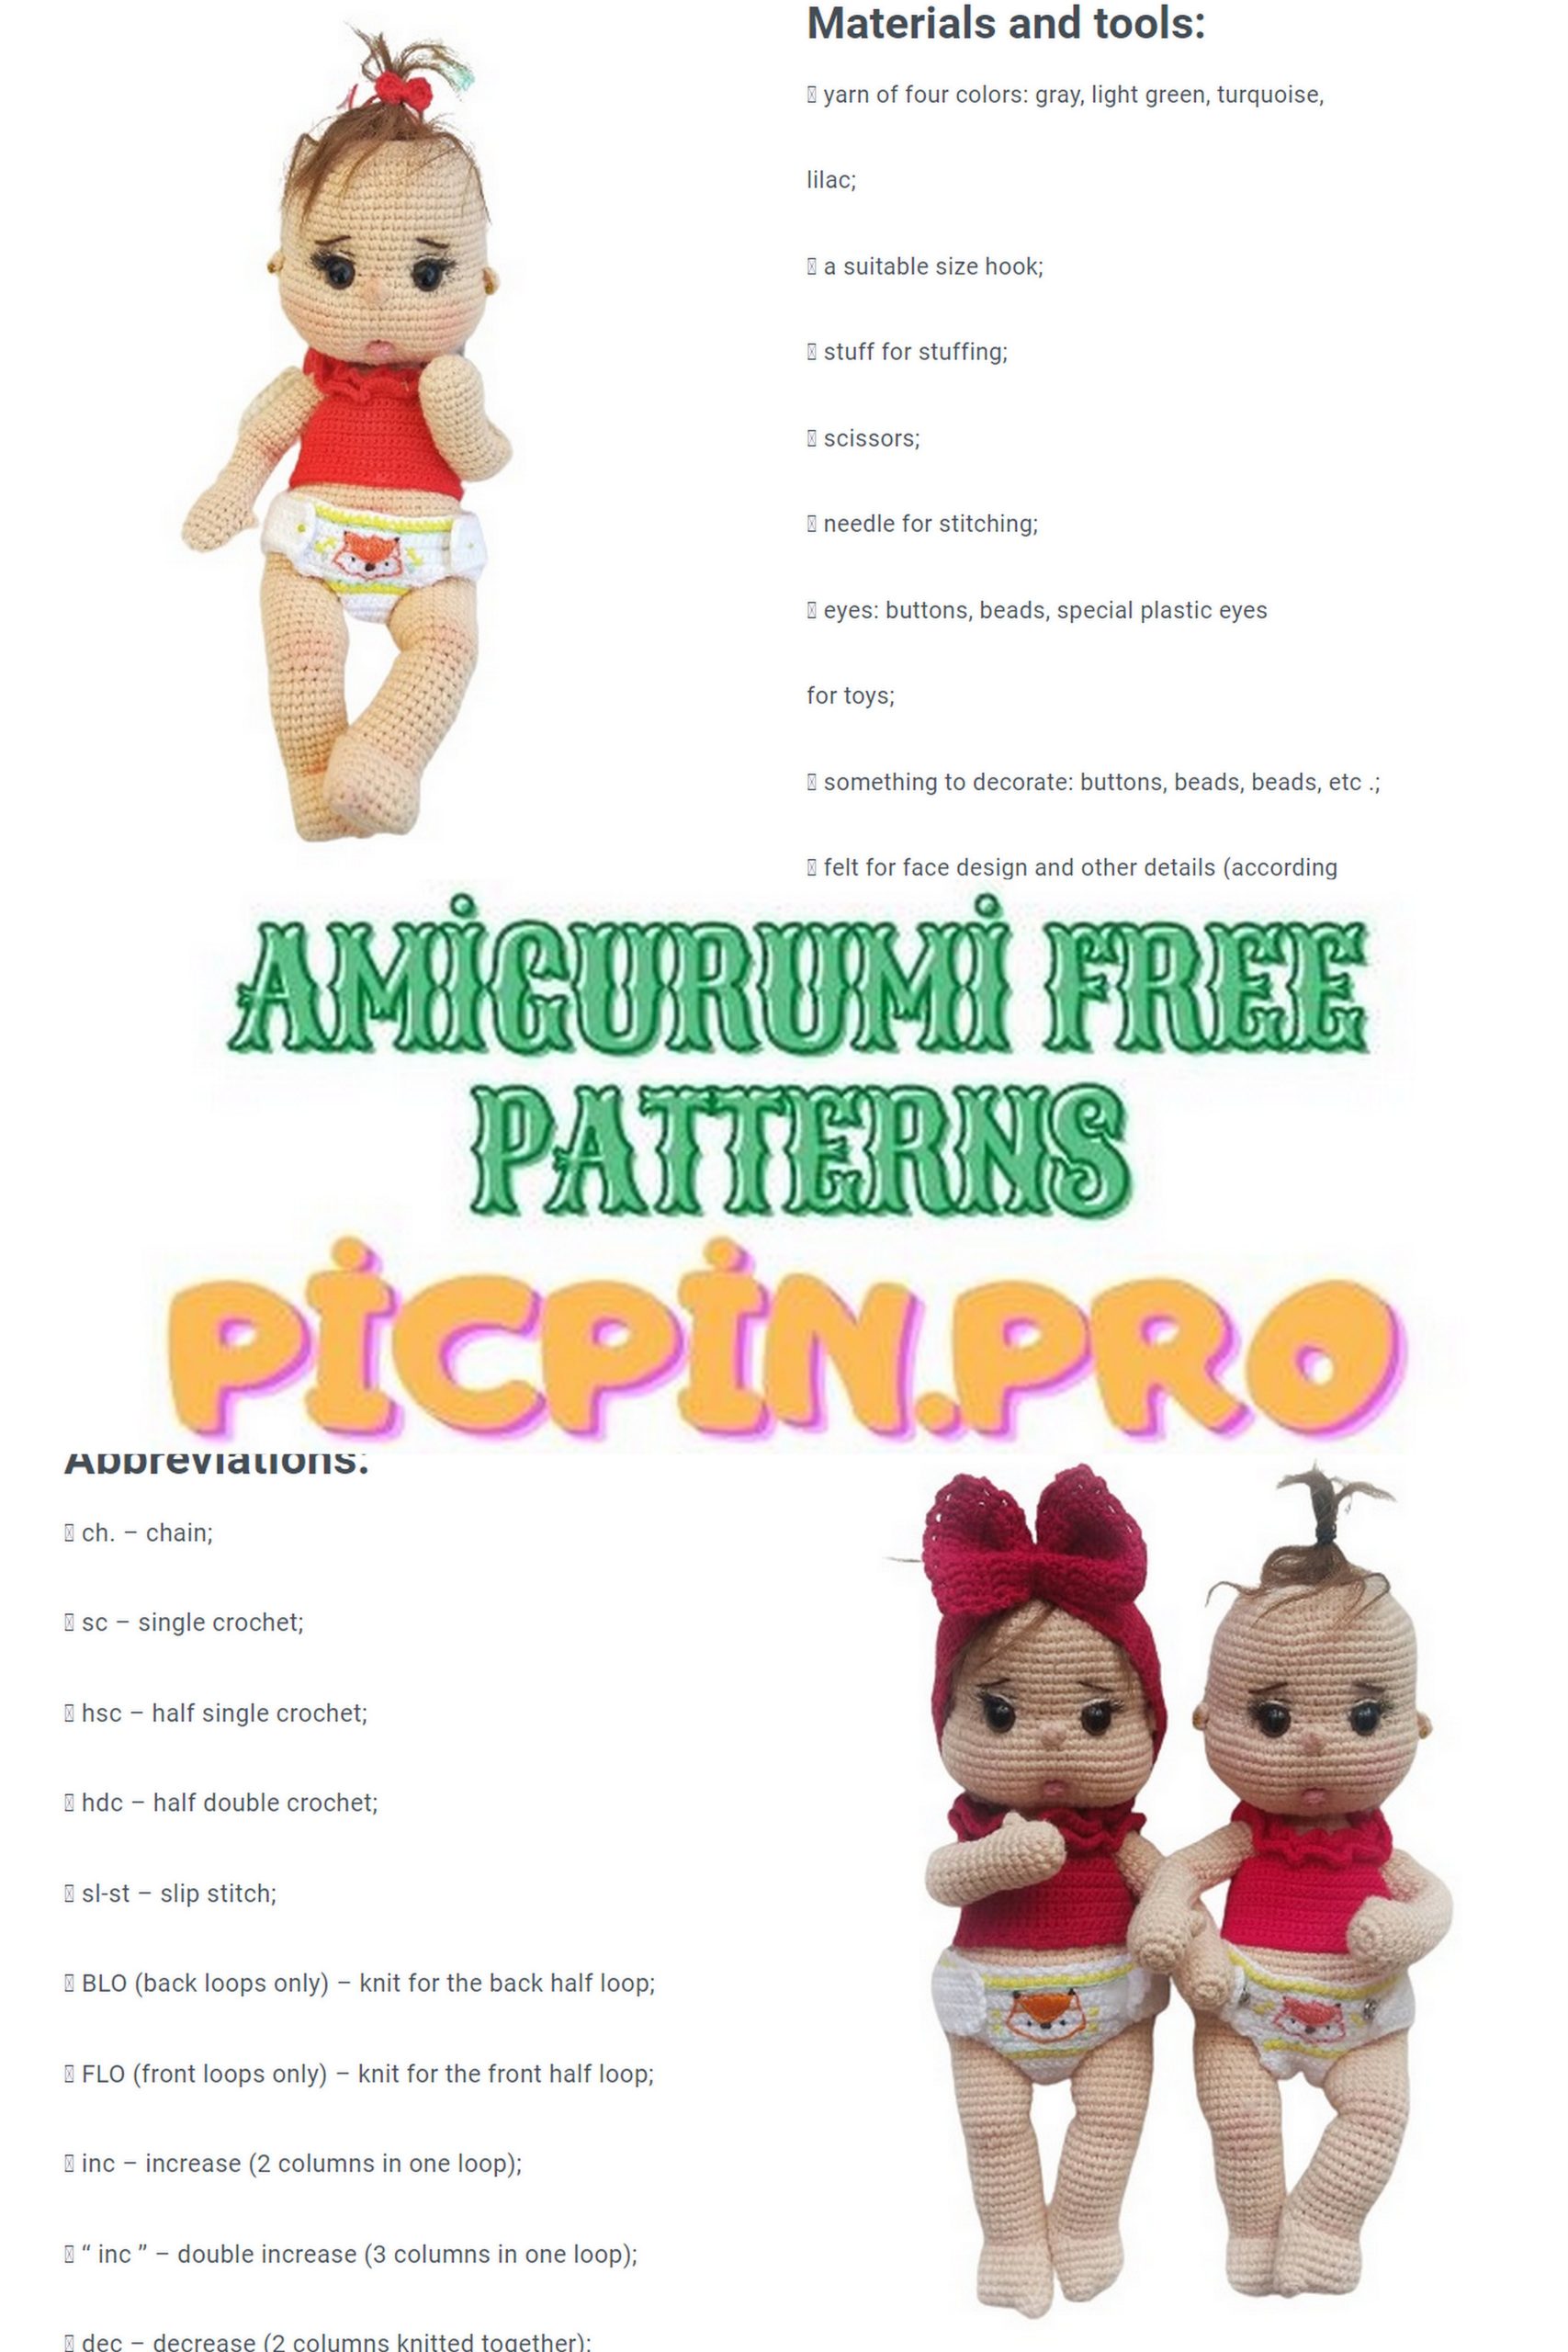
MATERIALS
Kartopu thread KOD: K1219 (THREAD IS NOT PRODUCED) – for a 2.5 mm crochet hook (instead of Kartopu thread you can use LANOSO ALARA COTTON KOD: C: 937-P: 144 or another thread. The hook should be thinner than indicated on (See yarn instructions.)
• Threads Gazzal baby coton white – CODE: 3432 (for diapers) – hook 2.0 mm.
• Red Gazzal baby coton – CODE: 3439 (for clothes) (For bow and blouse, you can use another thread, equivalent to gazzal, which will be thinner than the thread for the body).
• 12 mm safety eyes in brown color.
Filler
• Wire (for the doll frame)
• Adhesive plaster (to cover the ends of the wire)
Tessa (finished hair)
• Ready-made eyelashes for the doll and black sewing thread for sewing.
• Pink thread for lip embroidery.
• Brown thread for eyebrow embroidery (the thread used for the doll is alize diva)
DOLL’S GROWTH 27-30 CM. DOLL SIZE MAY BE REFERRED FROM THE ORIGINAL DEPENDING ON THE THREAD AND DENSITY.
HANDS
1) Into magic ring 6SC
2) 6INC = 12SC
3) 4 * (INC, 2SC) = 16SC
4-6) 16SC (3 rows)
7) 1 Popcorn, 15SC
8) 16SC
9) over the finger (DEC, 6SC) * 2 = 14SC
10-24) 14SC, 1 DC finish. (15 rows) (place wire in it and stuff with fiber.)
At the end of the second hand, knit another 4SC, 1DC and cut off the thread. The pollen on the hand should be inside, on the first hand we do not tie 4SC.
FOOT (LEFT FOOT)
1) Into magic ring 6SC
2) SC, INC (7SC in total) Tighten the loop and knit a chain of 7 CH, skip 1 CH and start at 2 from the hook (along the 6SC chain, 7SC on the finger, 6SC on the chain) = 19SC
3-7) 19SC (5 rows)
8) We knit the heel.
1SC turn, 9SC turn, 8SC turn, 7SC turn, 6SC turn, 5SC turn, 4SC. At the beginning of each row, we skip 1 stitch, due to this, a decrease will be obtained.
9) We tie the foot in a circle. When you get to the front knit 7DC = 19SC
Foot harness: 3SC, DEC, 7DC, DEC, 3SC (decrease should be in the corners)
Set a stitch marker.
10-20) 19SC (11 rows)
21) For the knee, we knit 4 additions in the front, if necessary, knit SC to these loops; (Knee: 11SC, 4INC, 4SC = 23SC)
22) To form the knee, we knit 4 decreases. (Knee: 4DEC, 15SC = 19SC)
23) 19SC
24) To tie a beautiful leg, in the 22nd row, knit 4 presses from behind, if required, knit SC to these loops. (Explanation: 4INC, 15SC = 23SC)
25-31) 23SC (7 rows)
32) 1DC cut and hide the thread. (The connection of the two legs will be done with a thread from the right leg.)
Squeeze out the right leg
The only difference between knitting the left foot from the right is the 8th row.
We knit 11SC in Row 8 (this is needed to adjust the direction of the finger.)
Then we turn and knit 9SC turn, 8SC turn, 7SC turn, 6SC turn, 5SC turn, 4SC.
1) Into magic ring 6SC
2) SC, INC (total 7SC) we knit a chain of 7 CH, start with 2CH from
hook. 6SC chained, 7SC finger, 6SC chained = 19SC
3-7) 19SC (5 rows)
8) We knit the heel.
11SC turn, 9SC turn, 8SC turn, 7SC turn, 6SC turn, 5SC turn, 4SC.
9) We tie the foot in a circle. When you get to the front, knit 7DC = 19SC Foot harness: 3SC, DEC, 7DC, DEC, 3SC (decrease should be in the corners).
10-20) 19SC (11 rows)
21) For the knee, we knit 4 additions in the front, if required, knit SC to these loops; (Knee: 11SC, 4INC, 4SC = 23SC)
22) To form the knee, we knit 4 decreases. (Knee: 4DEC, 15SC = 19SC)
23) 19SC
24) To knit a beautiful leg, in the 22nd row, knit 4INC from the back, if necessary, knit SC to these loops. (Explanation: 4INC, 15SC = 23SC)
25-31) 23SC (7 rows)
32) In this row, the legs will be connected. Do not cut the thread. This will be 1 body row.

WE KNIT THE BODY
1) Continue along the right leg 11SC, 2 CH (knit DC into the left leg), along the left leg 23SC, along the chain 2SC, along the right leg 12SC, put a marker – this will be the beginning of a new row = 50 SC (The beginning of the row will be from that place , which is marked with a red thread on the doll’s right leg.)
2) 16 INC should be located at the back of the doll, strictly in the middle.
In the front we will knit INC, SC repeat 5 times, create a tummy.
Explanation: 4SC, 16INC, 13SC, 5 * (INC, SC), 7SC = 71SC
3-9) 71SC (7 rows)
10) Shaping the ass. We knit decrements.
Explanation: 3SC, 4 * (SC, DEC), 10 SC skip, 4 * (SC, DEC), 34 SC = 53SC
(In other words, 8 decreases will be connected by 4 to the right, 4 to the left. We knit exactly along the stomach.)
11) 53SC
12) We knit a row with decreases.
Explanation: 3SC, 6 * (DEC, SC), 32SC = 47SC
(2.Sew skipped loops in flesh.)
13) 47SC
14) 27SC, 4 * (DEC, SC), 6SC, DEC = 42SC
14) 18SC, DEC, 20SC, DEC = 40SC
15) (Subtraction left and right) 17SC, DEC, 19SC, DEC = 38SC
16) (Subtraction left and right) 17SC, DEC, 17SC, DEC = 36SC
17) (Subtraction left and right) 16SC, DEC, 17SC, DEC = 34SC
(Since the last decrease corresponds to the last stitch of the row and the first stitch of the next row, the offset is 1 stitch.)
19-21) 34SC (3 rows)
22) We knit hands. Hands are tied in 3 stitches, indicated by pins in 1 photo below. Start by tying in the right arm 3SC arm + body, 14SC, 3SC left arm + body, 13SC, 1DEC (Decrease, can go to the beginning of the 23rd row.) = 34SC
23. From here we begin to knit by decreasing between the hand and the body, we knit the shoulder.
The first decrease coincides with the last stitch of row 22 and the beginning of row 23.
23) In this row, we make 4 decreases in the corners of the arms = 46SC
Explanation: DEC (Use a 22nd stitch), 9SC, DEC, 12SC, DEC, 9SC, DEC, 12SC = 46SC
24) Decrease at the corners of the arms = 42SC
Explanation: DEC, 7SC, DEC, 12SC, DEC, 7SC, DEC, 12SC = 42SC
25) Decrease at the corners of the arms = 34SC
Explanation: 2DEC, 2SC, 2DEC, 11SC, 2DEC, 2SC, 2DEC, 11SC = 34SC
26) In the shoulder area, knit 3SC together. Reduce total by 4 stitches = 30SC (the middle of the shoulder is indicated with a black pin in the photo.)
Explanation: SC, DEC3, 14SC, DEC3, 13SC = 30SC
27) In the shoulder area, knit 3SC together. Decrease total by 4 stitches = 26SC
Explanation: 2 * (DEC3, 12SC) = 26SC
28) In the shoulder area, knit 1 decrease = 24SC
Explanation: 2 * (DEC, 11SC) = 24SC
29) Each side will be reduced by 1 stitch, and we knit a decrease on the last two stitches (we make a decrease in the last two loops of this row, since a shift occurs when decreasing.) = 21SC
Explanation: DEC, 10SC, DEC, 8SC, DEC = 21SC
30) We will decrease one side by 1 stitch (because the decrease was made on the last stitch of the 29th row), on the other hand, we will knit 2 decreases = 18x (finish and leave the long one to sew on the head). = 18SC Explanation: DEC, 7SC, 2DEC, 9SC, 1DC = 18SC (Here at the end we knit 9SC so that DC is on the side. So that the end of the thread comes out from the side of the head. If it is in the front, it may not look neat when sewing on the head.)
HEAD
1) Into magic ring 6SC
2) 6INC = 12SC
3) 6 * (SC, INC) = 18SC
4) 6 * (2SC, INC) = 24SC
5) 6 * (3SC, INC) = 30SC
6) 6 * (4SC, INC) = 36SC
7) 6 * (5SC, INC) = 42SC
8) 6 * (6SC, INC) = 48SC
9) 6 * (7SC, INC) = 54SC
10) 6 * (8SC, INC) = 60SC
11-18) 60SC (8 rows)
19) We make a decrease on the front part. (The pins show the places where the subtraction is made). The eye will be inserted between 19-20 rows with 6 stitches between them.
Explanation: 17SC, 6 * (DEC, 2SC), 19SC = 54SC
20) From this row we knit 6 additions over the face. 17SC, 6 * (INC, 2SC), 19SC = 60SC
21) Cheeks; We knit 8 additions, 4 on one side and 4 on the other side of the nose. The additions begin before the first increase of 20 rad. 17SC, 4 * (INC, SC), 3SC, 1POPcorn (3 DC in 1 loop), 4SC, 4 * (INC, SC), 19SC = 68SC
22-27) 68SC (6 rows)
28) We make a reduction for the formation of the cheeks, in those places where we knitted the additions. 4 for the left cheek, 4 for the right cheek with 8 stitches. 17SC, 4 * (DEC, SC), 8SC, 4 * (DEC, SC), 19SC = 60SC
29) 6 * (DEC, 8SC) = 54
30) 6 * (DEC, 7SC) = 48
31) 6 * (DEC, 6SC) = 42
32) 6 * (DEC, 5SC) = 36
33) 6 * (DEC, 4SC) = 30
34) 6 * (DEC, 3SC) = 24
35) 6 * (DEC, 2SC) = 18 DC cut the thread.
HEAD; AFTER FITTING THE EYE, EMBROIDERY OF THE Mouth, WE SEW THE HEAD TO THE NECK.
EYES: 12 mm. BETWEEN ROWS 19 and 20 BELOW, 6 STITCHES BETWEEN TWO EYES.
Attach the eyes without filling the inside of the head. We will not make an eye-tightening, as we knitted the shape of the head, taking into account the eyes.
A thorough filling is required when filling the head. Fill your cheeks especially beautifully. If you fill too tight, you will stretch the fabric of the head and it will not be pretty, if you fill not tightly, rounded lines such as the cheeks will lose their contours.
After attaching the eyes to the head and filling the head with fiber, before sewing the head to the body, we perform processes such as eyebrow embroidery and eyelash gluing.
EYEBROWS: We start with the 16th row.
We use a long needle for eyebrow embroidery, this will make your work easier. As in Figure 1, we pass the needle through the neck cavity, which we left open for sewing on the head, and draw the needle out 1 row above the eyes. We embroider the first eyebrow after 4 stitches diagonally across the row, as in picture 2, and move on to the second eyebrow. In Figure 4, we tie the two ends of the yarn in a knot after embroidering the ribs. Be careful when tying the knot, if you tighten too tightly, your eyebrows will look tight and not pretty.

ADHESIVE EYELASHES
Cut the finished eyelash for dolls into 2 parts. It can be cut by about 1 cm, but it depends on your preference. To make the lashes thick, I make two layers, so I cut out 4 pieces for both eyes. Sew on the eyelash with a thin black sewing thread or ghost thread and a fine needle. Pay attention to the direction of the cilia. They should be curved from the eye to the brow.
Sewing on eyelashes can be a little tricky. After sewing on the eyelashes with a flesh-colored thread, we embroider the eyelid above the eyelashes (do this right at the top of the eye, otherwise the eyelash will not rise). This makes the lashes more beautiful and tidy, and the thread looks like an eyelid.
MOUTH: First, we define the places for the mouth. We define it at the level of the nose with an interval of 2 stitches between the 27th and 28th rows.
PREPARATION: Insert the needle into the crown of the head, as in Figure 1. You just leave the long end of the thread at the top of the head to tie it later. We withdraw the needle through the previously determined place for the mouth. As in Figure 2, we bring the needle out to the left, skipping 2 stitches, and out the top of the head. Do not withdraw the needle in the same place where the needle was inserted. As in Figure 3, we tighten the thread to form the mouth and tie the two threads well. At the last stage, we hide the ends of the threads inside the head so that they are not visible. This can be done with a needle. If a dimple appears on the head, it’s okay, since the head will be covered with hair.
Ears: Sew BETWEEN 20 AND 23 ROWS. There should be 6 stitches in the middle of the eye, between the eye and the ear. First knit 5SC into magic ring. Leave both ends of the thread long. Sew on the ear, as in the Figure, using a needle.
Thread one end of the thread through the needle. Insert the needle from top to bottom, and work out 3 rows below. Bring the second thread to the bottom of the ear and tie a small knot here. Hide the threads in your head.
DIAPER
(White GAZZAL threads, hook 2.00mm)
We knit the diaper in additions and decreases.
We knit in rotary rows.
1) Beginning with a chain of 57 CH with 2CH from the hook, knit 56SC.
2-5) 56SC (4 rows.) (At the end of each row, knit 1CH and turn the work.)
6) 9 DC 1 CH, 36SC, 1 DEC, (At the end of each row, knit 1CH and turn the work.) Note: Also, do the decrease at the beginning of the row.)
7) Skip 1st and start knitting at 2nd loop (Repeat this process up to row 15 at the beginning of each row.) 34SC, 1 DEC
8) 32SC, 1 DEC = Total 33SC
9) 30SC, 1 DEC = 31SC
10) 28SC, 1 DEC = 29SC
11) 26SC, 1 DEC = 27SC
12) 1 DEC, 20SC, 2 DEC = 23SC
13) 1 DEC, 16SC, 2 DEC = 19SC
14) 1 DEC, 12SC, 2 DEC = 15SC
15) 1 DEC, 8SC, 2 DEC = 11SC
16-26) 11SC (11 rows)
27) 1 INC, 9SC, 1INC = 13SC
28) 1 INC, 11SC, 1 INC = 15SC
29) 1 INC, 13SC, 1 INC = 17SC
30) 1 INC, 15SC, 1 INC = 19SC
31) 8 CH, with 2 CH from the hook. (on the left, fasten the thread and knit 8CH and tighten the thread.) Continue knitting from right to left. In total, you should get 33SC.
(EXPLANATION: 19 SC, 7SC on one side of the chain and 7 SC on the other side of the chain = 33 stitches.)
32-36) 33SC
37) Tie the entire diaper (2CH, 1DC) in each loop (the goal is to make the panties look pretty). We knit in each loop, we knit in the corner twice.
IT IS POSSIBLE TO MAKE THE EMBROIDERY ON THE PANTS.
If your yellow thread is thick, you can split it into multiple threads for embroidery. We embroider in each stitch, in the shape of the letter X. It would be better if you first practice on the pattern and then embroider the X on the panties.
You can embroider any design you like. Unfortunately, I cannot explain my embroidery. First, I drew it with a pencil and embroidered it with thread. The X-shaped embroidery is made with yellow thread only.
The buttons will be sewn with a sewing needle to open and close the panties.
Velcro can also be used if desired. Look at the images, determine the location of the buttons and sew them on. The buttons have two parts. 1 part will be sewn to the top of the panties, and the other part to the bottom of the panties, as in the photo below.
If you are going to sew on Velcro, you should sew on the Velcro with white sewing thread as shown below.
We sew the velcro to the inside of the panties, and sew the sticky part to the chanterelles. Look at the picture.
BLOUSE
(RED THREAD GAZZAL, HOOK 2.00mm)
1) 49 CH, with 2CH from the 48SC hook. (1 CH and turn)
2) 48 DC (2 CH and turn)
3) From the front of the stitch, work 48 INC-DC into each stitch. (2 CH and turn) 48INC-DC = 96SC
4) 48SC (At the end of the row we knit a chain of 6 CH and then turning the work we knit 1SC in the next row. Loop.)
5) 48SC
6) 48 DC
7) For the front wall of the loop, knit 48 INC-DC. (At the end of the row we knit a chain of 6 CH and then turning the work knit 1SC in the next row. Loop.)
8) 6Return to the stitches of the 6th row and knit behind the back wall of the stitch.
7SC, 12 CH, 10 stitches skip, 14SC, 12 CH, 10 stitches skip, 7SC. (We knit the arm straps.)
9-19) 52SC (At the end of the 17th row, we knit a chain of 6CH.) (11 rows)
20) 3 CH, skip 1 stitch and knit 1DC into the next loop, knit to the end of the row.
The buttons are sewn directly on against the buttonholes.
FASTENING THE HAIR TO THE HEAD For amigurumi, ready-made hair (tress) will be used, 1 meter will be enough. The baby’s hair is short. To do this, the long wefts must be cut. About 10 cm of hair is enough. It is better to trim already on the head, after fastening.
Sew on the hair in a spiral.
Sew on the hair, twisting it in a spiral, as in the image.
After the hair is completely sewn on, we do the hairstyle. Take your hair with both hands, rub it lightly in your palms and tousle it. Then we sew a fishing line by the hair, in a semicircle (you can use a sewing thread, only the stitches will be visible) The front part of the hair is not sewn. If your hair stands on end, then attach your hair to your head and wrap it with salofan and dip your head in hot water, the hair will fall around the head. (The longer the hair, the easier it is to shape as it is steamed.) If the hair is too long, cut it.)
WE KNIT BANDANA
Begin with a chain of 12CH, with 3CH from hook, work 10DC, 3CH turn.
We knit until the full head circumference, I got 38 rows. Next, sew with a needle, and pull to the middle.
EXPLANATION: 12 CH, with 3 CH from the hook, 10DC (38 Rows)
For a bow; 19 CH turn, with 3 CH from the 17 DC hook. Work 10 rows. Next, tie the entire piece in a circle. 3CH, skip 1 stitch 1DC into next stitch.
Pull the thread in the middle and sew to the bandana.
The finished bow should look like the image, and secured with a bandana thread.
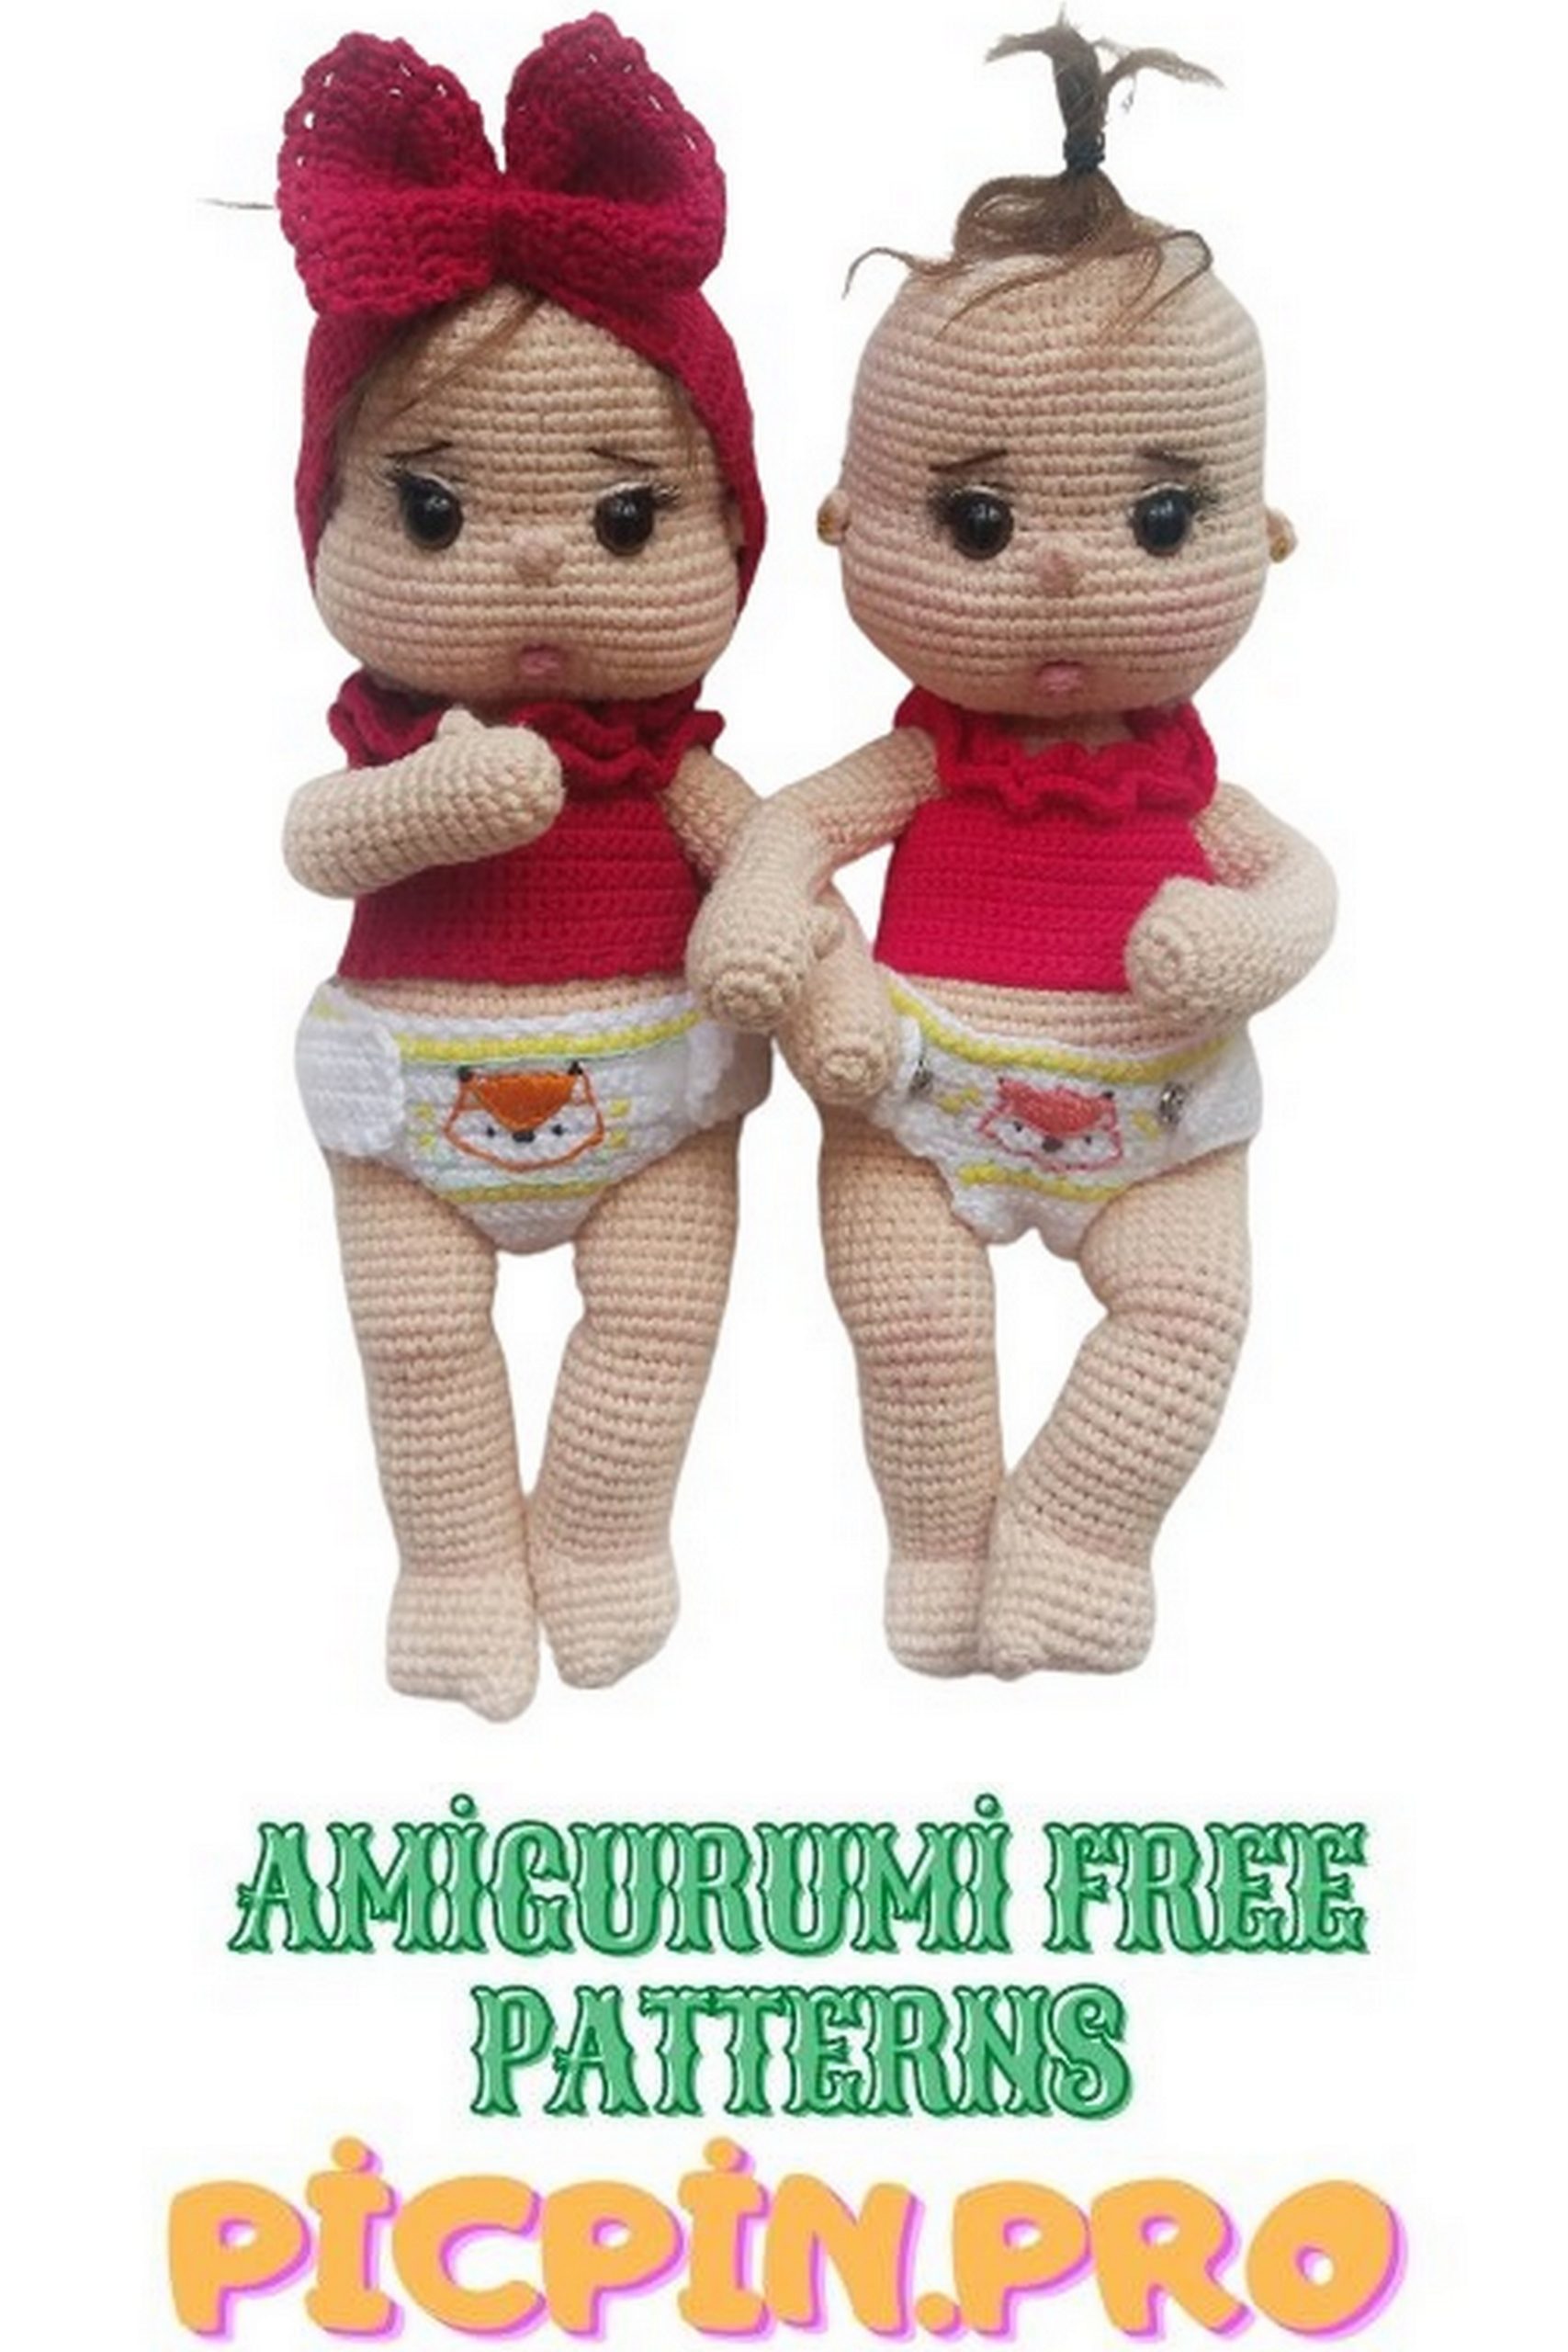
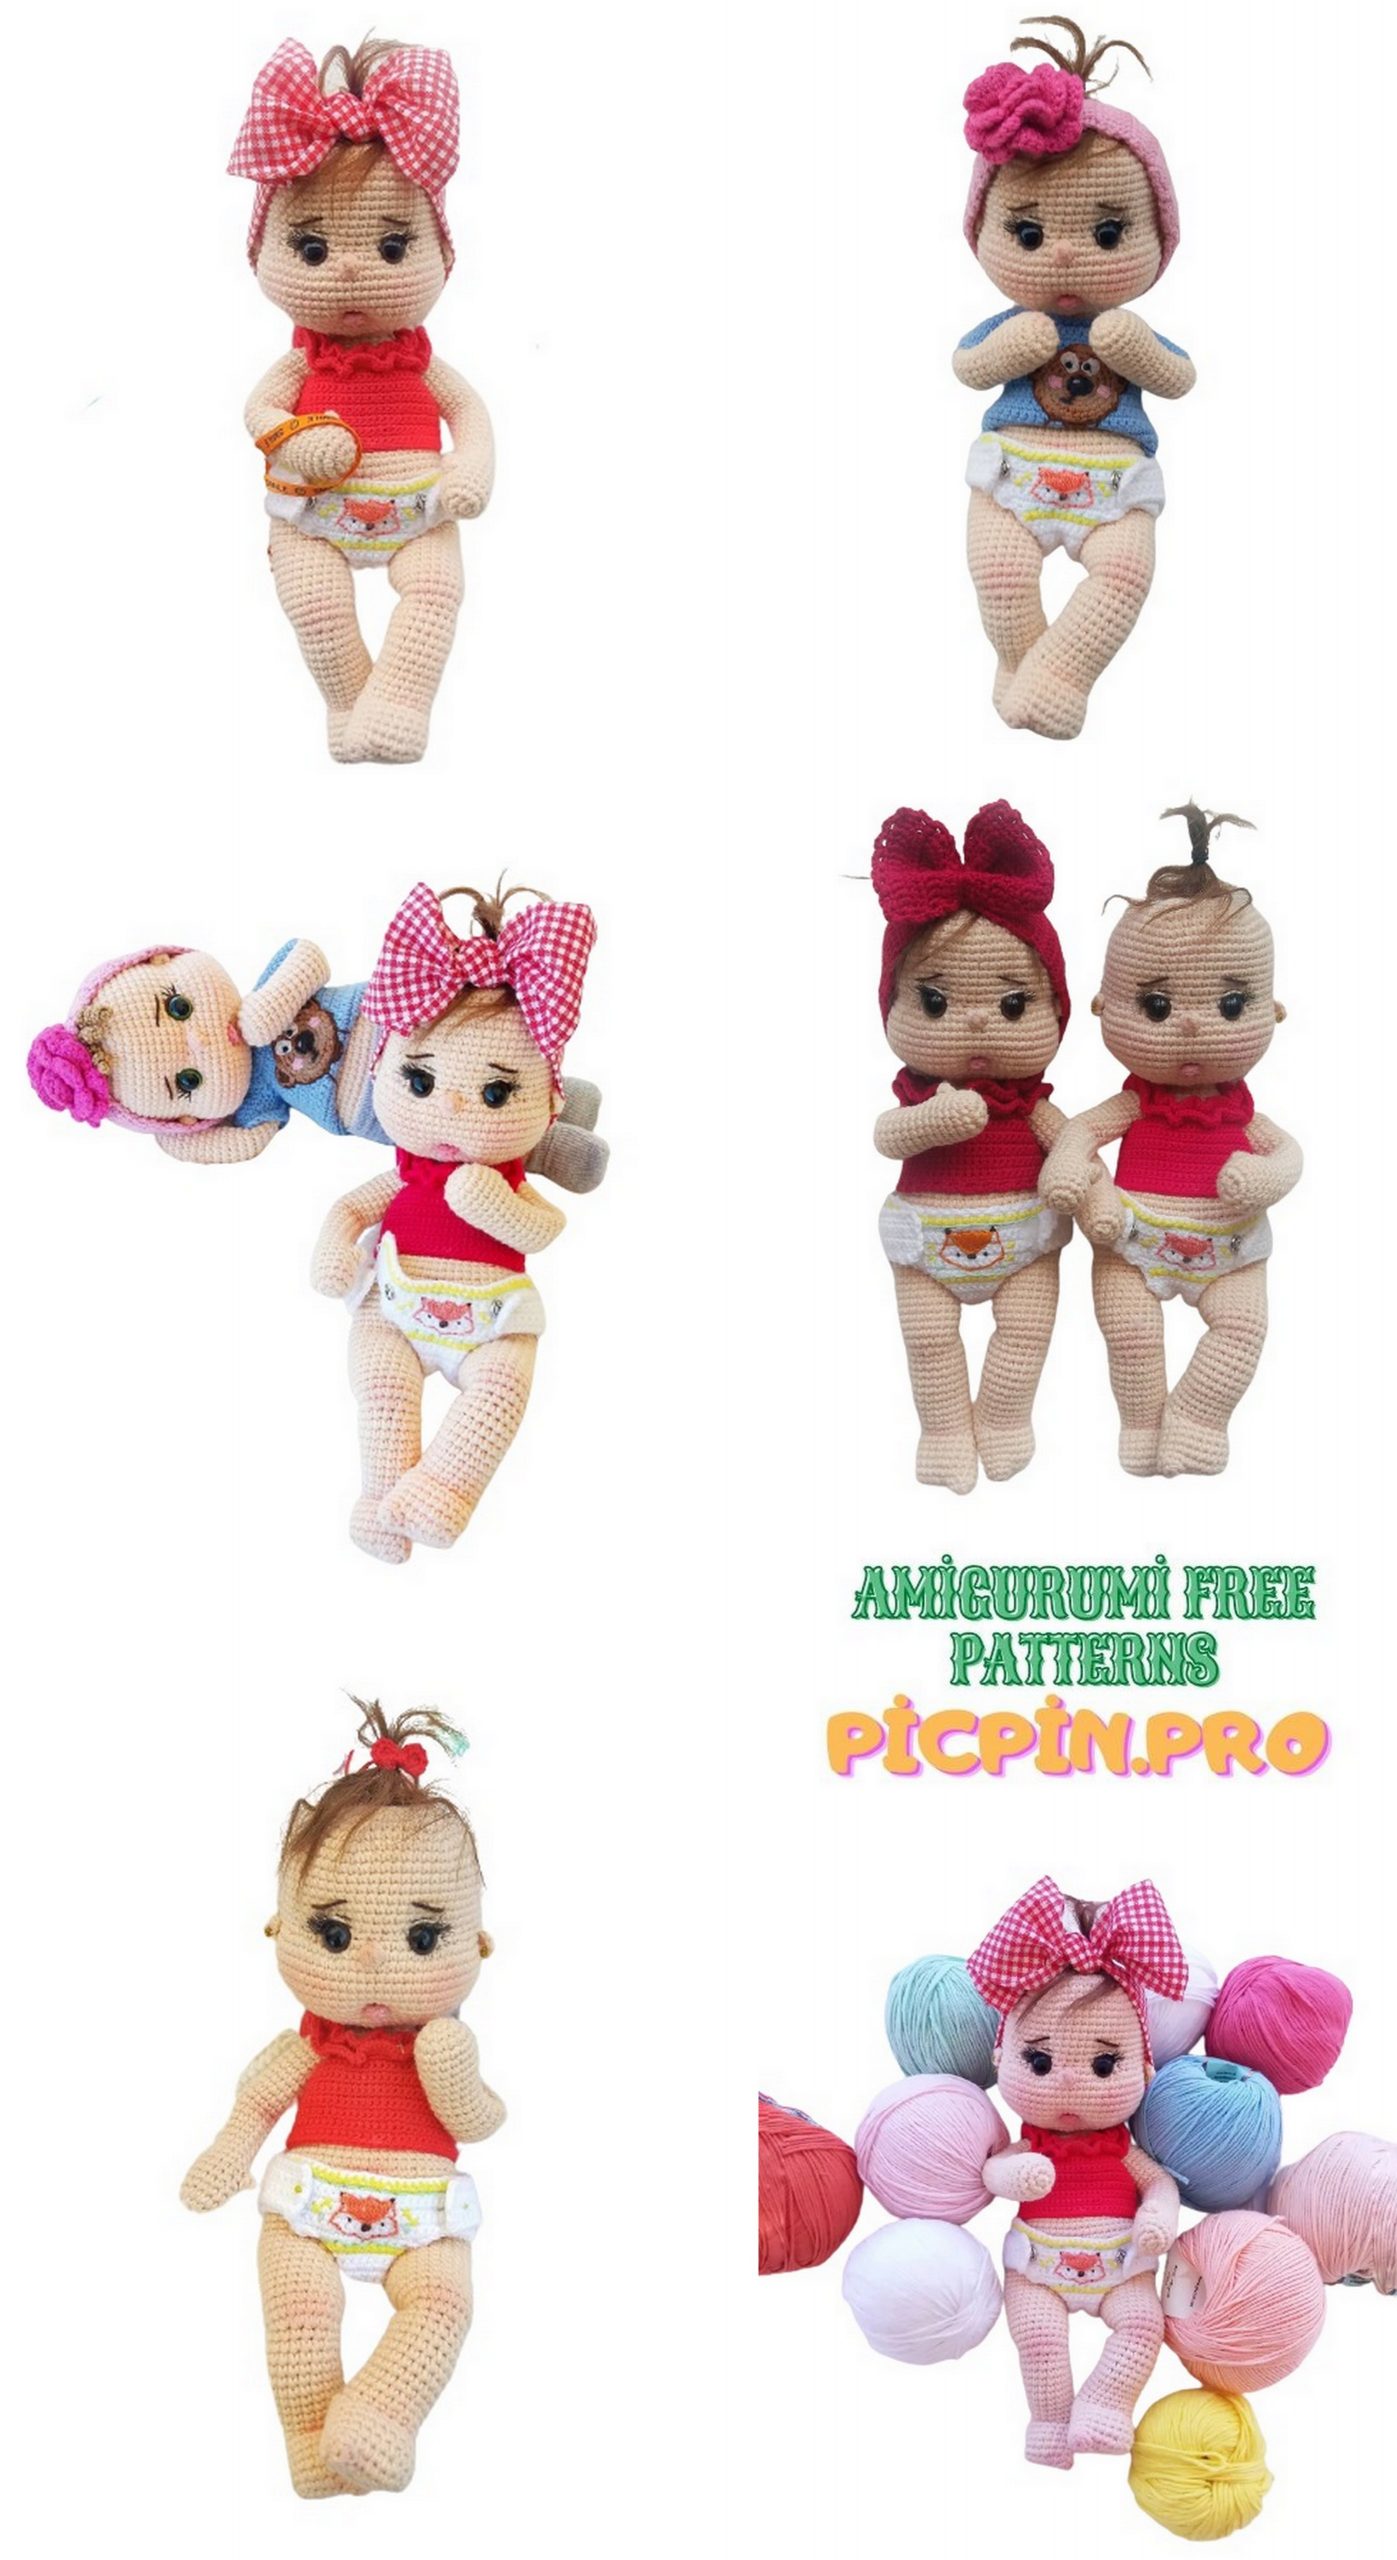
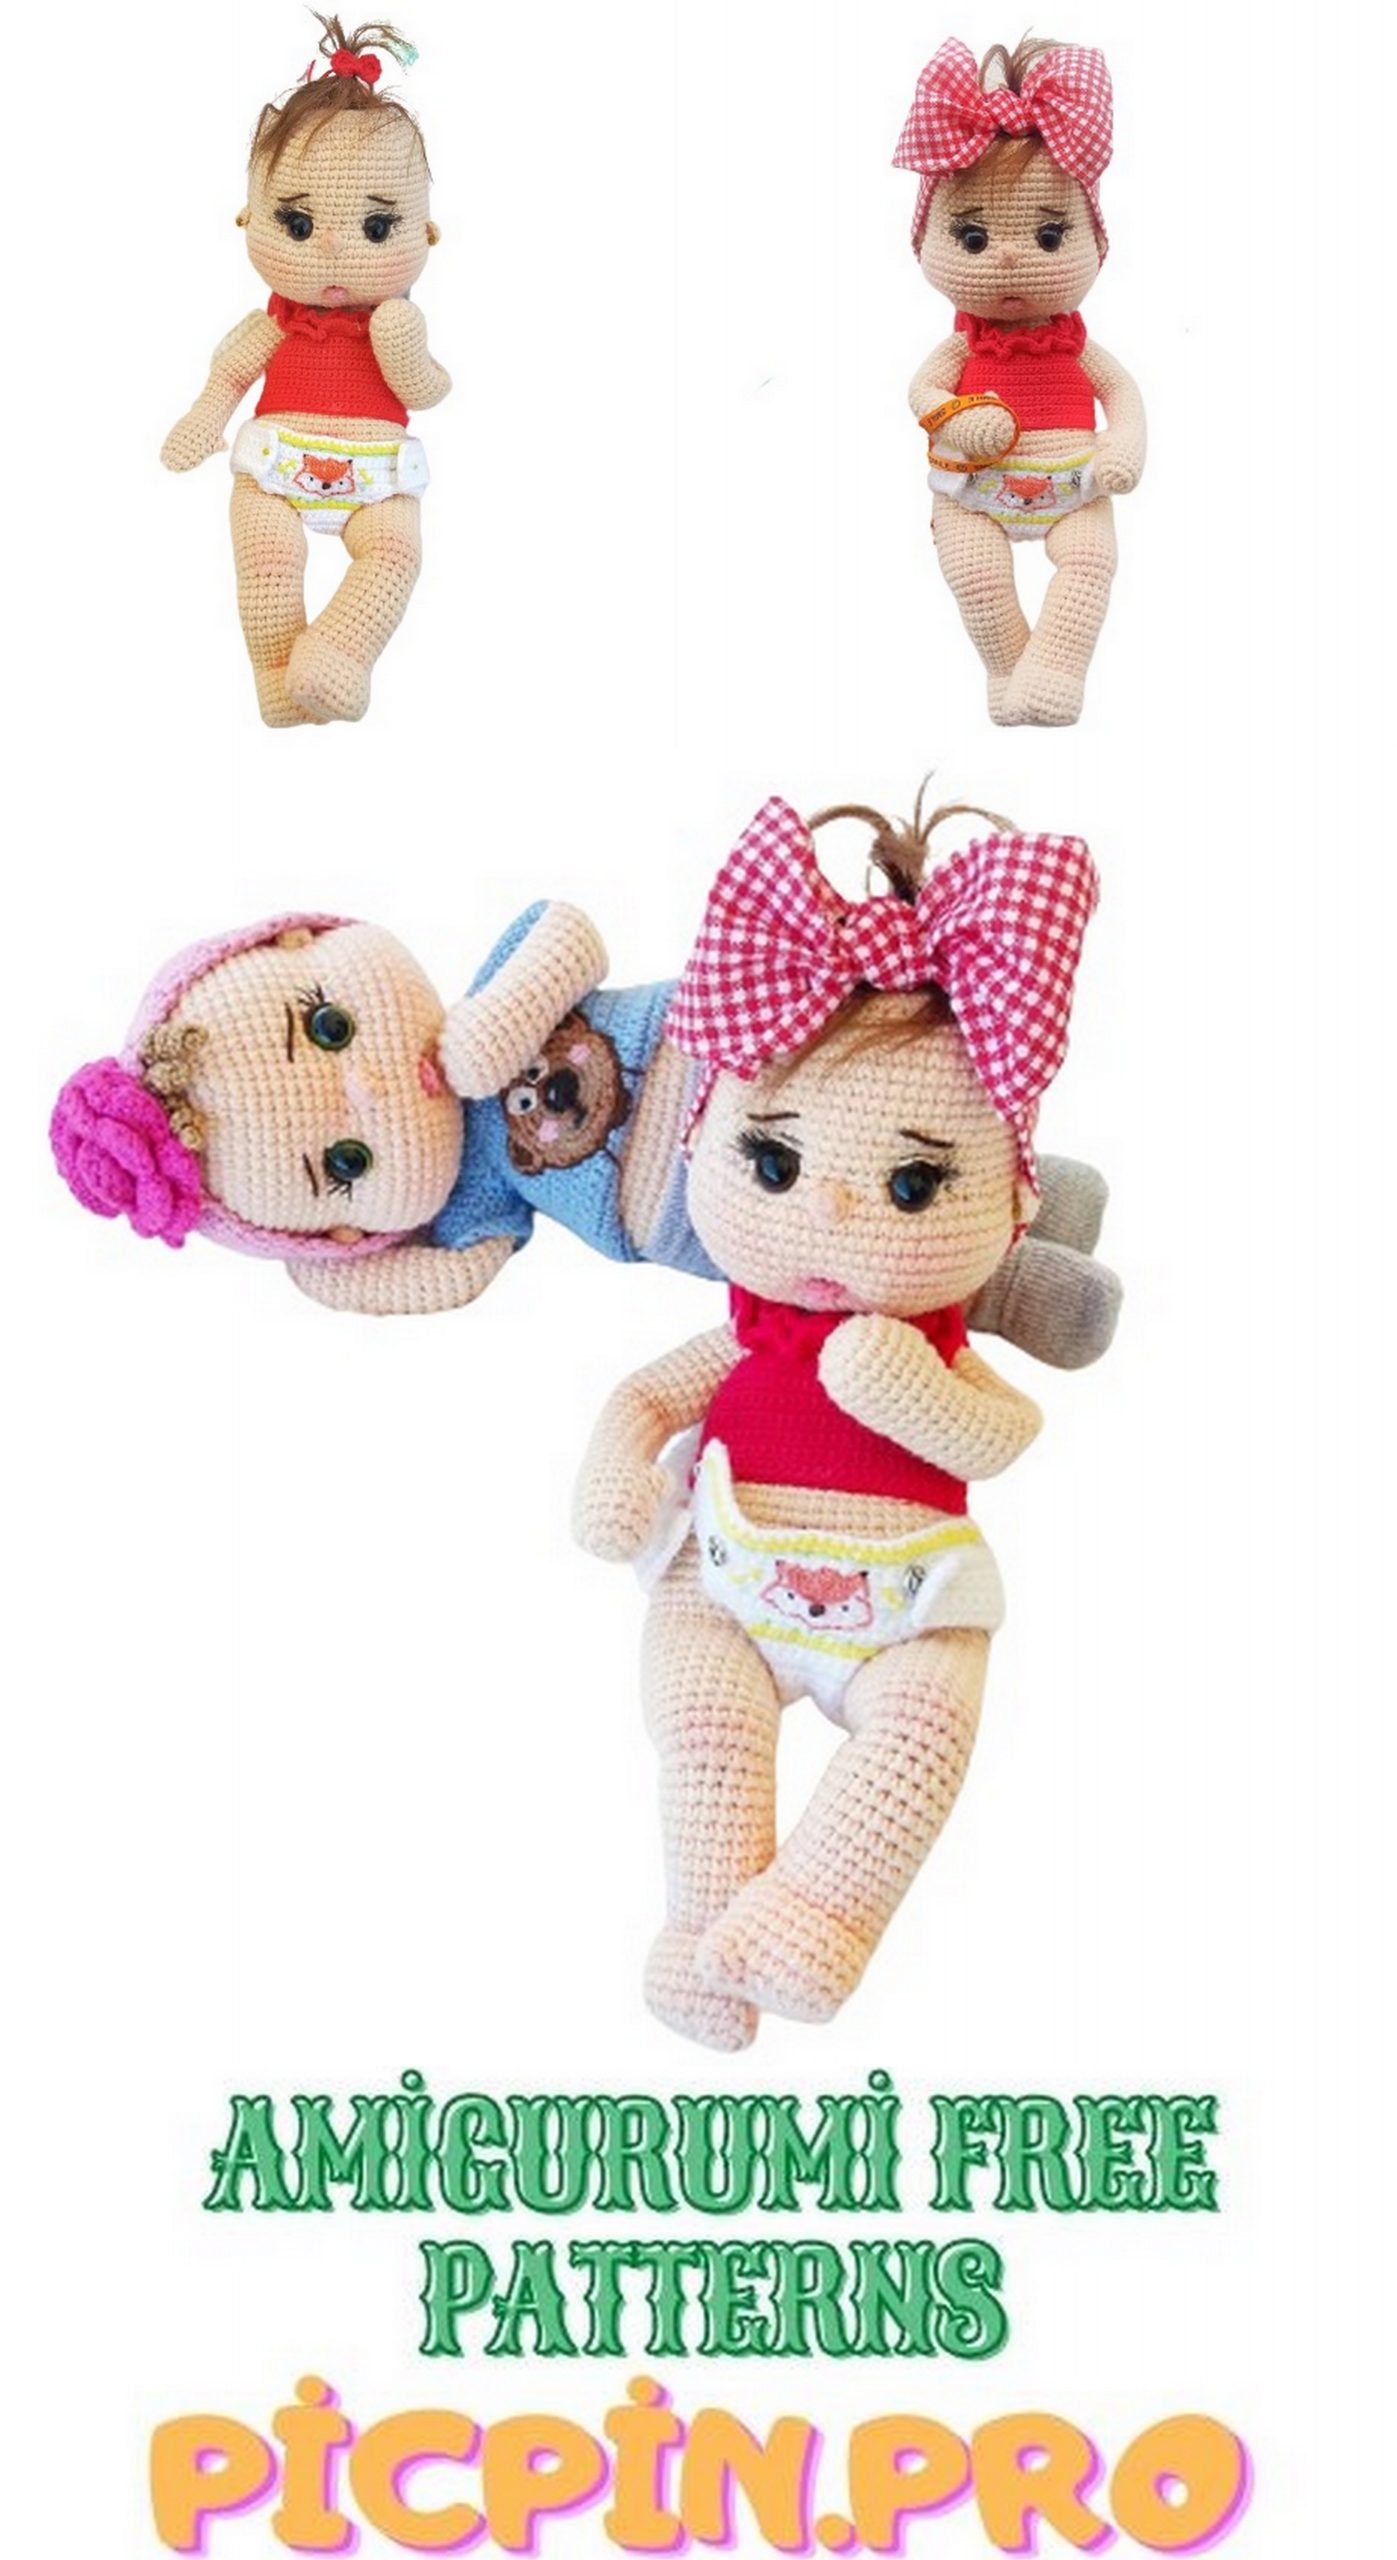
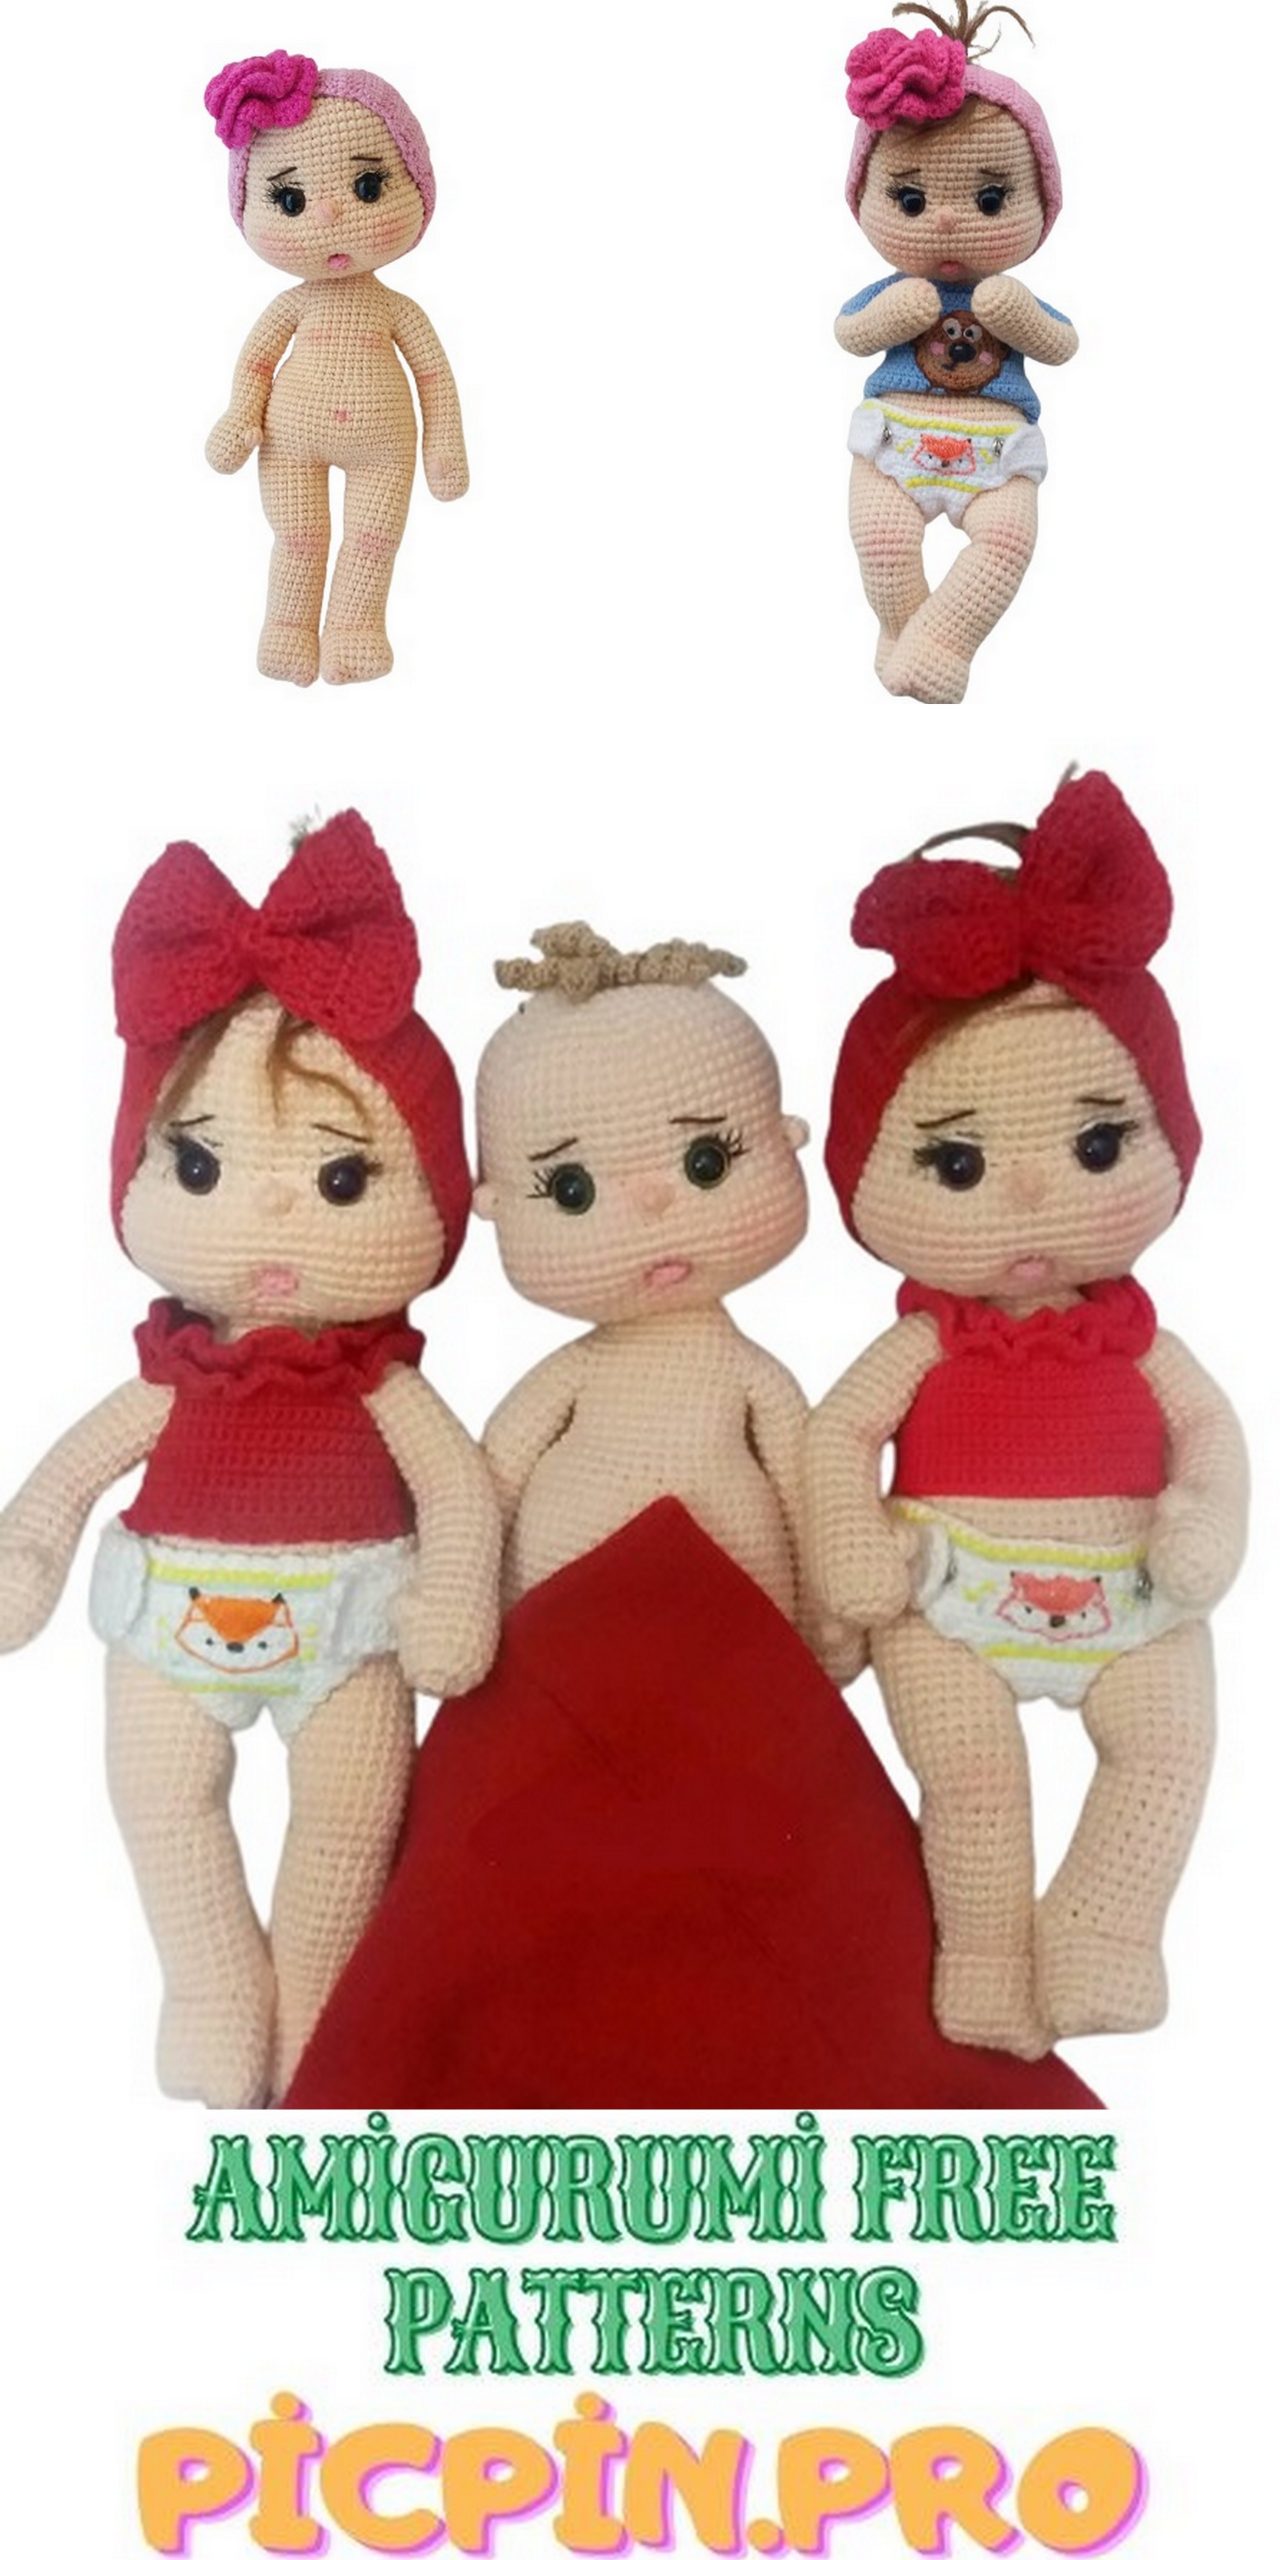
Additional description of the baby with knitted hair and embroidered eyelashes
The difference with this baby is that we do not use ready-made hair and eyelashes.
If you don’t have tresses or are difficult to sew, you can tie 6 curly strands of hair with Alize diva, as shown in the image.
Too many strands can make a child look more like an adult. The choice is yours.
Hair; 1) 26 CH, with 2CH from the hook, in each loop we knit INC, SC to the end of the chain. 2) Again we dial 26 CH, with 2CH from the hook. (In total, repeat 6 times, you should get 6 strands)
You can change the amount of CH from 26 to 30. The curls will be short or long.
Sew the hair to the hole where you tightened the thread when tightening.
If you don’t have ready-made eyelashes, you can embroider them with floss. The eyelash is embroidered with black thread, and the thread that we run along the top of the eye is a dark brown alize diva thread.
We will embroider eyelashes, on the side of the eye at 18-19 rad. Determine the number of eyelashes yourself, according to your desire. At the end, be sure to make up the baby’s cheeks.