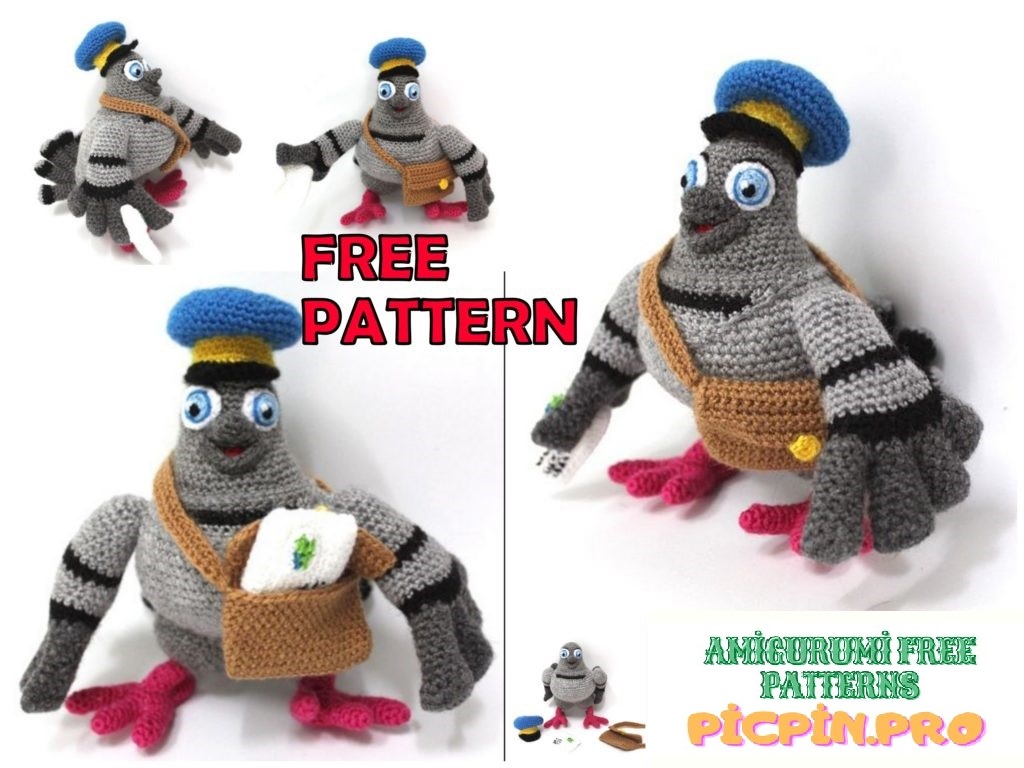
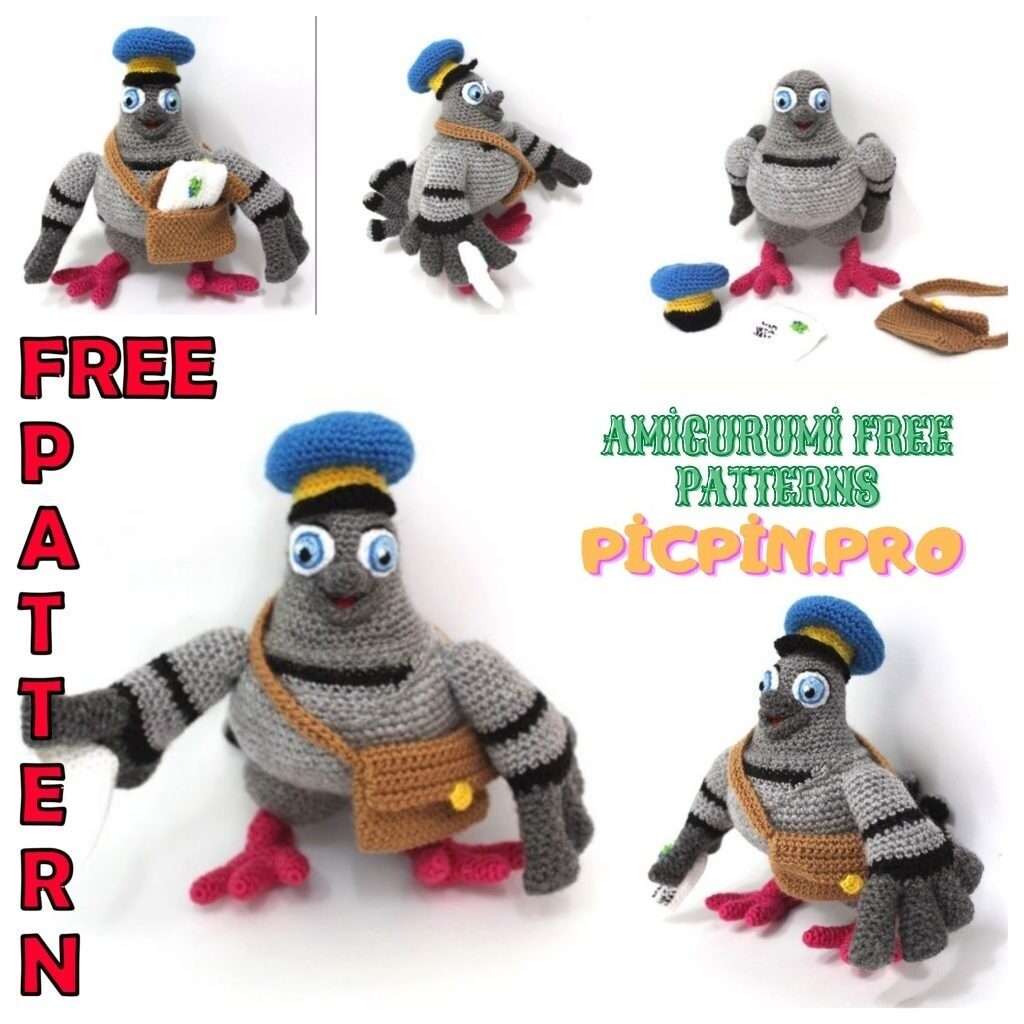
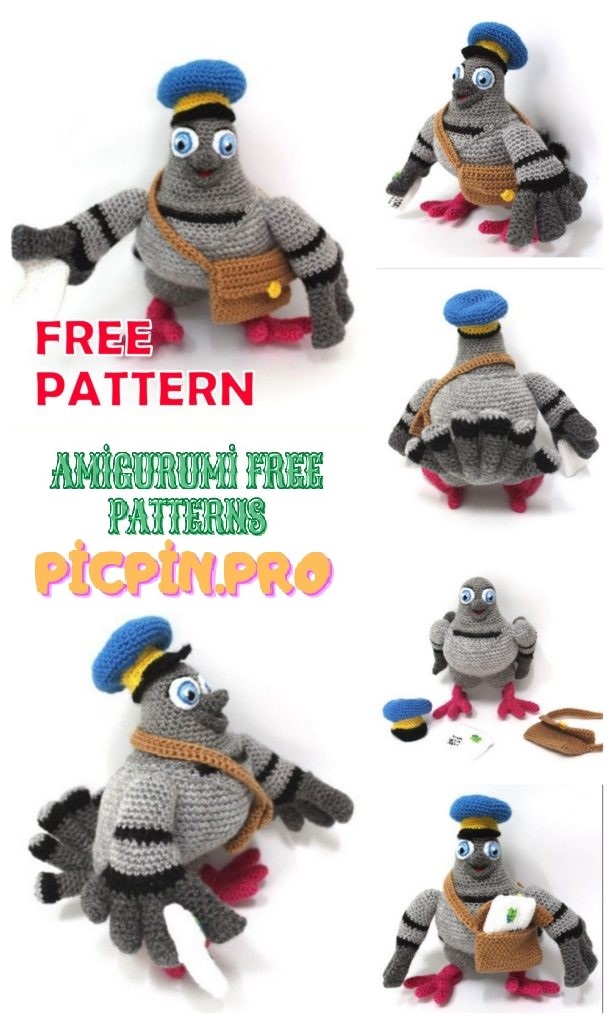
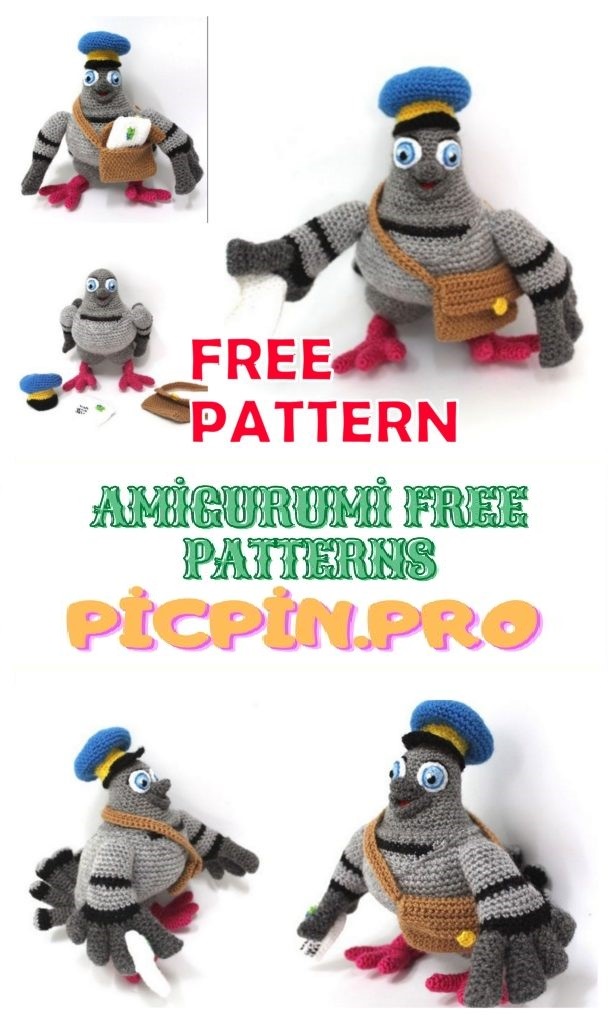
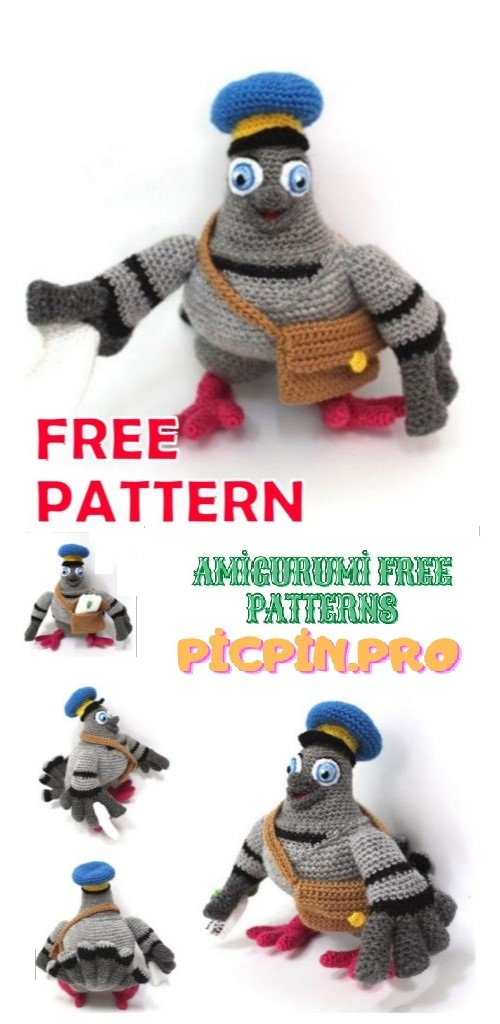
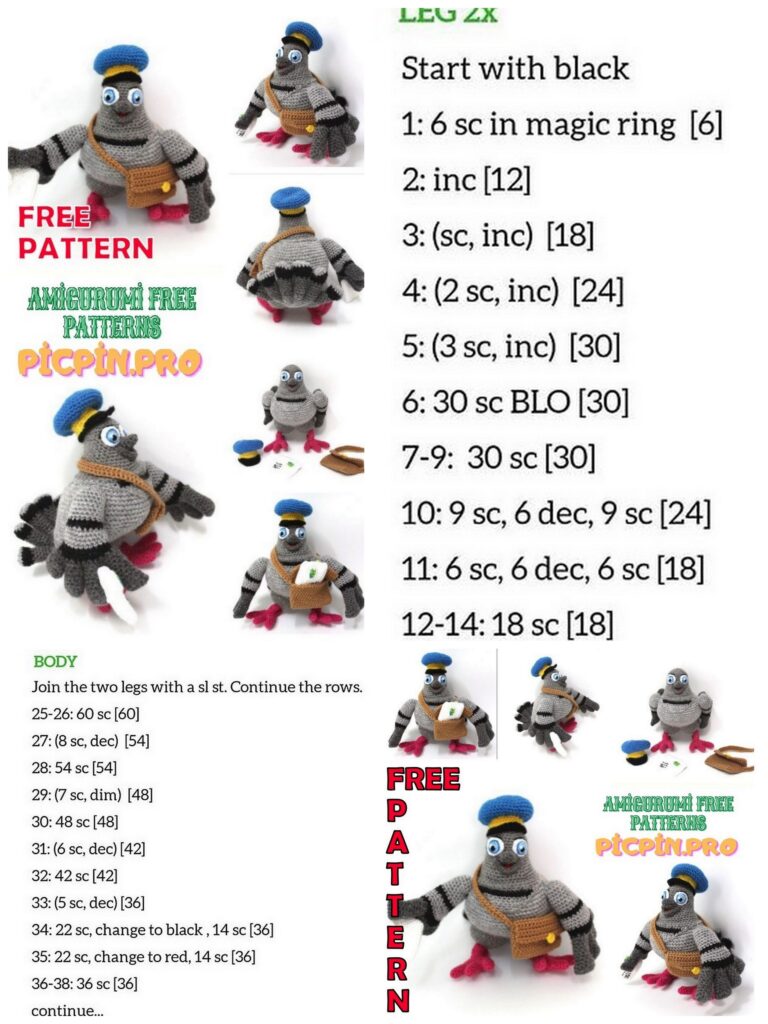
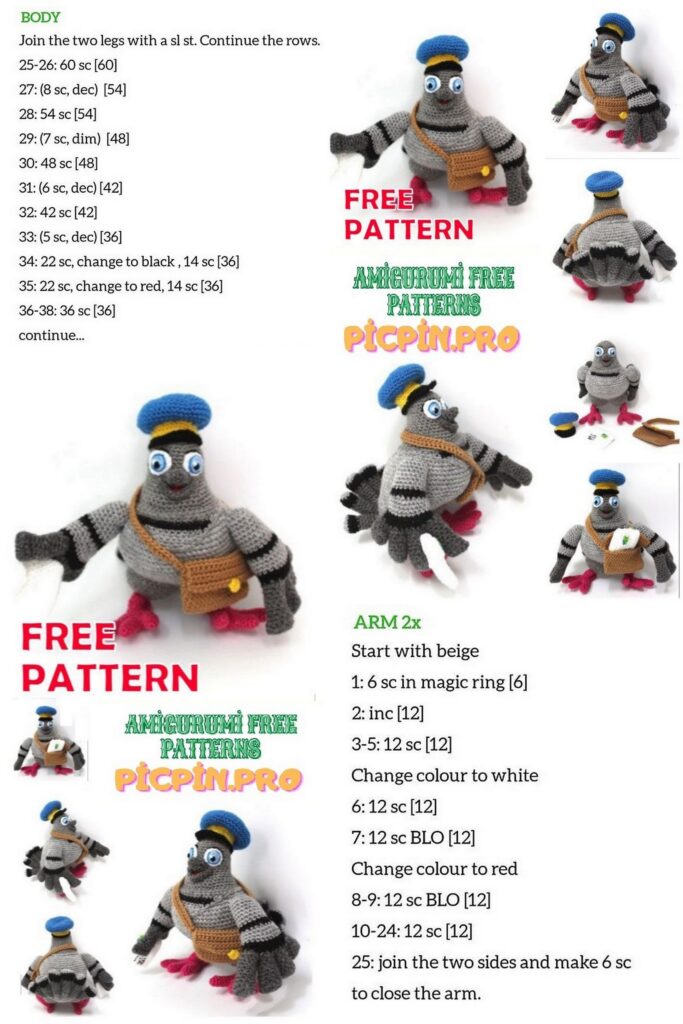
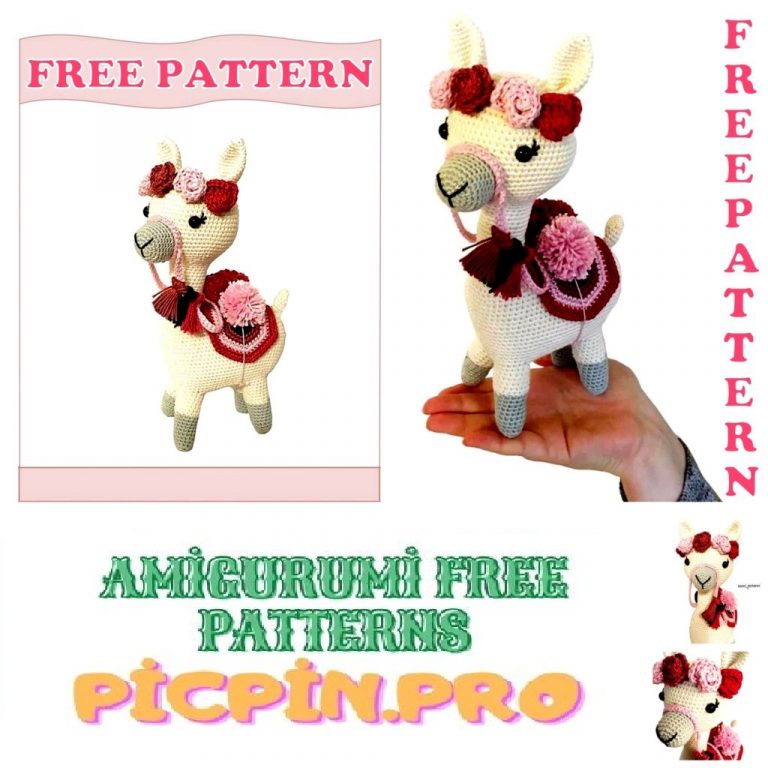
Post Pigeon Amigurumi Free Crochet Pattern
Pinterest Offical Page : Picpin.pro
Facebook Group: Amigurumi Free Patterns
Facebook Offical Page: Free Amigurumi Picpin
Materials and tools
Size: 20cm
Difficulty: High
Estimated time: 10 hours
Yarn for knitting: 2-3 mm
Thanks so much for purchasing my model.
I hope you enjoy knitting it!
If you have any questions,
write to the address:
materials
Wool of different colors: white, black, fuchsia, light gray, dark gray,
– thicker only for the body, gray, dark gray, blue, light blue, red, yellow,
light brown, light green.
– Yarn thickness: 2-3 mm. (Light gray for the body 4-5 mm).
– black embroidery thread
. – Crochet hook
– sewing needle
– synthetic padding.
Abbreviations
Sc – single crochet
İnc – increase
Dec –decrease
Ch – chain
HEAD / BODY
Gray color
1.6 sc. İNTO MAGİC RİNG
2. inc. Into each loop (12).
3. “1 sc, inc.”, Repeat (18).
4. “2 sc, inc.”, Repeat (24).
5. “3 sc, inc.”, Repeat (30).
6. al 15. 1 sc en cada punto (30).
16. “4 sc, inc.”, Repeat (36).
17. y 18. 1 sc en cada punto (36).
19. “5 sc, inc.”, Repeat (42).
20.1 sc en cada punto (42).
21. Change to light gray (thicker) and
we knit for the front walls of the loops 42sc (42).
We will return to this place to complete the neck.
22. “6 sc, inc.”, Repeat (48).
23. Markers we divide the part into 4 parts:
1st part 18 sc, 2nd part 6 sc, 3rd part 18 sc
4th part 6 sc. Thus, we will have:
2 parts of 18 sc.
2 parts of 6 sc.
We mark the divisions to knit in
Each part separately. We will continue to celebrate
parts in the following rows.
In parts of 18 sc, we knit “2 sc, inc.” 6 times.
In parts of 6 sc, we knit 1 sc in each loop.
We will have a total of 60 sc (60).
24. In the first part of the 18 sc, we now have 24 sc
we knit 1 sc in each loop.
In 2 parts of 6 sc, we knit 1 sc in each loop.
On the other side of the 18 sc, we now have 24 sc knit “3 sc, inc.” 6 times
We will have a total of 66 sc (66).
We can stop marking parts
25.- 32. 66 sc (66).
33.2 sc, 1 dec., “4 sc, dec.” 5 times, “4 sc, inc.” 6 times, 2 sc (66).
34.34 sc, “3 sc, inc.” 6 times, 8 sc (72).
35. “5 sc, dec.” 5 times, 3 dec., “2 sc, inc.” 6 times, 3 dec., “5 sc, dec.” 1 vez (66).
36. 33 sc, “3 sc, inc.” 6 times, 9 sc (72).
37. “5 sc, dec.” 4 times, 5 sc, 3 dec., “2 sc, inc.” 6 times, 4 dec., “5 sc, dec.” 1 vez (66).
38.66 sc (66).
39. “5 sc, dec.” 4 times, 29 sc, 1 dec., “5 sc, dec.” 1 vez (60).
40. “4 sc, dec.” 4 times, 28 sc, 1 dec., “4 sc, dec.” 1 vez (54).
41. “5 sc; dec.” 4 times, 17 sc, 1 dec., “5 sc; dec.” 1 vez (48).
42. “4 sc, dec.” 4 times, 16 sc, 1 dec., “4 sc, dec.” 1 vez (42).
43. “3 sc, dec.” 4 times, 15 sc, 1 dec., “3 sc, dec.” 1 vez (36).
44. “4 sc, dec.”, Repeat (30).
45. “3 sc, dec.”, Repeat (24).
46. “2 sc, dec.”, Repeat (18).
47. “1 sc, dec.”, Repeat (12).
48. dec. into each loop (6).
To finish. Stitch the hole.
LEGS (x2)
FEET (x2):
Fingers (x3):
In fuchsia
1.6 sc. into magic ring
2.- 8. 6 sc (6).
Finish 2 fingers and leave the third
finger unfinished to start
finger joint:
From 1 sc go to the second finger and knit
2 sc further. Again we go from 1 sc to
to the last finger and knit another 5 sc.
We repeat the same sequence on the other side.
We will have a total of 18 sc (3 fingers x 6 sc) (18).
2.- 3. 18 sc (18).
4. “1 sc, dec.”, Repeat (12).
5. dec. into each loop (6).
6.-12. 6 sc (6).
To finish. We closed the hole with a needle.
LEGS (x2):
Fuchsia
1.6 sc. into magic ring
2.6 sc (6).
3. knit 6 sc (6) for the front walls of the loops.
We will return to this row to sew on our legs.
4.- 8. 6 sc (6).
9. Change to gray and knit increases in all loops (12).
10. “1 sc, inc.”, Repeat (18).
11. “2 sc, inc.”, Repeat (24).
12. “3 sc, inc.”, Repeat (30).
13. “4 sc, inc.”, Repeat (36).
14 – 16. 36 sc (36). To finish
We sew the legs to the legs to the part,
which we left on the 3rd row of legs.
Wings (x2)
Feathers:
We will knit 4 different sizes,
taking into magic ring
large feather:
Very Large – Dark Gray
color:
1. 7 ch on which we knit 6 sc.
2. We continue to knit without turning, again on the starting chain, but with
on the other hand, another 6 sc to get part of 12 sc (12).
3. We put a marker to tie 1 sc. Into each loop (12).
4. 1 dec., 8 sc, 1 dec. (10).
5.10 sc (10).
6. 1 dec., 8 sc (9).
7.1 dec., 7 sc (8).
8.- 12. 8 sc (8). To finish.
Big:
We knit as well as very
large feather from 1 to 10 rows
Average:
We knit as well as a very large feather from 1 to 8 rows.
Small:
We knit as well as a very large feather from 1 to 5 rows.
We continue to knit another row:
6. 1 dec., 6 sc, 1 dec. (8).
We knit 3 feathers and leave the small feather unfinished to
connect all feathers .:
We will do it the way we connect our fingers.
1. First we must place the feathers from the largest to the largest
small, with a rounded part to the right, looking at them from the front.
With 1 sc we go to the middle feather and knit 3 sc. We are moving from yet
one sc. to the great pen, in which we will knit another 3 sc Finally, we
go to a very large feather with another sc to continue knitting on 7
sc further. We repeat the same sequence on the other side. Total
we will have 32 sc. (4 pens of 8 sc).
2. change the color to black and knit “2 sc, dec.”, Repeat (24).
3.- 4. 24 sc (24).
5. Change to light gray and knit 24 sc (24).
6.- 8. 24 sc (24).
9. Change to black “2 sc, dec.”, Repeat (18).
10.18 sc (18).
11. Change to light gray 18 sc (18).
12.- 18. 18 sc (18).
19. “1 sc, dec.”, Repeat (12).
20. dec to EACH Petya (6).
Finish, tighten the hole.
Neck completion
Gray color
1. We start with 21 rows of the head and we will knit
upside down. We mark the center point
ahead and count 10 sc one way and 10
sc to another. We mark line 21 sc. we
hooked a loop to the right to end the row in
this sc. We knit 1 sc in each loop (42).
2. We knit only on the marked part along
1sc to EACH loop (21).
3.- 4. We will reduce 2 sc into magic ring each row.
To do this, we turn, do not loop
lift, and we do 1 sc to the extreme 2 sc.
(19), (17).
5. Change to black and decrease 2 sc. in the same way, that is, without a loop
rise + at the end a decrease (15).
6. without a lifting loop + at the end a decrease (13).
7. Change to light gray. Without pp + at the end, decrease (11).
8.-10. Without nn + at the end, decrease (9), (7), (5).
11. We continue to knit without turning part of sc.
Thus, we will have: 10 sc + 21 sc + 10 sc + 5 sc.
Finish pull the hole
Tail
Feathers (x6)
We knit 6 feathers of 3 different sizes, taking into a magic ring as a model a large feather:
Large (x2):
Color: light gray
1. 7 ch on them to knit 6 sc.
2. We continue to knit without turning, again on the starting chain, but on the other
side, another 6 sc. to get 12 sc (12).
3. Place the marker to tie 1sc into each loop (12).
4.- 5. 12 sc (12).
6. Change to dark gray “2 sc, dec.”, Repeat (9).
7.- 12, 9 sc (9).
13. Change to gray “1 sc, dec.”, Repeat (6).
14. – 18. 6 sc (6). To finish
Average (x2):
We follow the pattern of a large pen from row 1 to 16.
Small (x2):
We follow the pattern of the large pen from step 1 to 14.
Eyes (x2)
In white
1.6 sc. into magic ring
2. inc. to each loop (12). To finish.
In sky blue tie 6 sc. into magic ring finish.
Sew a blue iris on white
background. Black we embroider the central
the pupil and white make the lens flare.
In blue, we will differentiate the rainbow
shell. Sewn eyes on top
embroider, black.
Beak
Upper:
Dark Gray
1.4 sc into magic ring
2. “1 sc., Inc.”, Repeat (6).
3.6 sc (6)
4. “1 sc, inc.”, Repeat (9).
5. “2 sc, inc.”, Repeat (12).
To finish.
Bottom part:
Dark gray
1. 13 ch on them to knit 12 sc.
2. chain, turn and close
connecting loops
connecting sc with initial
hinges (12.)
To finish.
TONGUE
In red we knit 6 sc.
Finished.
Cap
Blue color
1.6 sc into magic ring
2. inc. to each moth (12).
3. “1 sc, inc.”, Repeat (18).
4. “2 sc, inc.”, Repeat (24).
5. “3 sc, inc.”, Repeat (30).
6. “4 sc, inc.”, Repeat (36).
7. “5 sc, inc.”, Repeat (42).
8.-11. 42 sc (42).
12. “5 sc, dec.”, Repeat (36).
13. “4 sc, dec.”, Repeat (30).
14. Change to yellow and knit
“3 sc, dec.”, Repeat (24).
15.- 17. 24 sc (24).
18. “3 sc, inc.”, Repeat (30).
19. Change to black and weave at the bottom of the chain
14 sc (we do not knit stitch loops) (14).
20.- 23. Without a lifting loop + at the end of dec.
(12), (10), (8), (6).
24. We knit without turning sc.
To finish.
PORTFOLIO
Light brown
1. 19 ch on them to knit 18 sc.
2. We continue to knit without turning,
again on the initial circuit, but on the other hand,
another 18 sc (36).
3. Place the marker and knit 36 sc (36).
4.- 12. 36 sc (36).
13. We begin to knit a cover. Celebrate half
18 sc. We knit sc in each loop until we reach
to the first sc marked. Then we knit on h
asti marked 18 sc. (18).
14. – 20. Turn and knit 18 sc (18)
To finish.
Clasp:
Yellow knit 6 sc into magic ring.
Strap:
Light brown
1. Knit on 18 sc., Which we left not knitted. Hook on
the left edge, looking at the front of the portfolio and knit 50 ch, hooking 1 sc on
opposite end.
2.- 3. Turn and knit 50 sc (50). Finished
LETTER
White
1. 13 ch on them to knit 12 sc.
2. continue to knit without turning,
down the chain again but on the other hand
another 12 sc so that there are only 24 sc (24).
3. Place the marker, knit 24 sc (24)
4. – 10. 24 sc (24).
11. We knit a lapel. We mark half 12 sc.
We knit 1 sc in each loop until we reach
first sc marked. Then we knit on
marked section 12 sc. (12).
12. PP, turn and knit 12 sc (12).
13.- 17. Without PP + at the end of the decrease, we will reduce 2 sc into magic ring each row (10), (8), (6),
(4), (2).
18. tie sc.
To finish.
Brand:
light green
1. 4 ch on them to knit 3 sc.
2. PP, turn and knit 1 sc Change to blue and knit 2 sc (3).
3. Change to white and tie sc. to finish.
We sew the stamp on one side and string it in black embroidery
several stripes in the form of letters.
Assembly
legs:
After the legs are connected to the legs, we sew the entire piece, leaving 12sc.
separation along the edge of the neck. do it on either side of the last row of the body,
leaving 1 sc between two legs.
Tail:
Sew feathers at the end of the body. Do it
between the ends of the thighs. We must
arrange feathers in order: large 2 in
central part, 1 average on each
side of 2 large and 1 small on each
side of the middle.
We sew them to the body, as well as between them from below.
Eyes:
Sew them from 6 to 12 rows of the head,
leaving 3 sc in between.
Beak:
Sew the upper part under the eyes,
glue to them, slightly lifting
the central part between them. Under the top
we sew the tongue, and under it, connecting the two
side of the top, sew the bottom
part of the beak, giving it a curvature.
Wings:
Sew them on either side of the neckline,
leaving 2 sc separation relative to the neckline.
Our pigeon is ready!
