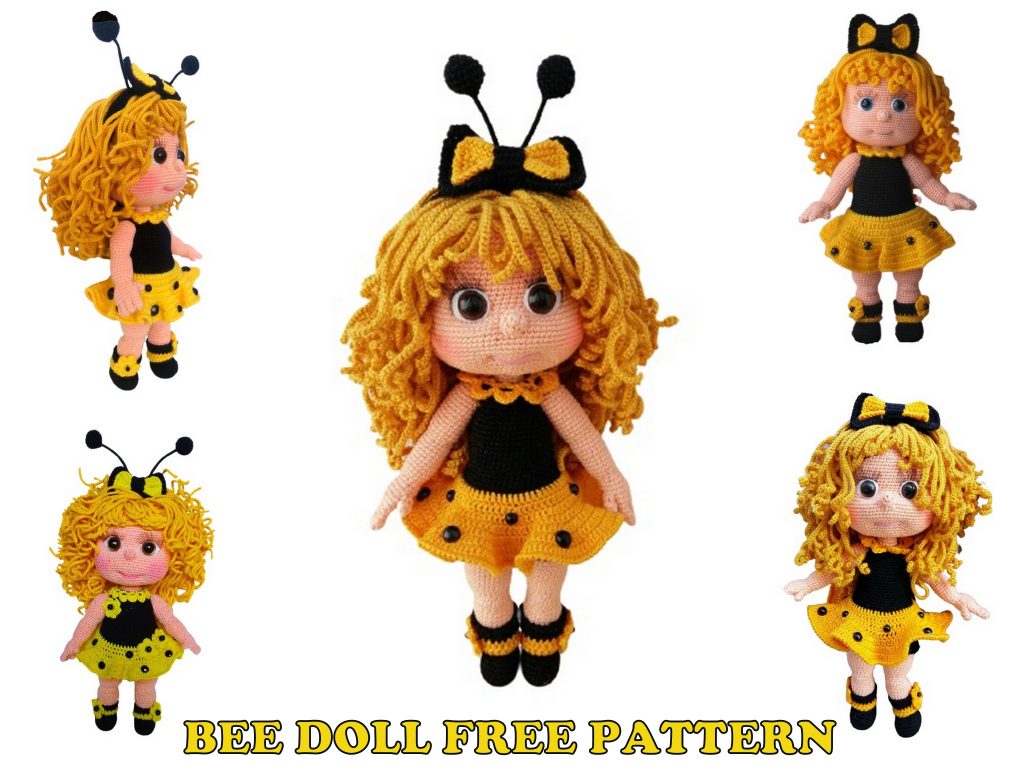
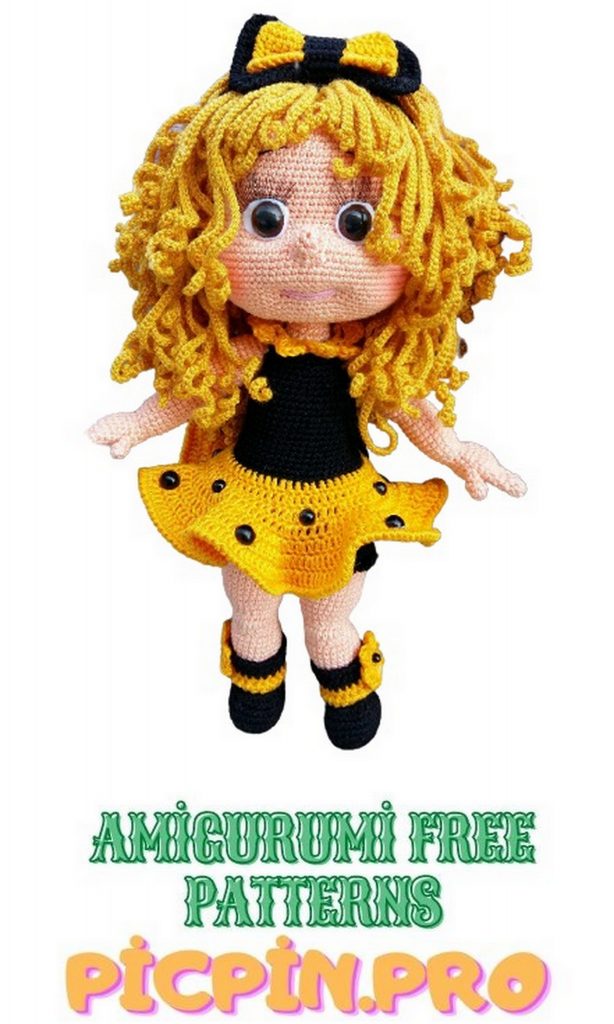
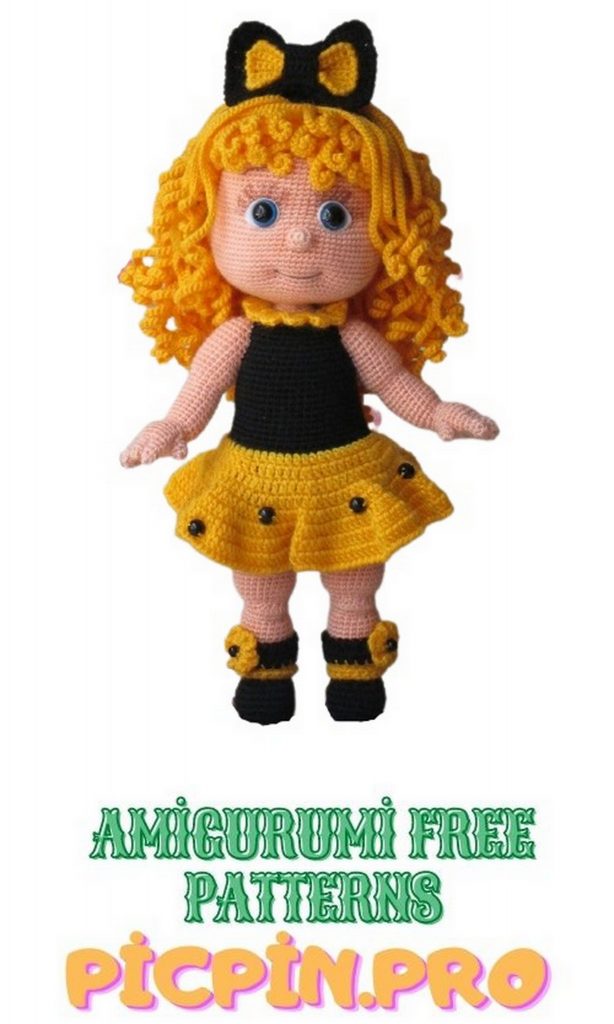
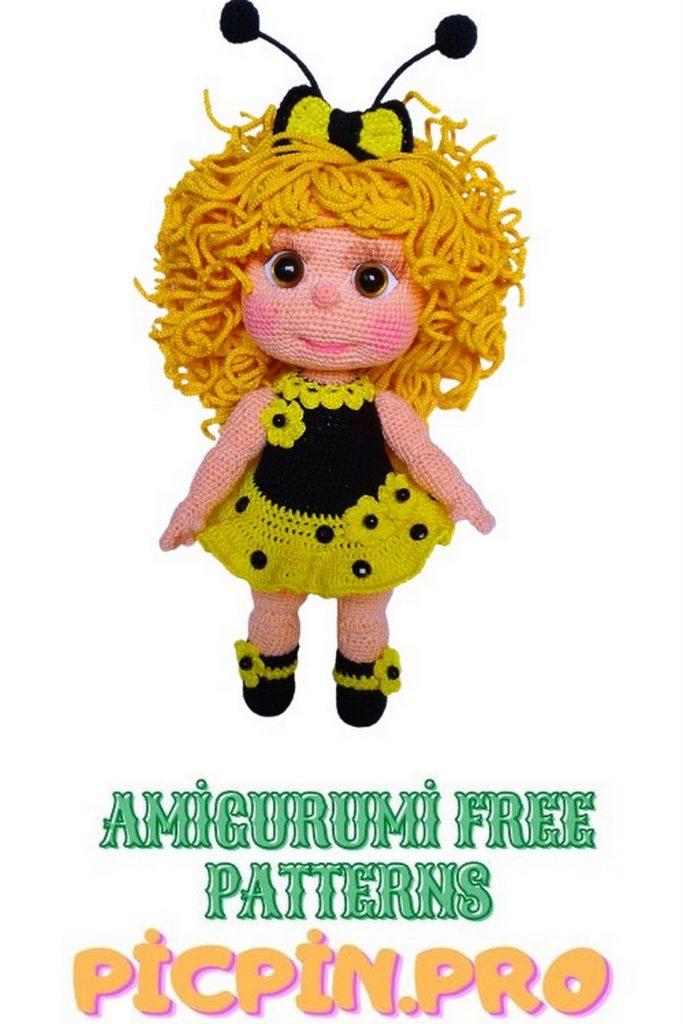
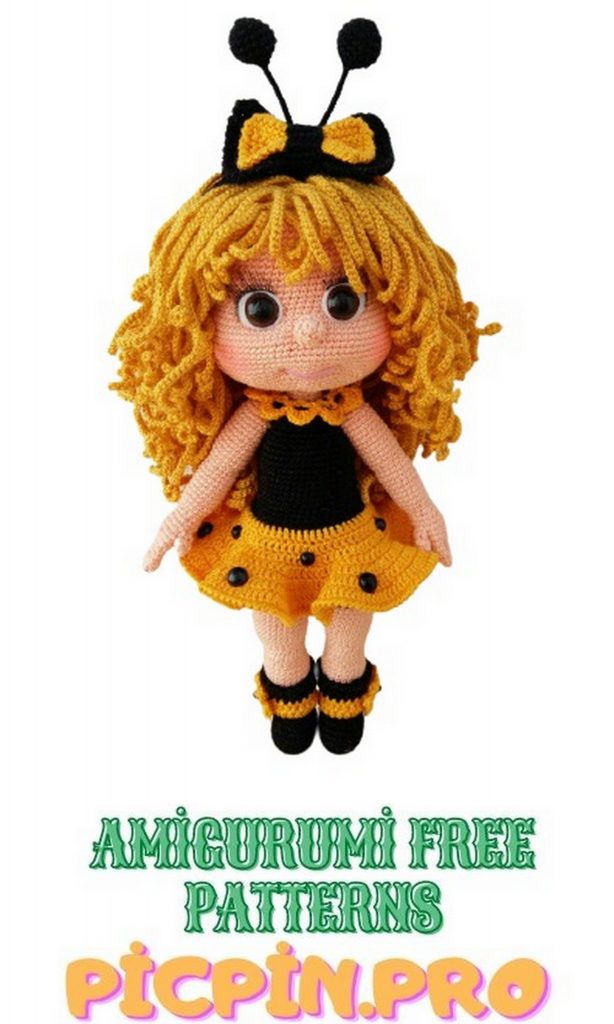
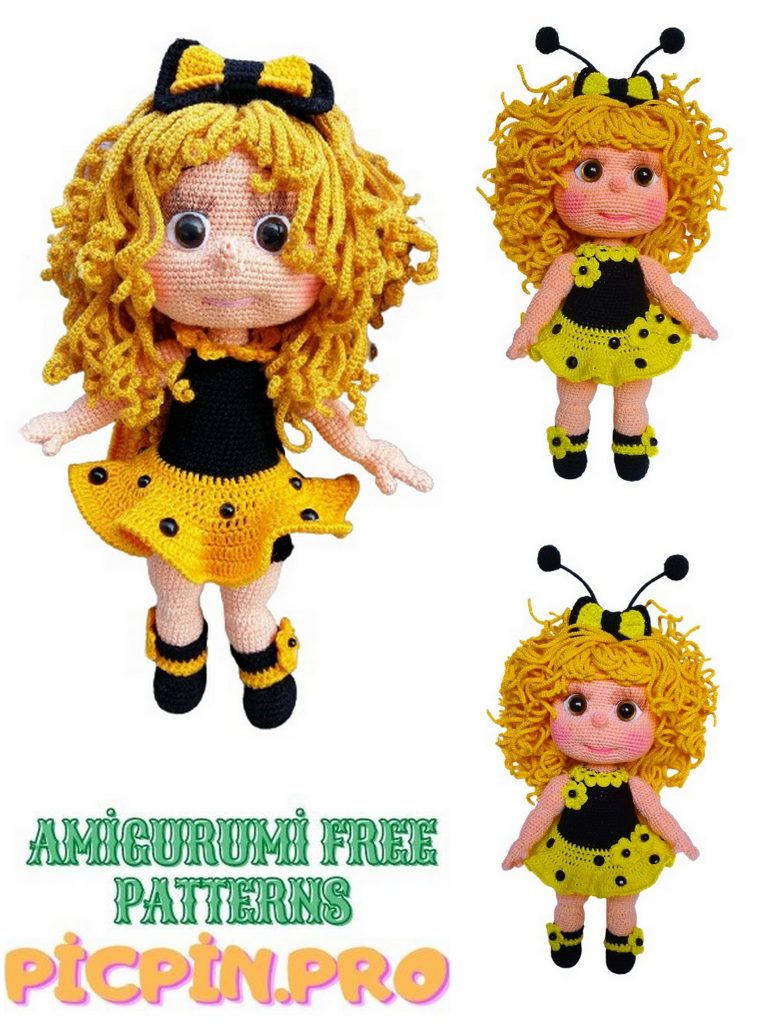
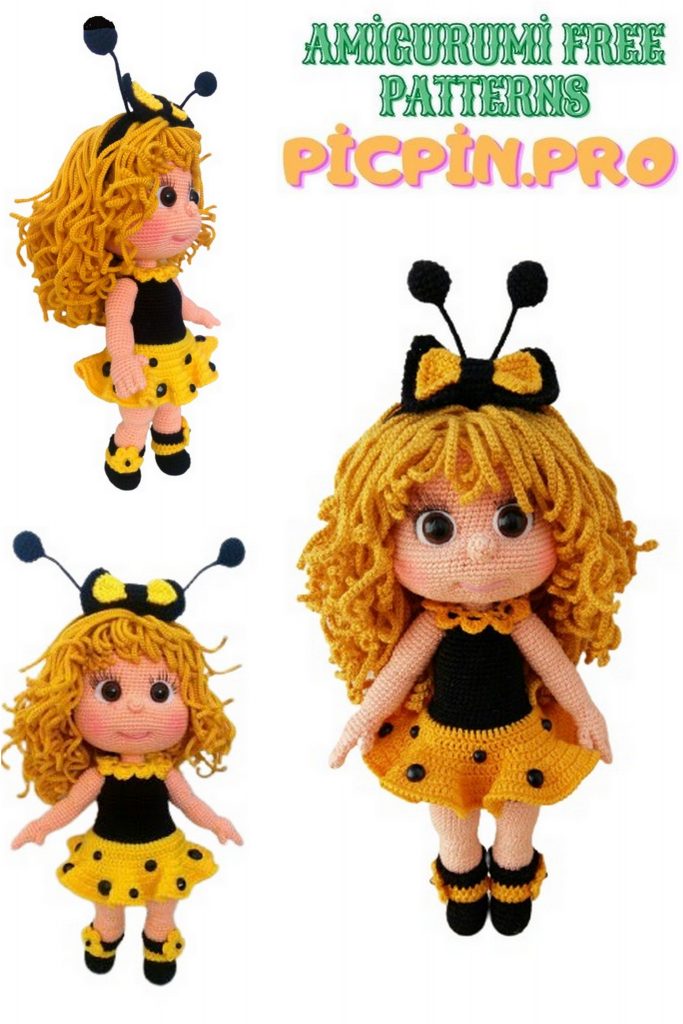
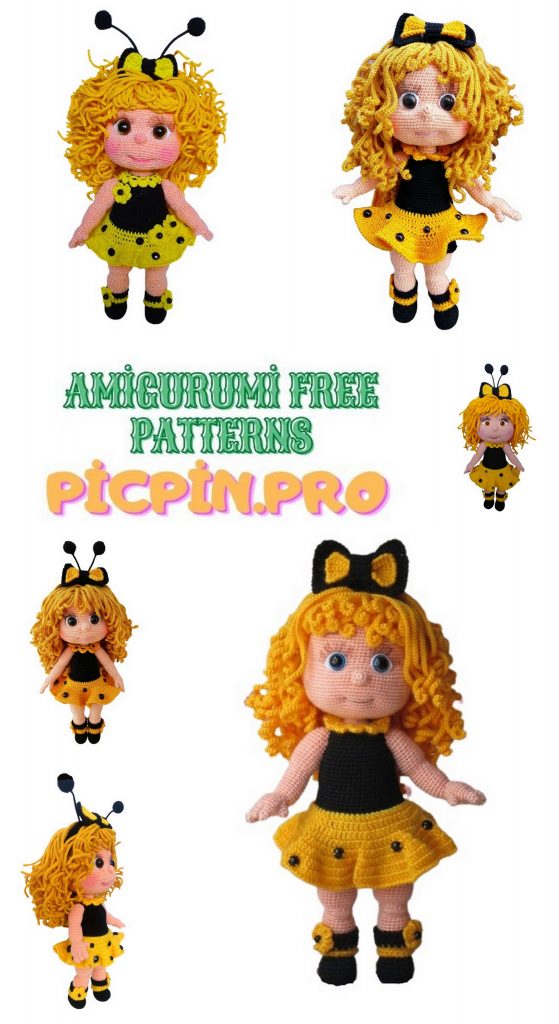
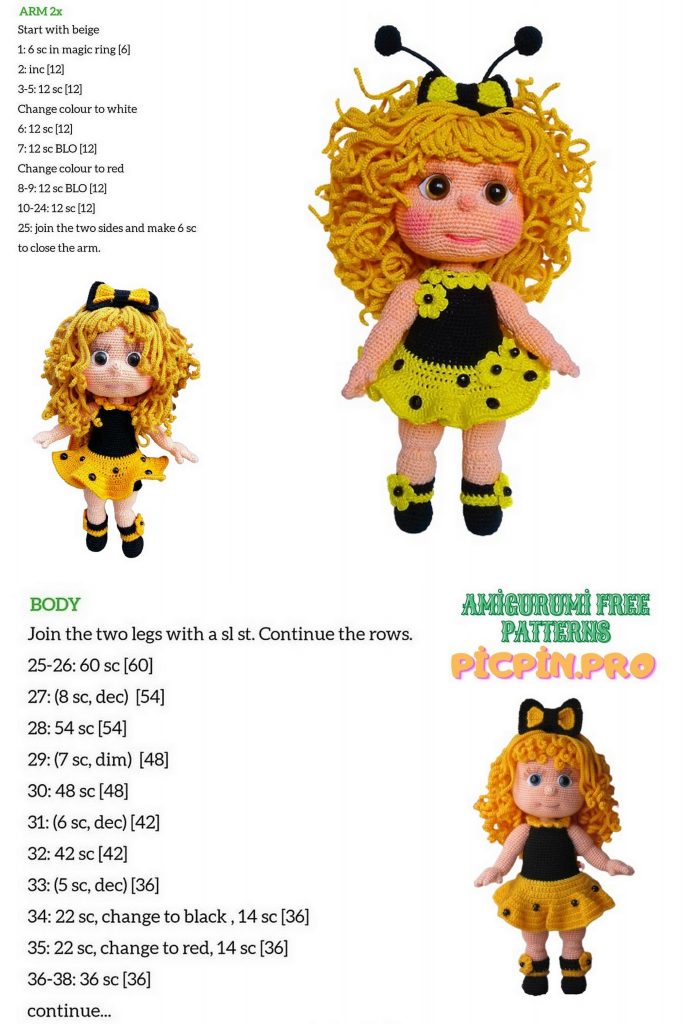
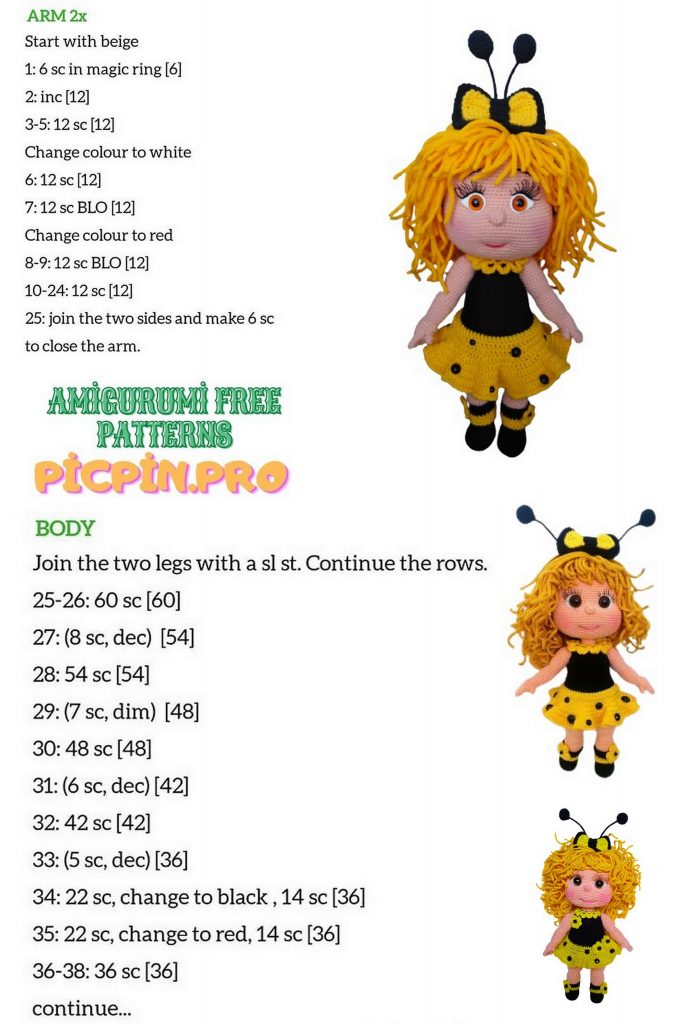
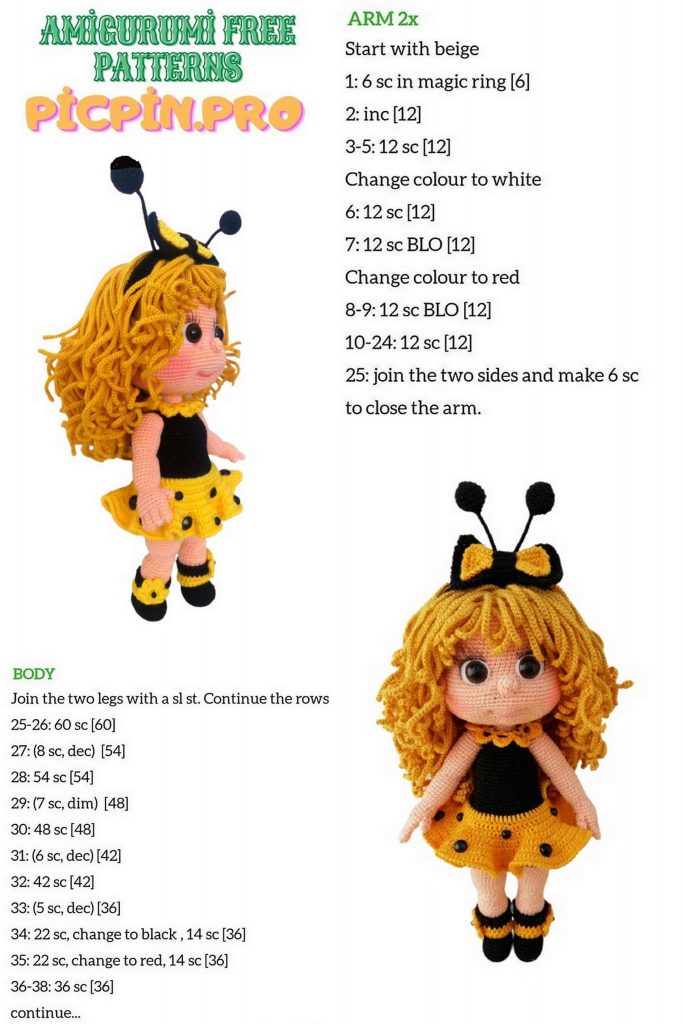
Cute Bee Doll Amigurumi Free Pattern
Pinterest Offical Page : Picpin.pro
Facebook Group: Amigurumi Free Patterns
Facebook Offical Page: Free Amigurumi Picpin
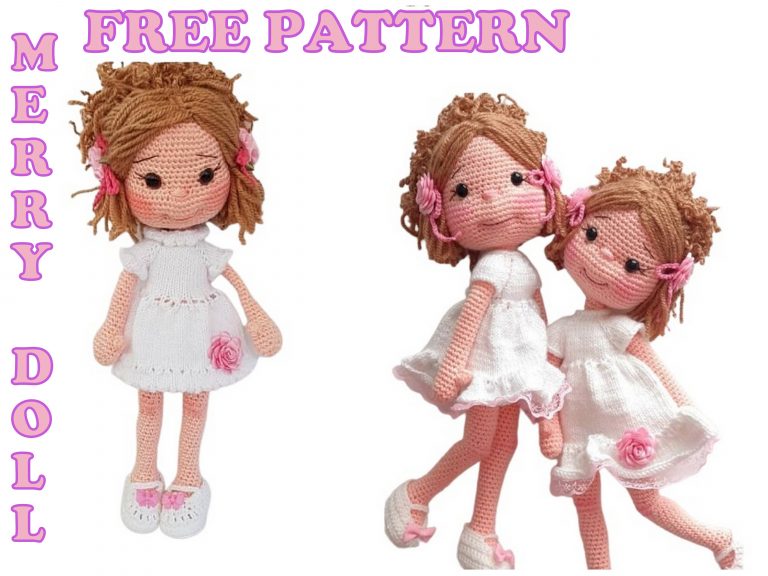
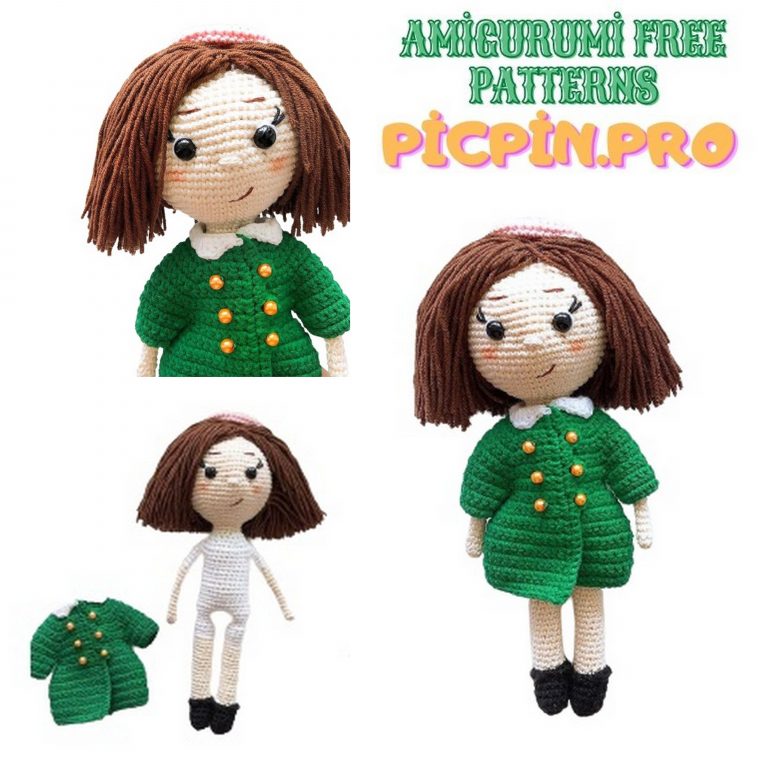
I am sharing wonderful amigurumi doll patterns with you for free. You will love this amigurumi bee doll pattern.
Materials
1. Yarn Art Begonia yarn (50g / 169m) flesh-colored No. 6322, Alize Diva yarn (100g / 350m) black (No. 60) and yellow (No. 216)
2. Yarn Alize Forever (50g / 300m) yellow (No. 488) for a wig
3. Hooks No. 1,5 and No. 1,1
4. Filler
5. Eyes with a diameter of 12 mm
6. Cilia
7. White felt
8. Stickers in the form of Swarovski stones for finishing the skirt (optional)
9. Scissors
10. Glue
11. Wire for the neck frame section 2.5 mm
12. A wire for antennas with a section of 1 mm
Abbrevations:
ch – chain
sc – single crochet
sl-st – slip-stitch
DC – double crochet
HDC – half double crochet
inc – increase
dec – decrease
Knit legs
Right leg
The beginning row marker should pass in the back center of the leg.
In a black thread dial a chain of 6CH + 1CH
1: 5 sc, 3 sc in the last loop, 4 sc, inc (14)
2: inc, 4 sc, 3 inc, 4 sc, 2 inc (20)
3: sc, inc, 4 sc, (sc, inc) * 3, 4 sc, (sc, inc) * 2 (26)
4: 2 sc, inc, 4 sc, (2 sc, inc) * 3, 4 sc, (2 sc, inc) * 2 (32)
5-6: 32 sc (32)
7:31 sc. move the marker of the beginning of the row so that the next row starts exactly in the middle of the heel (31)
8: 7 sc, (dec, sc) * 2, dec, 2 sc, dec, (sc, dec) * 2, 7 sc (26)
9: sc, dec, 4 sc, 6dec, 4 sc, dec, sc (18)
10: 7 sc, 2 dec, 7 sc (16)
Start knitting the right leg
Go to the flesh-colored thread.
11: knit on the back of the hinges: 16 sc (16)
12: 1 n offset, (3 sc, inc) * 4 (20)
Go to the skin-colored thread Knitted sock dolls. Side view
13: 20 sc (20)
14: 19 sc, inc (21)
15-16: 21 sc (21)
17: (6 sc, inc) * 3 (24)
18-21: 24 sc (24)
22: (2 sc, dec) * 6 (18)
23: 7 sc, 4 inc, 7 sc (22)
24: 7 sc, 8 HDC, 7 sc (22)
25: 7 sc, 4 dec, 7 sc (18)
26: (2 sc, inc) * 6 (24)
27: (5 sc, inc) * 4 (28)
28-36: (9 rows) 28 sc (28)
Go to the black thread.
37: 28 sc (28)
38: knit on the back of the hinges: 28 sc (28)
39: 7 sc. Fasten the thread, cut.
Pupa leg. Front view Side view Pupa foot. Back view
Boot shaft
We knit freely.
We attach the yellow thread to the first half-loop of the 11th row
1: (3 HDC, inc HDC) * 4 (20)
2-4: 20 HDC (20)
Go to the black thread.
5-6: 20 HDC (20)
7: tie the edge of the shaft with a “step of the dog”
Close the thread, cut it. Carefully hide the tip of the thread.
Now lightly pick up the bootleg to form a crease.
Knit bootleg
We attach the black thread to the first half-loop of the 37th row.
1: (3CH, 1 loop skip, sl-st) * in a circle to the end of the row.
Fasten the thread, cut.
Attention! Quilling must be tied before connecting the two legs, otherwise then it will be very difficult to do.
Knit before joining two legs
Left leg
We knit similarly to the right leg to the 39th row
39: 21 sc. Further, without breaking the threads, we connect both legs together: 28 sc on the right foot, 7 sc (56)
We continue to knit the body.
Ready legs for a doll
Knit body
A marker at the beginning of the row runs through the center of the back.
40: 5 sc, (inc, sc) * 2, inc, 22 sc, (inc, sc) * 2, inc, 11 sc, 2inc, 6 sc (64)
41: 51 sc, inc, 4 sc. Move the beginning row marker
42: 4 sc, inc, 60 sc (66)
43-49: (7 rows) 66 sc (66)
50: 2 sc, dec, (4 sc, dec) * 2, 34 sc, dec, (4 sc, dec) * 2, 2 sc (60)
51: 60 sc (60)
52: 4sc, dec, (8 sc, dec) * 5, 4 sc (54)
53: 54 sc (54)
54: knit on the back of the hinges: 54 sc (54)
55r (7 sc, dec) * 6 (48)
56-67: (12 rows) 48 sc (48)
68: 15 sc, (dec, 2 sc) * 4, dec, 15 sc (43)
69-70: 43 sc (43)
71: 15 sc, (dec, 3 sc) * 2, dec, 16 sc (40)
72: 40 sc (40)
73: (8 sc, dec) * 4 (36)
74: (4 sc, dec) * 6 (30)
75: (3 sc, dec) * 6 (24)
Go to the flesh-colored thread.
76: we knit for the rear walls of the loops (2 sc, dec) * 6 (18)
77-79: 18 sc (18)
Fasten the thread, cut, leaving the thread for sewing.
The finished body of the pupa. Front view of the finished body of the chrysalis. Side view
We knit a skirt
We attach the yellow thread to the last half-loop of the 14th row of the body.
1: 2CH, 54DC (54), sl-st
2: 2CH, (8 DC, inc DC) * 6 (60), sl-st
3: 2CH, (5 DC, inc DC) * 10 (70), sl-st
4: 2CH, (4 DC, inc DC) * 14 (84), sl-st
5: 2CH, (1 DC, inc DC) * 42 (126), sl-st
6: 2CH, (inc DC, 2 DC) * 42 (168), sl-st
7: 2CH, (3 DC, inc DC) * 42 (210), sl-st
8: tie the edge of the skirt with a “walk step”
Start knitting a skirt
Stick the stickers to the skirt in a chaotic manner. If you don’t have any stickers, you can tie and sew the spots, or embroider, or you can leave them like that. At your discretion 🙂
Ready-made skirtWe use stickers to decorate the skirt
We knit a collar
We attach the yellow thread to the last half-loop of the 75th row of the body.
1: (3CH, skip 1 loop, 1sl-st in the next step) * repeat to the end of the row.
2: sl-st in the first arch of the 1st row, (5CH, sl-st in the arch) * repeat until the end of the row. You should get 10 arches.
3: into magic ring we knit each arch: (sl-st. Sc, HDC, DC, 1CH, DC, HDC, sc, sl-st) * 10 times.
Fasten the thread, cut. Carefully hide the end of the thread.
Knitted doll collar
We knit flowers (2 parts)
1: 6 sc into magic ring
2: (sl-st in the next step, 3CH, 3 DC with one vertex, 3CH, sl-st in the same loop) * 6 times
Glue a rhinestone in the middle of the flower, sew or glue flowers to the boots as shown in the photo. Again, instead of rhinestones, you can use a bead.
We knit hands (2 parts)
Thumb and little finger
1: 5 sc into magic ring (5)
2-3: 5 sc (5)
Fasten the thread, cut.
Index, middle and ring fingers (1st, 2nd, 3rd)
1: 5 sc into magic ring (5)
2-4: 5 sc (5)
Fasten the thread, cut.
At the end of knitting the 3rd finger, do not break the thread !!!
Knitted fingers
Left hand
1: 2 sc of the 3rd finger, 2 sc of the 2nd finger, 2 sc of the 1st finger, 5 sc of the little finger, 3 sc of the 1st finger, 3 sc of the 2nd finger, 3 sc of the 3rd finger (20)
Start knitting your left hand
2-3: 20 sc (20)
4: 2 sc, capturing at the same time palm loops and thumb loops, 18 sc (20)
5: 2 sc of the thumb, dec (decrease the last loop of the thumb and the first loop of the palm), 5 sc, dec, 8 sc, dec (18)
Knit thumb
6: 18 sc (18)
7: (1 sc, dec) * 6 (12)
8: 12 sc (12)
Fill the palm with filler.
Fill the palm with a filler. Knitted palm. Back view
9: (sc, inc) * 6 (18)
10-17rr (8 rows) 18 sc (18)
18: (4 sc, dec) * 3 (15)
19: 15 sc (15)
20: (2 sc, inc) * 5 (20)
21-30: (10 rows) 20 sc (20)
31: (2 sc, dec) * 5 (15)
32: (sc, dec) * 5 (10)
33: 5 dec (5)
Pull the hole, fasten the thread, cut. Hide the end of the thread inside the part.
Right hand
1: 3 sc of the 3rd finger, 3 sc of the 2nd finger, 3 sc of the 1st finger, 5 sc of the little finger, 2 sc of the 1st finger, 2 sc of the 2nd finger, 2 sc of the 3rd finger (20)
2-3: 20 sc (20)
4: 18 sc, 2 sc, capturing at the same time the loops of the palm and loops of the thumb (20)
5: dec, 8 sc, dec, 5 sc, dec (decrease the first loop of the thumb and the last loop of the palm), 2 sc (18)
6: 18 sc (18)
7: (1 sc, dec) * 6 (12)
8: 12 sc (12)
Fill the palm with filler.
9: (sc, inc) * 6 (18)
10-17rr (8 rows) 18 sc (18)
18: (4 sc, dec) * 3 (15)
19: 15 sc (15)
20: (2 sc, inc) * 5 (20)
21-30: (10 rows) 20 sc (20)
31: (2 sc, dec) * 5 (15)
32: (sc, dec) * 5 (10)
33: 5 dec (5)
Pull the hole, fasten the thread, cut. Hide the end of the thread inside the part.
Knitted handles for dolls
Sew hands to the torso.
Sew hands to the body
Knit head
1: 6 sc into magic ring (6)
2: 6 inc (12)
3: (sc, inc) * 6 (18)
4: sc, inc, (2 sc, inc) * 5, sc (24)
5: (3 sc, inc) * 6 (30)
6: 2 sc, inc, (4 sc, inc) * 5, 2 sc (36)
7: (5 sc, inc) * 6 (42)
8: 3 sc, inc, (6 sc, inc) * 5, 3 sc (48)
9: (7 sc, inc) * 6 (54)
10: 4 sc, inc, (8 sc, inc) * 5, 4 sc (60)
11: (9 sc, inc) * 6 (66)
12: 5 sc, inc, (10 sc, inc) * 5, 5 sc (72)
13: (11 sc, inc) * 6 (78)
14-24: (11 rows) 78 sc (78)
25: 33 sc, 2CH, skip 2p of the previous row, 8 sc, 2CH, skip 2p of the previous row, 33 sc (78)
26: 33 sc, 2 sc down the chain, 8 sc, 2 sc down the chain, 33 sc (78)
27: 25 sc, inc, (sc, inc) * 5, 6 sc, inc, (sc, inc) * 5, 25 sc (90)
28-37: (10 rows) 90 sc (90)
38: (13 sc, dec) * 6 (84)
39: 6 sc, dec, (12 sc, dec) * 5, 6 sc (78)
40: (11 sc, dec) * 6 (72)
41: 5 sc, dec, (10 sc, dec) * 5, 5 sc (66)
42: (9 sc, dec) * 6 (60)
43: 4 sc, dec, (8 sc, dec) * 5, 4 sc (54)
44: (7 sc, dec) * 6 (48)
45: 3 sc, dec, (6 sc, dec) * 5, 3 sc (42)
46: (5 sc, dec) * 6 (36)
47: 2 sc, dec, (4 sc, dec) * 5, 2 sc (30)
48: (3 sc, dec) * 6 (24)
49: sc, dec, (2 sc, dec) * 5, sc (18)
Fasten the thread, cut.
Knitted head. Front view Knitted head. Side view
Knit nose
1: 6 sc into magic ring (6)
2: 6 inc (12)
3: (sc, dec) * 4 (8)
Fasten the thread, cut.
Knit a wig
Hook number 1.1
1: 6 sc into magic ring (6)
2: we knit the back wall of the stitches 6 inc (12)
3: (sc, inc) * 6 (18)
4: we knit sc, inc, (2 sc, inc) * 5, sc (24) for the back wall of the loops
5: (3 sc, inc) * 6 (30)
6: we knit 2 sc, inc, (4 sc, inc) * 5, 2 sc (36) for the back wall of loops
7: (5 sc, inc) * 6 (42)
8: we knit 3 sc, inc, (6 sc, inc) * 5, 3 sc (48) for the back wall of loops
9: (7 sc, inc) * 6 (54)
10: we knit 4 sc, inc, (8 sc, inc) * 5, 4 sc (60) for the back wall of the loops
11: (9 sc, inc) * 6 (66)
12: we knit 5 sc, inc, (10 sc, inc) * 5, 5 sc (72) for the back wall of loops
13: (11 sc, inc) * 6 (78)
14: we knit 6 sc, inc, (12 sc, inc) * 5, 6 sc (84) for the back wall of loops
15: (13 sc, inc) * 6 (90)
16: we knit the back wall of the loops 51 sc (51)
17-18: 1CH, turn, 51 sc (51)
19: we knit for the front wall of the loops 1CH, turn, 51 sc (51)
20-21: 1CH, turn, 51 sc (51)
22: knit behind the back wall of 1CH stitches, turn, 51 sc (51)
23-24: 1CH, turn, 51 sc (51)
25: knit 1CH, twist, 51 sc (51)
26: 1CH, turn, 51 sc (51)
27: 1CH, turn, dec, 47 sc, dec (49)
28: we knit behind the back wall of the loops 1 CH, turn, 49 sc (49)
29-30: 1CH, turn, 49 sc (49)
31: knit 1CH, twist, 49 sc (49)
32: 1CH, turn, 49 sc (49)
33: 1CH, turn, dec, 45 sc, dec (47)
34: knit behind the back wall of 1CH stitches, turn, 47 sc (47)
35: 1CH, rotate, dec, 43 sc, dec (45)
36: 1CH, turn, 45 sc (45)
37: knit 1CH, twist, dec, 41 sc, dec (43)
38: 1CH, turn, 43 sc (43)
39: 1CH, turn, dec, 39 sc, dec (41)
40: knit behind the back wall of 1CH stitches, turn, 41 sc (41)
41: 1CH, turn, dec, 37 sc, dec (39)
42: 1CH, turn, 39 sc (39)
Knitted wig on the head. Front view Knitted wig on the head. Side view Knitted wig on the head. Back view
We do not cut the thread but continue to knit “hair”:
(we knit 60CH, starting from the second loop from the hook: 59sl-st, skip 2 wig loops, sl-st into the 3rd loop) * thus we knit to the bottom of the bottom row.
Knit hair on a wig
Next, we knit in zigzag rows for the left half loops in the corresponding rows.
Knit in zigzag rows
Having reached the spiral rows, we knit the chains of the first 3 rows in this way: 60CH, 50CH, 40CH, 30CH, (20CH) * on the frontal part until 12p remains. and then again 30CH, 40CH, 50CH, 60CH.
In the remaining spiral rows everywhere we knit chains of 60CH. Having reached the crown, we knit the last chain, cut the thread and fix it from the wrong side.
Ready-made wigReady wig for the doll. View from above
Face design
1. We designate with pins the points of the eye and mouth tighteners.
For the eyes: retreating 1 loop on both sides of the eye holes tied in the 25th row of the head.
For the mouth: by counting 12 rows from the bottom in the center of the head at a position of 9 stitches from each other.
Pins mark the points of the harnesses
2. Tighten the eyes: insert the needle with a strong thread into the lower opening of the head, withdraw from the inside of the right eye, again insert the needle into the point of the outside of the eye and withdraw into the lower opening of the head. To do the same 2-3 times constantly pulling the thread. Fasten the thread from the bottom. Tighten your left eye in the same way.
Tighten the eyes on the head
3. Mouth tightening: insert the needle at any point of connection of the two loops on the crown, withdraw from the other side of the mouth, insert into the point on the other side of the mouth and bring the needle to the starting point. Make a tightening 2 more times, constantly pulling the thread. Tie the thread firmly and drown the bundle inside the head. Embroider a mouth with a pink thread.
Perform a mouth contraction on the head
4. Sew the nose in the center.
Sew the nose to the head
5. Prepare the eyes as shown in the photo.
Cooking eyes for the doll
6. Glue the eyes to the head. Embroider a thread in black eyebrows.
We complete the design, embroider the eyebrows with a thread
7. Pin the wig to the head with pins and sew on.
We fix the wig on the head of the doll
9. Cut 3 pieces of wire 15 cm long. Wind them together with adhesive tape. Insert the frame half in the body, half in the head. Sew the head to the torso.
Sew the head to the body and tint the cheeks of the doll
10. Toned cheeks.
Knit a bow
Consists of 3 parts.
1st part (black thread):
Dial a chain of 20CH + 1CH
1: from the second loop from the hook: 20 sc (20)
2-14: 1CH, turn, 20 sc (20)
Tie the part on all sides with a “crustacean step”. Fasten the thread, trim, hide the end of the thread.
2nd part (yellow thread):
Dial a chain of 15CH + 1CH
1: from the second loop from the hook: 15 sc (15)
2-9: 1CH, turn, 15 sc (15)
Tie the part on all sides with a “crustacean step”. Fasten the thread, trim, hide the end of the thread.
3rd detail (black thread):
Dial a chain of 5CH + 1CH
1: from the second loop from the hook: 5 sc (5)
2-12: 1CH, turn, 5 sc (5)
Fasten the thread, cut off leaving a long end for stitching.
Form from bows 1 and 2 bows, wrap them with part No. 3. Sew both edges of part 3 on the back.
Cooking elements for butterfliesOur butterfly is ready
We knit antennas (2 parts)
We knit 2 balls as follows:
1: 6 sc into magic ring (6)
2: 6 inc (12)
3: (sc, inc) * 6 (18)
4-6: 18 sc
7: (sc, dec) * 6 (12)
8: 6 dec
Fasten the thread, cut off, leaving a long end (about 50 cm). Stuff the details.
Knit two balls
Cut 2 pieces of wire 6 cm long, from one end wrap the wire with adhesive tape. Insert the wire with the coiled end into the balls. The left long end of the thread is threaded into the needle and gently tighten the hole of the ball around the wire. Next, wrap this thread around the wire. At the end, fasten the thread with glue.
Prepare two pieces of wire. Wrap the thread around the wire.
Headband
Leaving the long end of the thread (enough for 70CH), dial a chain of 50CH + 1CH.
1: from the 2nd n from the hook: 49 sc, 3 sc to the last loop, 48 sc, pr
2: sl-st in the first loop of the previous row, 1CH, then tie the part in a circle with a “wisp”
Do not cut the thread. We knit a chain of 70CH, fasten and cut the thread.
On the other hand, dressings also tie a chain of 70CH. Fasten and cut the thread.
We knit a bandage
Sew a bow in the center of the dressing.
Attach the antenna to the dressing.
Doll dressing
Tie a bandage on the head of the pupa.
Thank you for your attention to my work! You got a wonderful toy!
