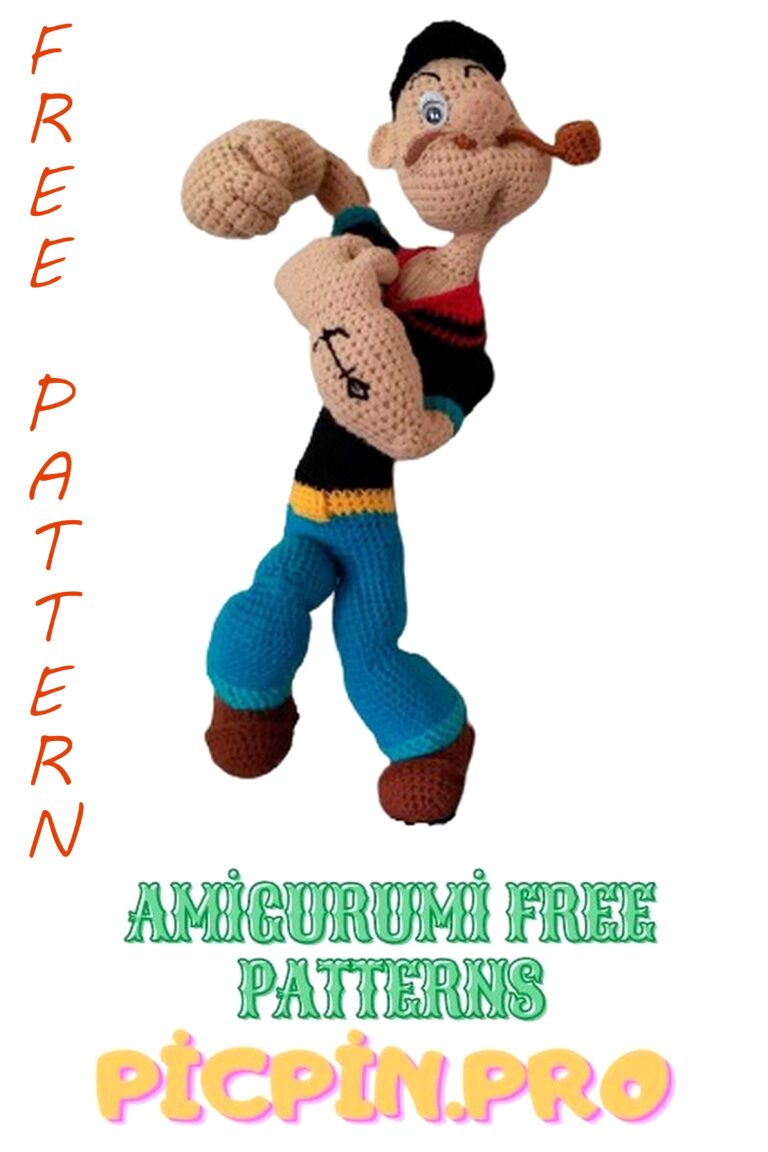
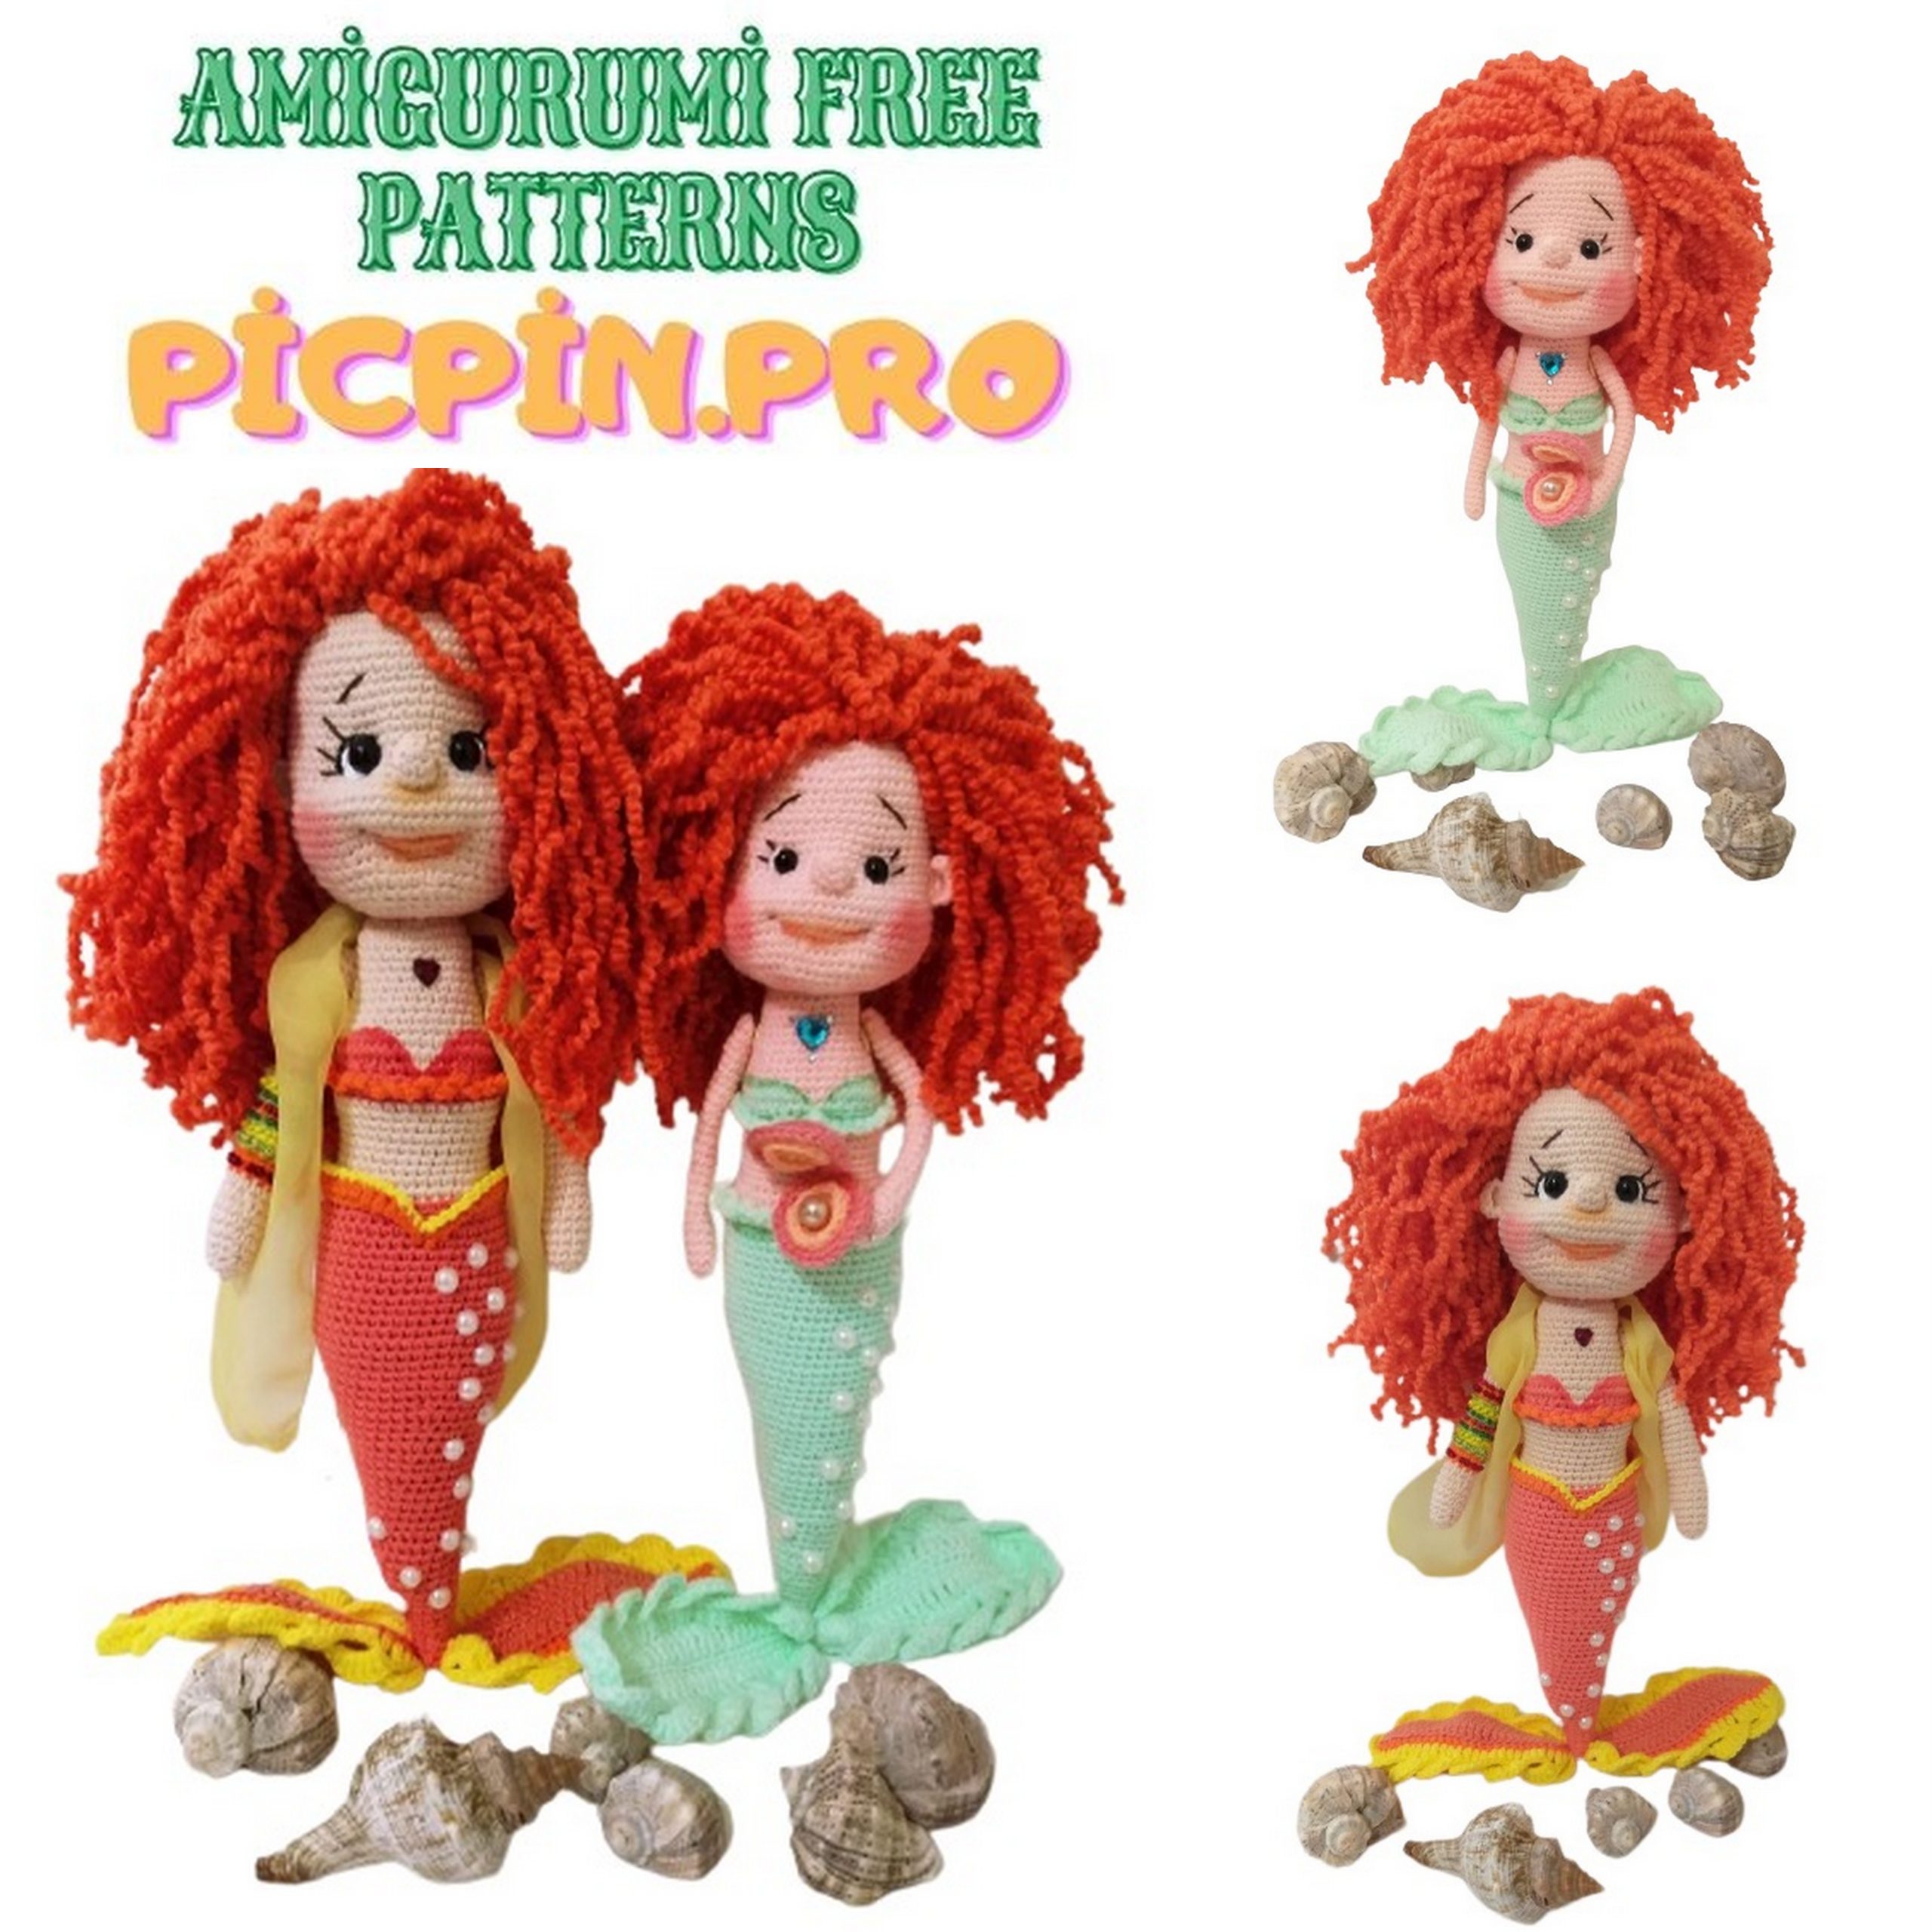
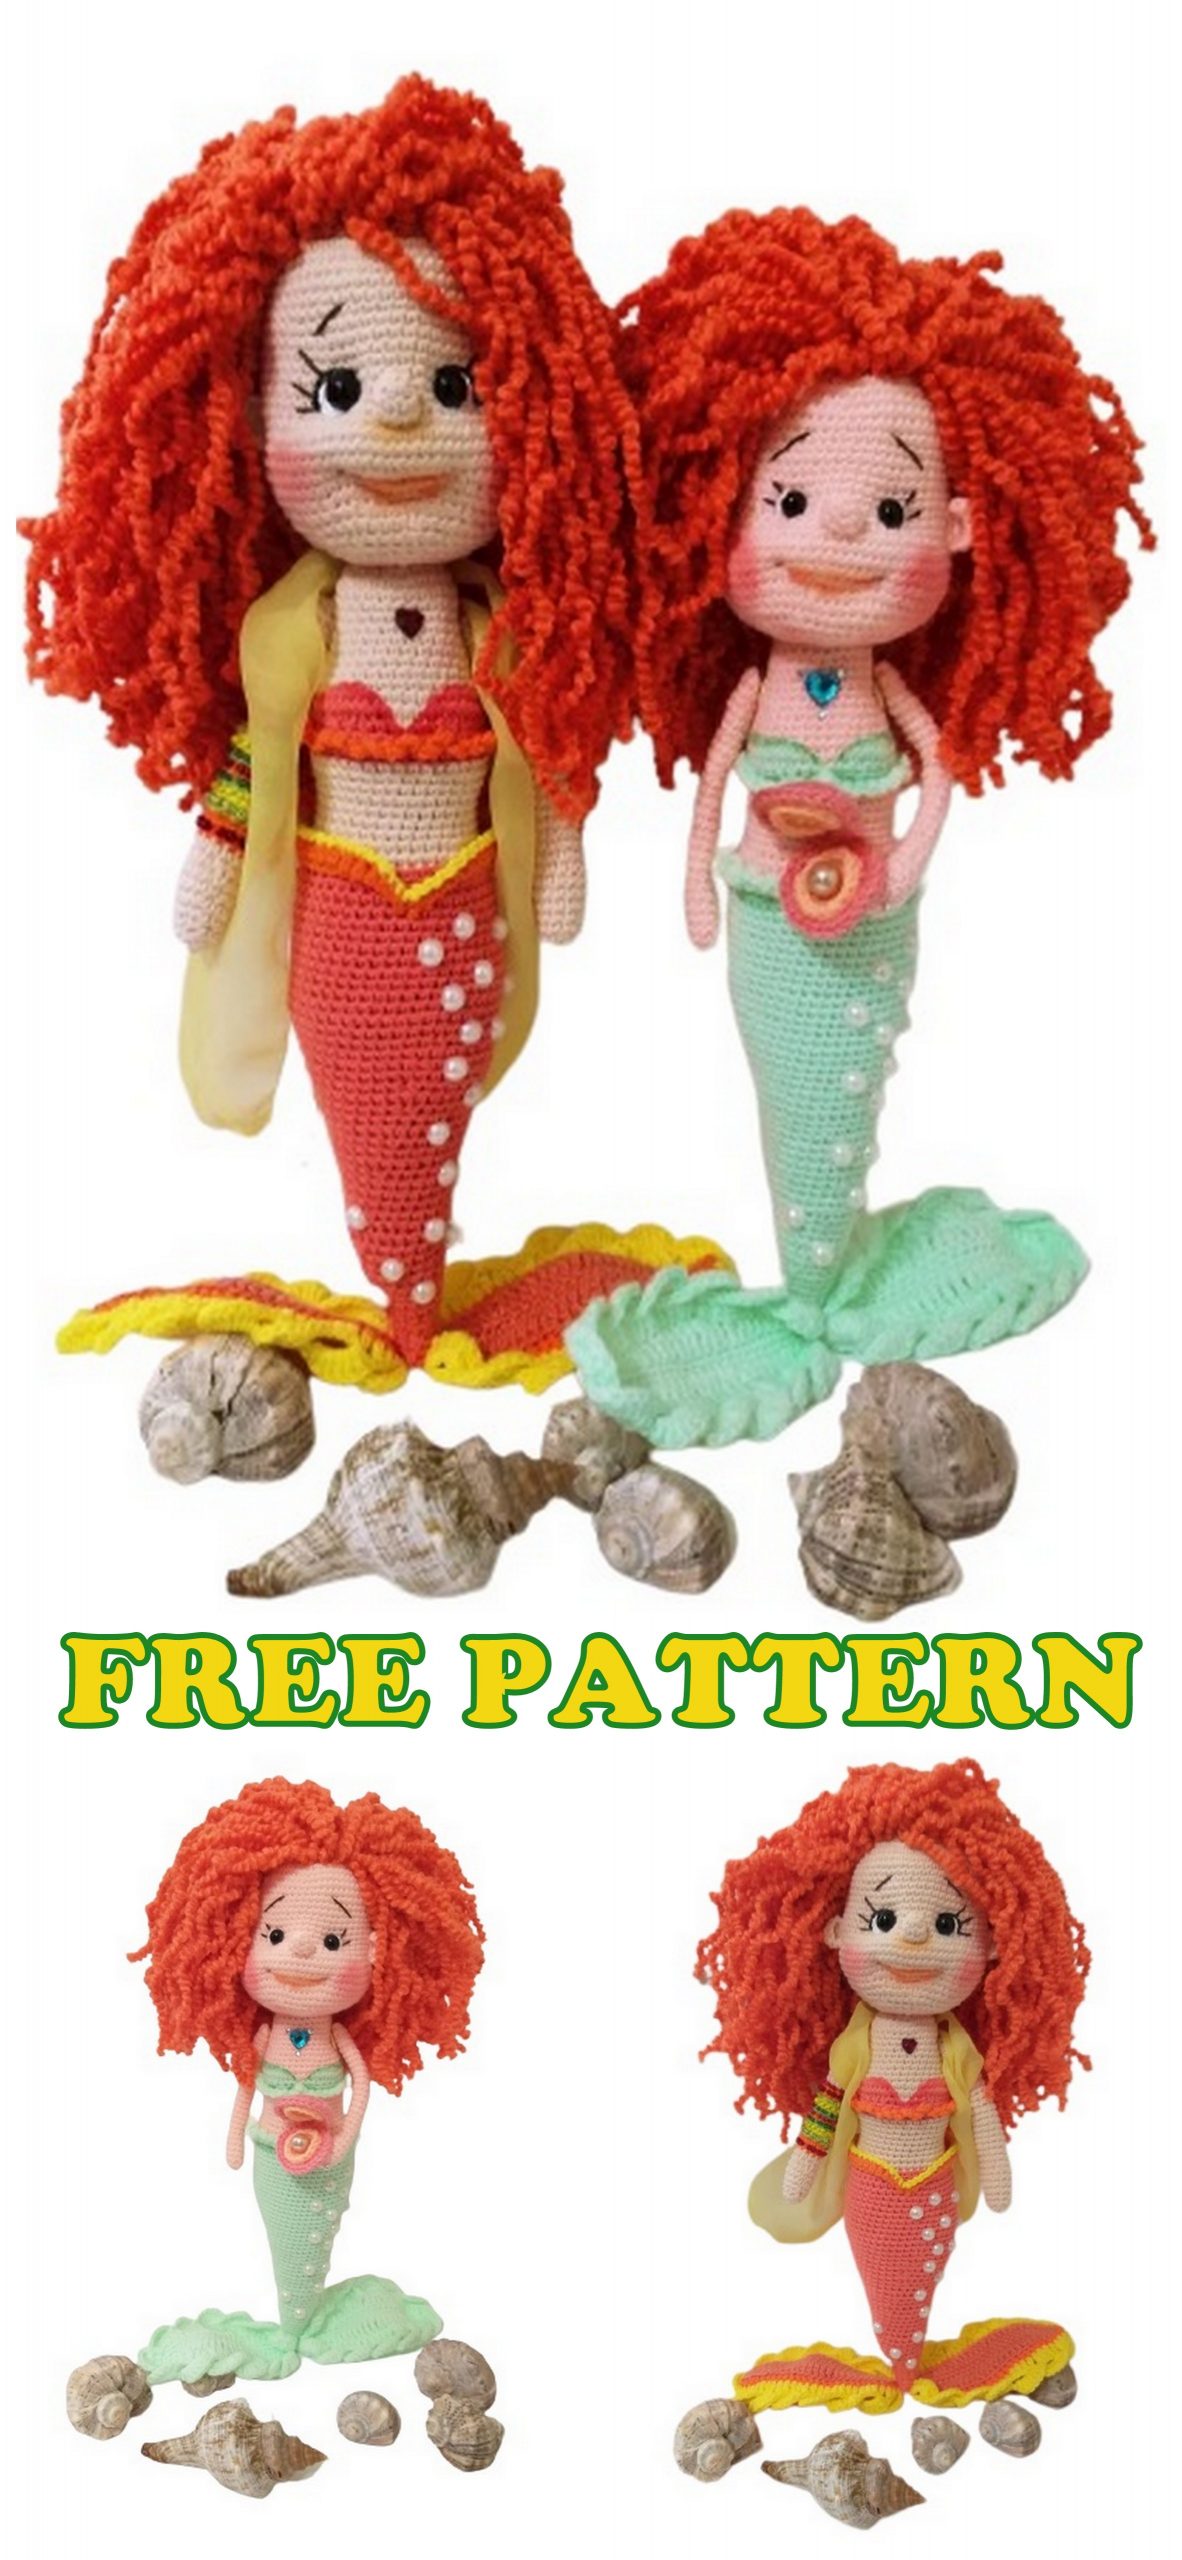
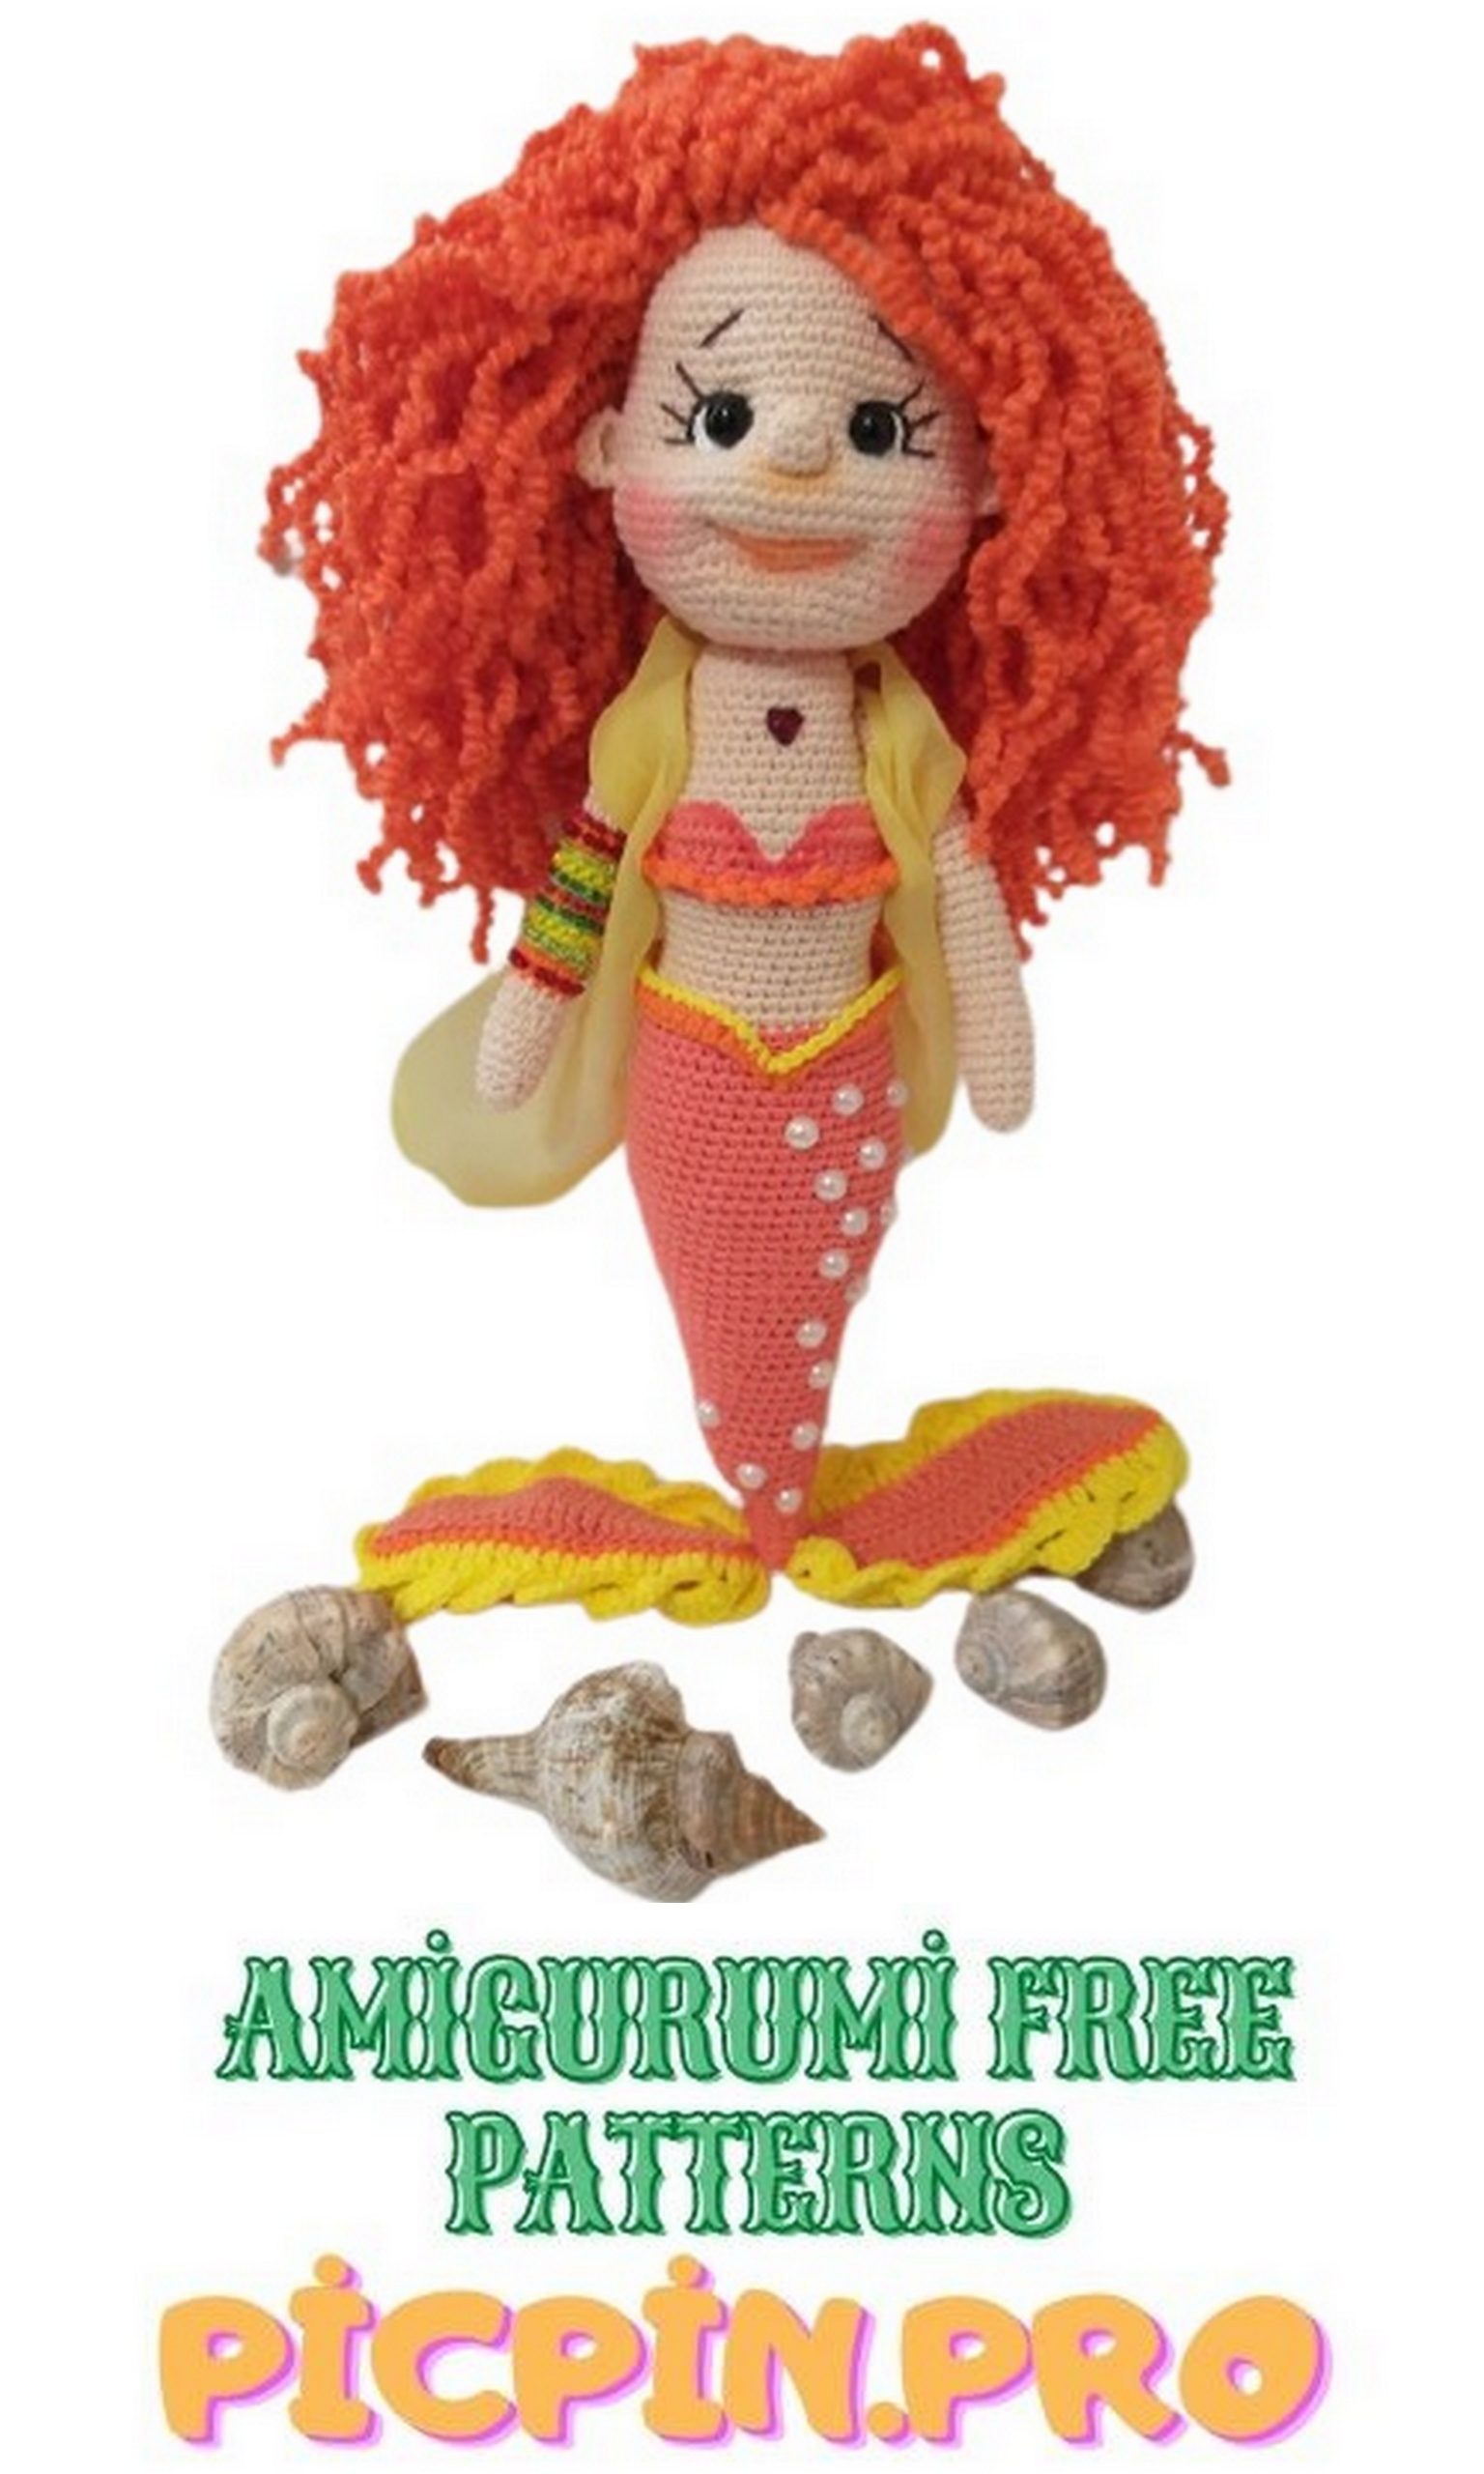
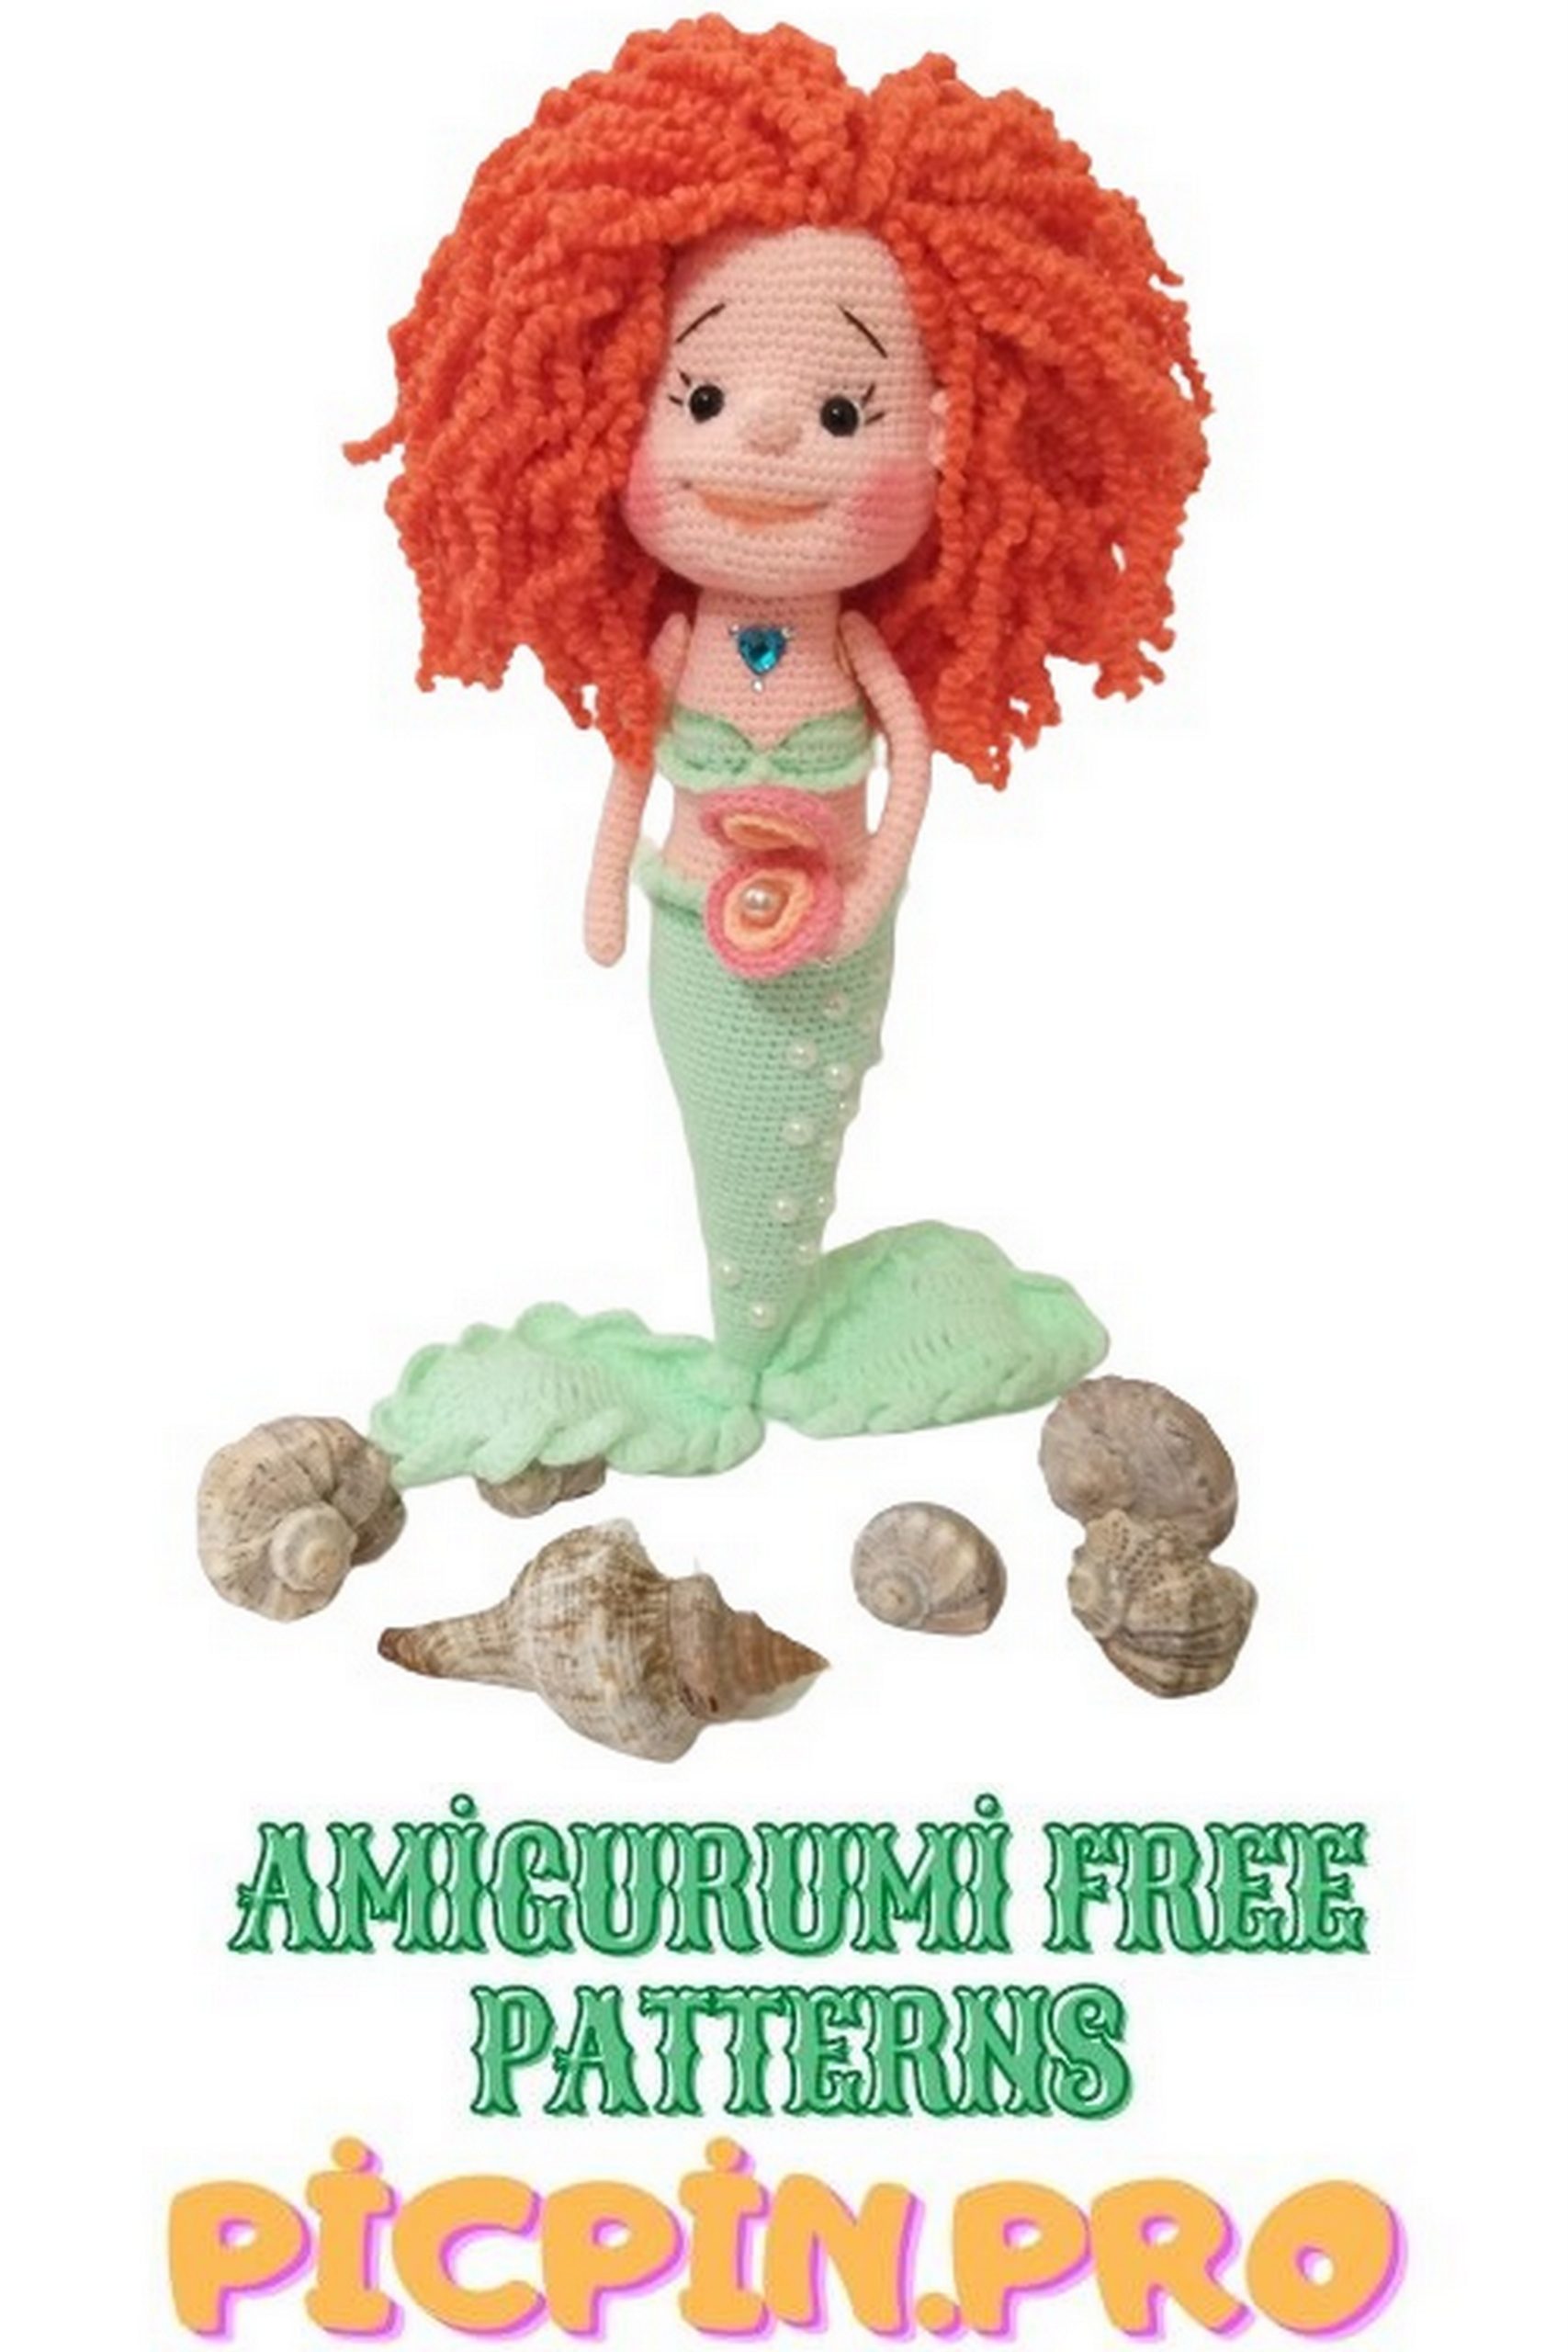
Mermaid Amigurumi Free Crochet Pattern
Pinterest Offical Page : Picpin.pro
Facebook Group: Amigurumi Free Patterns
Facebook Offical Page: Free Amigurumi Picpin
The most beautiful amigurumi doll patterns are here for free. You will love this wonderful amigurumi mermaid pattern.
Materials:
1. Yarn Jeans or any other semi-cotton yarn (pictured one little mermaid is tied from jeans (which more), the other is from acrylic (which is smaller))
2.For hair – Camtex stretch
3.Hook No. 1.75 or 2
4.Poldec aspen for eyes and pearl half dec decalons for tail decoration
5. Buttons for fastening hands
1.Head
We fill the head as we knit.
1.6c into magic ring
2.6İNC (12)
3. (sc, İNC) * 6 (18)
4. (2sc, İNC) * 6 (24)
5. (3sc, İNC) * 6 (30)
6. (4sc, İNC) * 6 (36)
7. (5sc, İNC) * 6 (42)
8. (6sc, İNC) * 6 (48)
9. (7sc, İNC) * 6 (54)
10. (8sc, İNC) * 6 (60)
11-22. 60sc
23.10sc, 6İNC, 7sc, 6İNC, 31sc (72)
24.-27. 72sc
28. (10sc, DEC) * 6 (66)
29. (9sc, DEC) * 6 (60)
30. (8sc, DEC) * 6 (54)
31. (7sc, DEC) * 6 (48)
32. (6sc, DEC) * 6 (42)
33. (5sc, DEC) * 6 (36)
34. (4sc, DEC) * 6 (30)
35. (3sc, DEC) * 6 (24)
36. (2sc, DEC) * 6 (18)
37. (sc, DEC) * 6 (12)
38.6DEC
Pull the hole, cut the thread, leaving the end for sewing on.

2. Body and tail:
Start with body color:
1.6sc into magic ring
2.6İNC (12)
3. (sc, İNC) * 6 (18)
4. (2sc, İNC) * 6 (24)
5. (3sc, İNC) * 6 (30)
6.-8. 30sc (30)
9. (9sc, İNC) * 3 (33)
10.33sc
11. (10sc, İNC) * 3 (36)
12.-13. 36sc (36)
14. (11sc, İNC) * 3 (39)
Start knitting the bodice with the color of the bodice:
15.14sc, 3İNC, 5sc body color, 3İNC, 14sc (45)
16.21sc, 3sc body color, 21sc (45)
17.14sc, 3DEC, 2sc, 1sc body color, 2sc, 3DEC, 14sc (39)
18. 39sc
19. behind the back of the hinge: 12sc, İNC, 12sc, İNC, 12sc, inc (42)
20.-21.42sc (42)
22.Body color: 12sc, DEC, 12sc, DEC, 12sc, DEC (39)
23.8sc, DEC, 20sc, DEC, 8sc (37)
24.-26. 37sc (37)
27. (5sc, İNC) * 4.6sc, İNC, 5sc, inc (43)
28. (sc, İNC) * 3.31sc, (İNC, sc) * 3 (49)
29.49sc fin color (49)
30. Behind the hinge rear wall: 49sc (49)
31.34. 49sc (49)
35.3sc, DEC, 39sc, DEC, 3sc (47)
36.-42. 47sc (47)
43.13sc, DEC, 14sc, DEC, 13sc, DEC (44)
44. 44sc (44)
45.13sc, DEC, 12sc, DEC, 13sc, DEC (41)
46.41sc (41)
47.12sc, DEC, 11sc, DEC, 12sc, DEC (38)
48.38sc (38)
49.11sc, DEC, 10sc, DEC, 11sc, DEC (35)
50.-51.35sc (35)
52.10sc, DEC, 9sc, DEC, 10sc, DEC (32)
53.-54.32sc (32)
55.9sc, DEC, 8sc, DEC, 9sc, DEC (29)
56.-58. 29sc (29)
59.8sc, DEC, 7sc, DEC, 8sc, DEC (26)
60.-62. 26sc (26)
63.7sc, DEC, 6sc, DEC, 7sc, DEC (23)
64.-65.23sc (23)
66.6sc, DEC, 5sc, DEC, 6sc, DEC (20)
67. 20sc (20)
68.5sc, DEC, 4sc, DEC, 5sc, DEC (17)
69.17sc (17)
70.4sc, DEC, 3sc, DEC, 4sc, DEC (14)
71.14sc (14)
72.3sc, DEC, 2sc, DEC, 3sc, DEC (11)
73.11sc (11)
74.2sc, DEC, sc, DEC, 2sc, DEC (8)
75.9sc (8)
76.4DEC Pull the hole, fasten and hide the thread.
3.Tail fin:
We knit 4 parts.
Dial a chain of 26sc starting from the 2nd loop from hook:
1.24sc, 3sc in the last loop, on the other side: 24sc.
2. İNC, 2sc, 3hdc, 4dc, 5dc, 4dc, 3hdc, 3sc, İNC of 3x sc, on the other side:
3sc, 3hdc, 4dc, 5dc, 4dc, 3hdc, 2sc, sl-st
Tail harness:
We take two parts and tie them together. For strapping tail can use a shell pattern, or any Volumetric pattern you like.
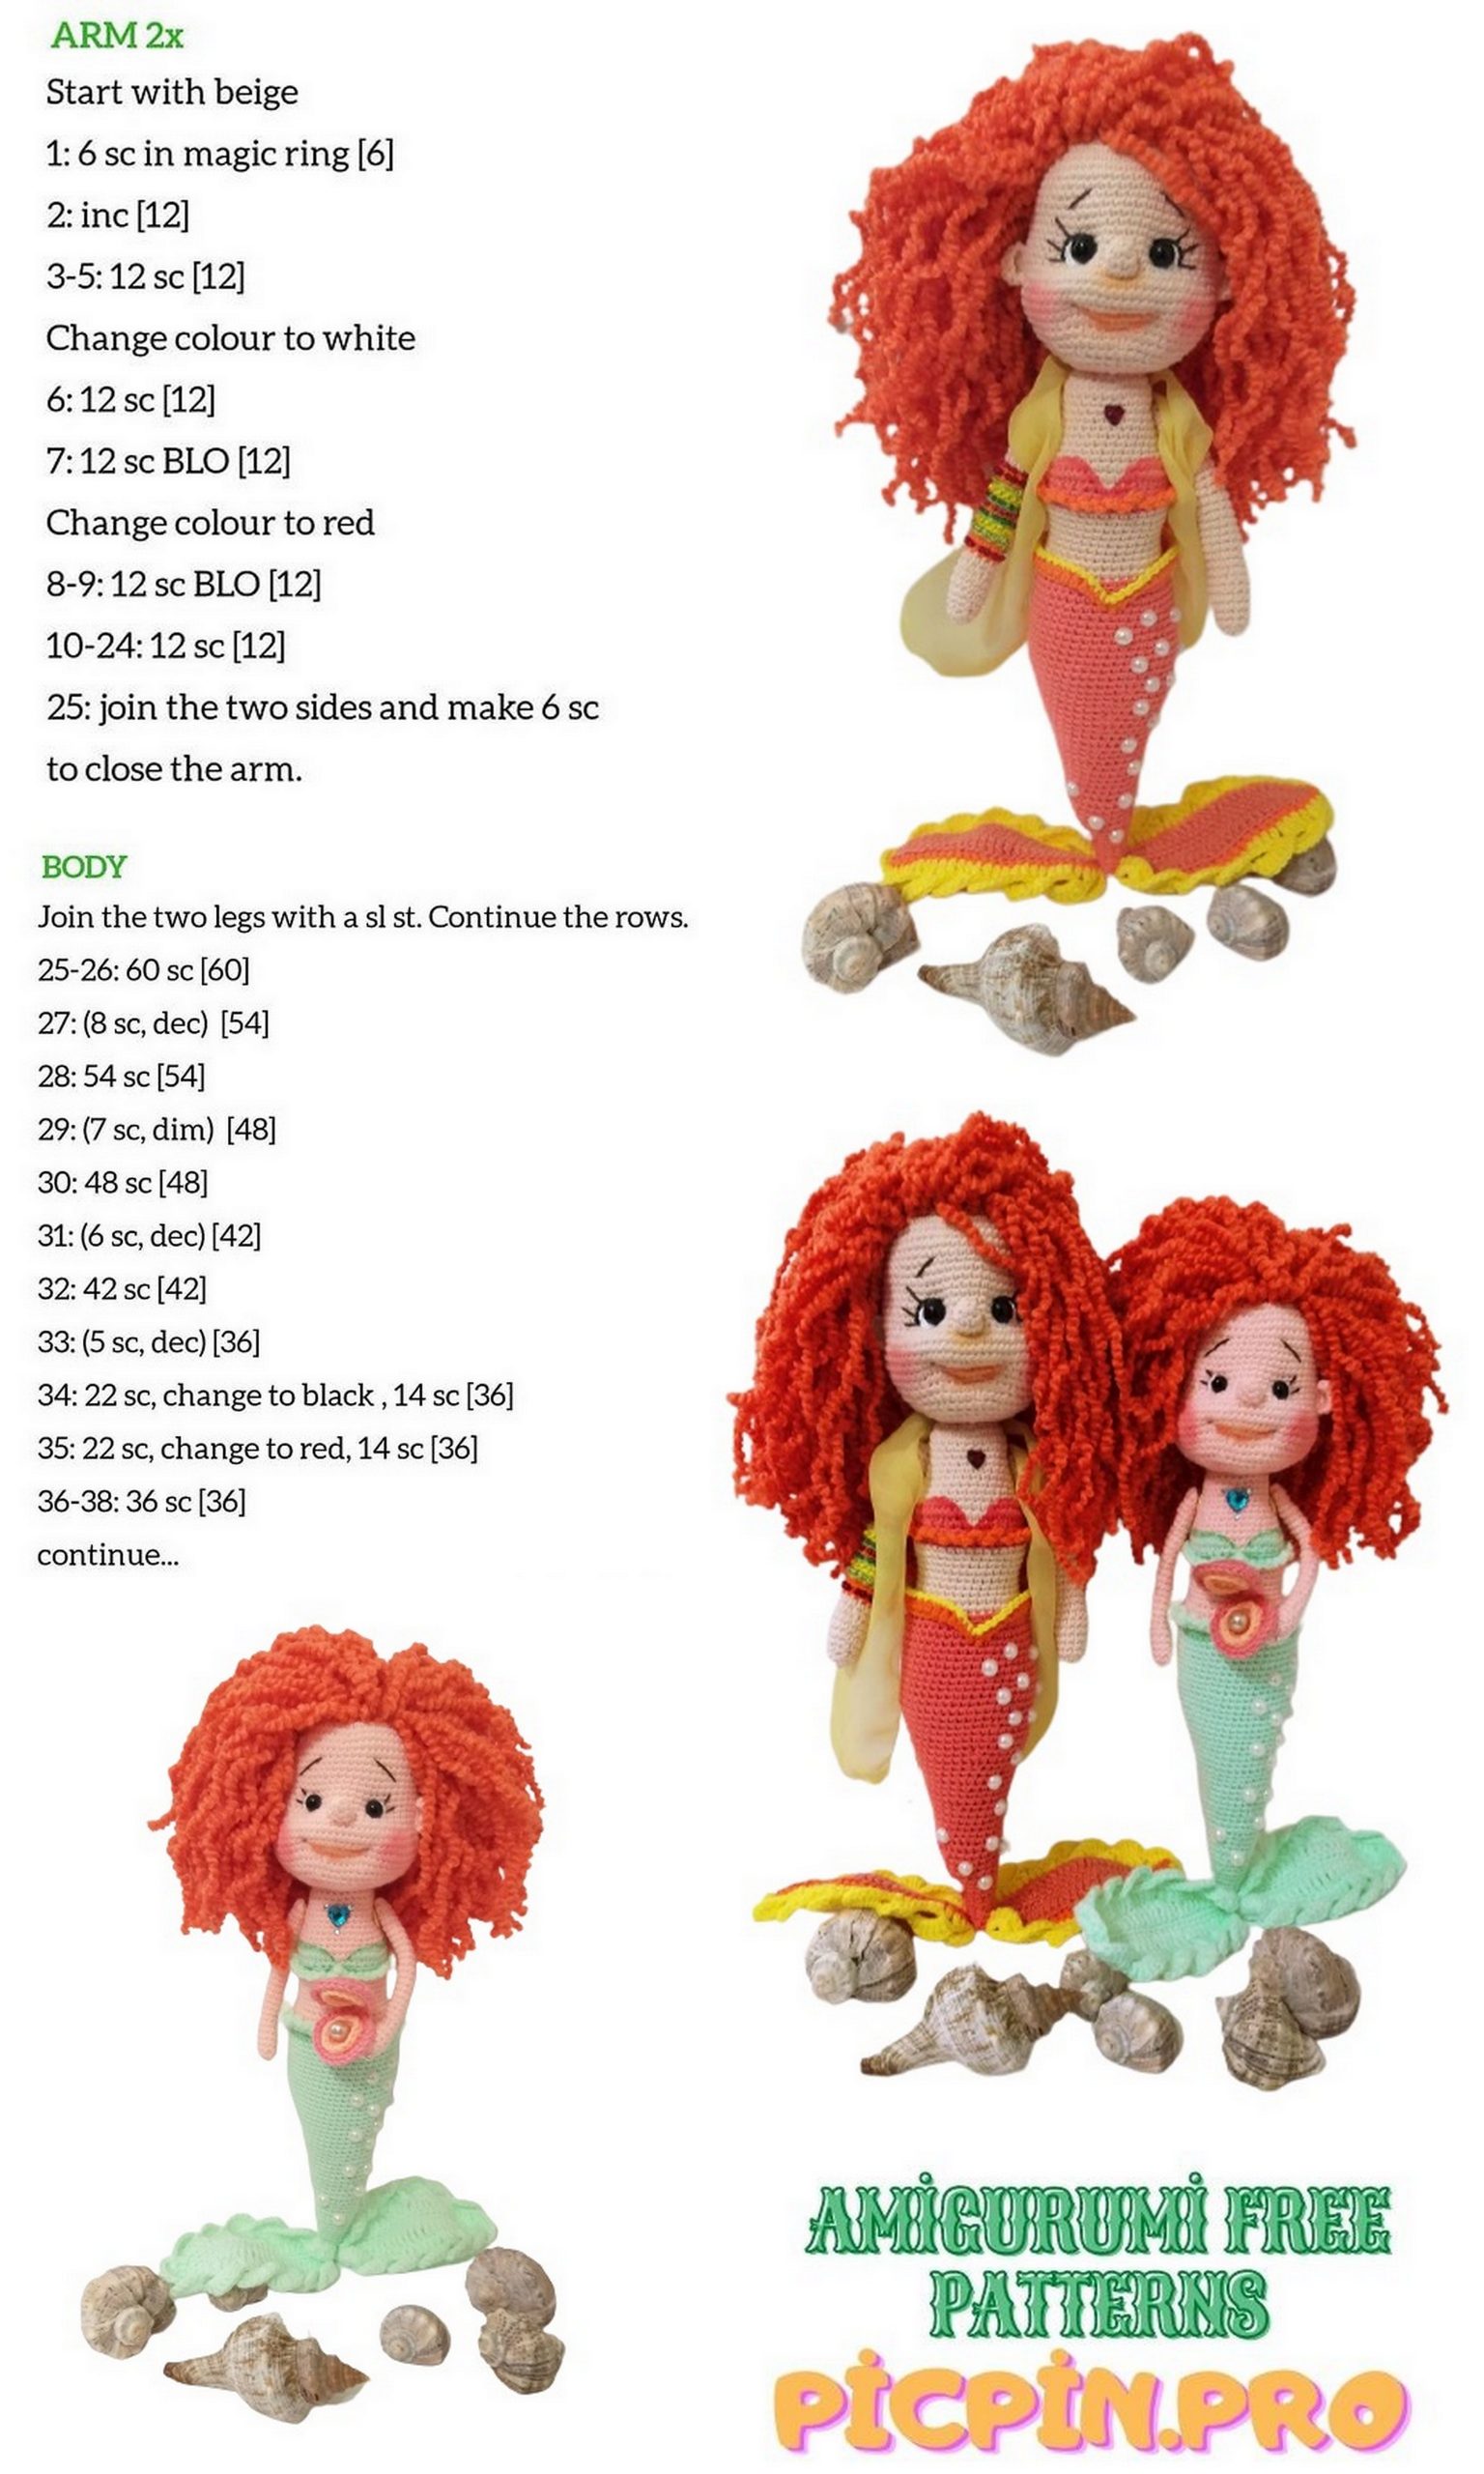

4.Hands:
Hands can be made thin and plump, anyone like like. We do not fill the handles much.
If you want thin pens:
1.6sc into magic ring
2. (2sc, İNC) * 2 (8)
3. (3sc, İNC) * 2 (10)
4.-6. 10sc
7. (3sc, DEC) * 2 (8)
8.-26. 8sc
If you want a handle thicker:
4. (4sc, İNC) * 2 (12)
5. (5sc, İNC) * 2 (14)
6.-7. 14sc
8. (5sc, DEC) * 2 (12)
9.-24. 12sc
25. (5sc, İNC) * 2 (14)
26.-28. 14sc
29. (5sc, DEC) * 2 (12)
30. 6DEC thread fasten and hide
5. Design:
Nose:
1.5sc into magic ring
2.sc, İNC, 2sc, İNC (7)
3. 7sc
Ears:
1.5sc into magic ring
2.İNC, 2sc, İNC, sc expand
3.ch, 7sc
Bodice harness:
3ch, sl-st- into magic ring waiting for a loop
Waist tail trim:
We begin to tie in the front in the middle
1sc, (3ch, sc to next loop) * 4, (4ch, sc to next) * 6, (5ch, sc in the next) * 7, (6ch, sc in the next) * 10, (5ch, sc in next) * 7, (4ch, sc next) * 6, (3ch, sc next) * 4, sl-st (returning to the begining)
Sew on all the details, focusing on the photo, glue eyes and decorate the tail. We fasten the hair with knots, having previously cut the desired length of the Camtex thread, or any other yarn.